by Texas Homesteader ~
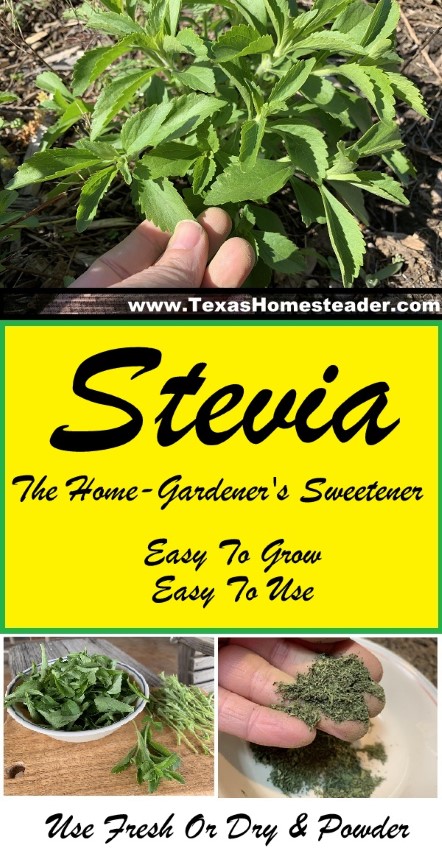
You can easily grow stevia in your home’s edible landscape. Then you harvest the leaves to make your own home-grown sweetener. I’m sharing how to harvest, preserve & use Stevia.
Note: Some links in this post will take you to other related articles for further information. But links preceded with * are affiliate links. If you click and buy something I could receive a tiny commission.
Planting Stevia In Edible Landscape Bed
Several years ago our daughter mentioned casually that she was growing Stevia.
Wait, Stevia? You mean, the sweetener? You can GROW THAT!!?? I had no idea!
Excitedly I sat out to find a place to purchase the plant. I found mine at a local discount-type store, but you can buy *Stevia Plants & Seeds on Amazon.
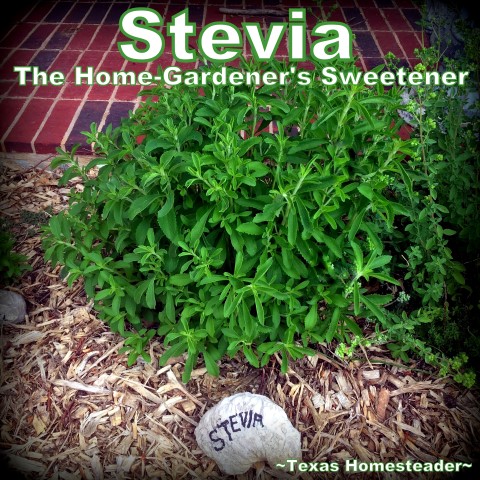
When I brought it home I just just plunked my new stevia plant into my landscaping bed as part of my edible landscape. It’s a pretty enough plant, so why not?
I’ve now had this plant for several years. I leave it standing at the end of the season, so the seeds make sure it always comes back for me every spring here in zone 8.
How Does Powdered Stevia Compare To Sugar?
Just because Stevia is sweet doesn’t mean it has the same properties as sugar:
-
Stevia Is Sweeter Than Sugar
Stevia powder is 200x to 300x sweeter than sugar. So 3 tiny teaspoons of Stevia powder has the same sweetness of a cup of sugar. Wow!
-
Stevia Can Taste Bitter If You Use Too Much
If you measure too heavily with granulated sugar for your recipe you just get too much sweet flavor.
But if you measure too heavily with Stevia you’ll get too much sweetness AND a bitter taste as well. So a light hand is best when using Stevia.
-
Stevia Doesn’t Dissolve
Remember Stevia is just dried and powdered plant leaves. So it doesn’t dissolve like sugar does.
Don’t try to stir dried powdered stevia into your morning coffee. It’ll float!
-
Can You Replace Sugar With Stevia In A Recipe?
I feel in most cases dried stevia is best used as only a part of the sugar called for in your recipe or in addition to the sugar if you just want it sweeter, but not to replace sugar completely.
Granulated sugar may offer any number of qualities to a recipe such as adding bulk, helping cakes set properly, retaining moisture, etc.
Replacing all of the sugar with powdered stevia may cause your recipe to turn out much differently than you’d expected.
-
What Does Stevia Taste Like?
I’m not sure Stevia actually has a specific taste to me, just ‘sweet‘. Although I’ve heard others comment that it tastes fresh & green. (I’m just not sure what tasting ‘fresh & green means!)
How To Dry Stevia Leaves
Stevia is sweetest when harvested when it’s cool outside. So I harvest early in the morning after the dew has dried.
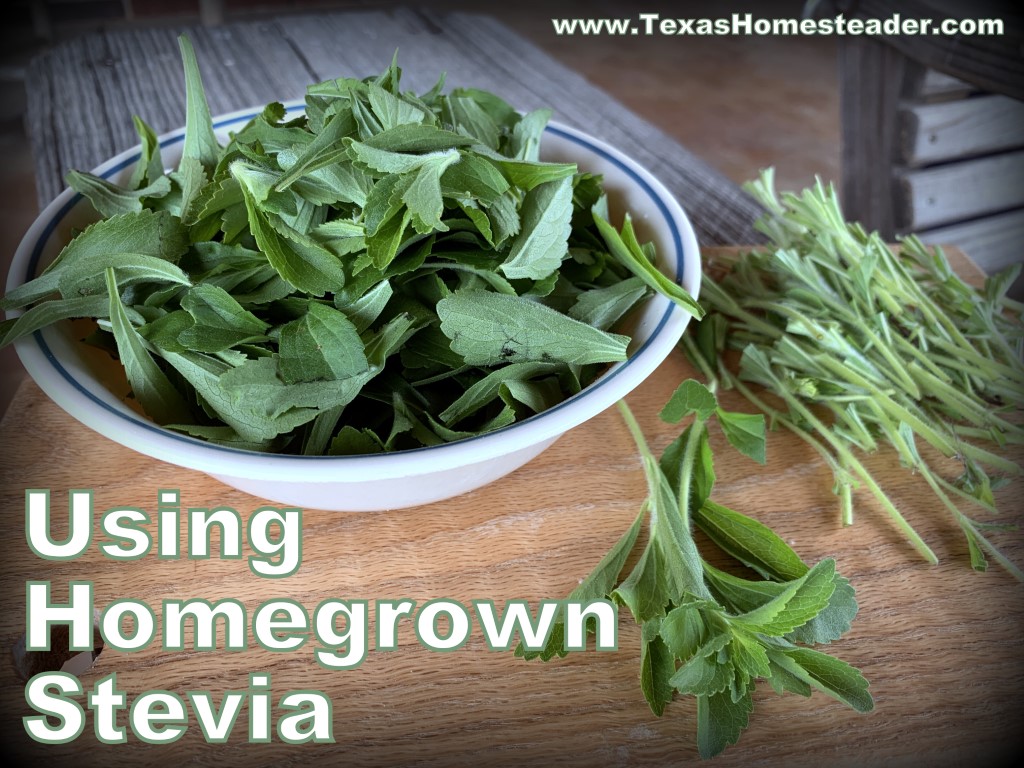
Then I rinse the harvested Stevia and remove the leaves.
I find the stevia leaves dry faster when chopped. You can dry the leaves on a screen I suppose. But I activate the lazy-gardener method & just lay the leaves on a flat plate in my kitchen and fluff them occasionally.
They are typically dry for me in about 24-48 hours. But I always allow them to dry a day or so longer before storing ‘just to be sure’.
Storing Dried Stevia
When my stevia leaves are completely dry I store them in a jar with a tight-fitting lid in my pantry. Some of the leaves are ground into a powder using a coffee grinder for even more compact storage.
By having powdered stevia on hand I can use my measuring spoon to add a touch of extra sweetness to my recipes.
Making Stevia Extract From Leaves
Although I’ve never done it myself, some folks like to make a Stevia extract. According to Prairie Homestead you just fill jar with chopped fresh Stevia leaves & top leaves with vodka. Shake & allow to steep for 48 hours
Then you remove leaves & place the liquid in a pan. You’ll want to gently heat it for 20 minutes, but don’t allow it to boil. This step is said to remove the alcohol.
Afterward the author states that you can store your cooled Stevia extract in the refrigerator for a few months.
Making Liquid Stevia
Here’s an even easier way I’ve read to use your Stevia plant – liquid Stevia. I watched a video from Whole Lifestyle Nutrition about making liquid Stevia.
She just measured 1/4 cup Stevia powder and added 1 cup warm filtered water, shaking thoroughly. Then she let it sit out 24 hours to allow it to infuse. (although I’ve read elsewhere that it needs gentle non-boiling heat to properly infuse)
Then it needs to be stored in the refrigerator. I’m guessing it’ll last several weeks?
How I Use Stevia: Sweeten Drinks Without Sugar
But I’ve never utilized either of these methods for using my Stevia. My use is much more straightforward!
RancherMan likes his tea crazy sweet. That usually involves adding copious amounts of processed (and purchased) granulated sugar.
But now I use my own Stevia plant to provide sugar-free sweetness for him instead.
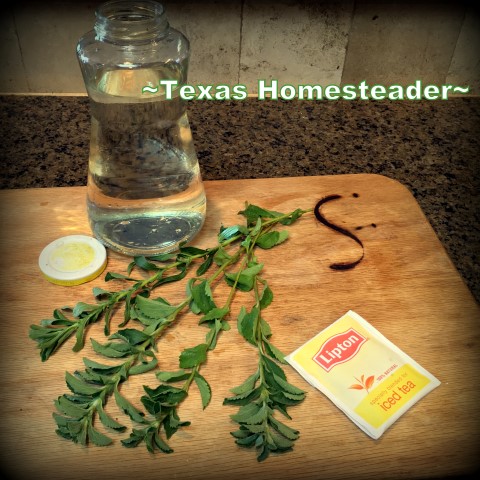
When I’m making sun tea I simply harvest about four to five fresh 8-10″ stems of Stevia. I bring them inside, give them a quick rinse and then strip the leaves from the stems.
Then I’ll roll them tightly between my palms to crush the leaves and then toss them into my sun tea jar along with my tea bag.
I place that jar outside in the sun to brew into a delightful refreshing sweet-tea beverage. Since I drink my tea unsweetened I can’t speak for its sweetness. But RancherMan says it’s perfect!
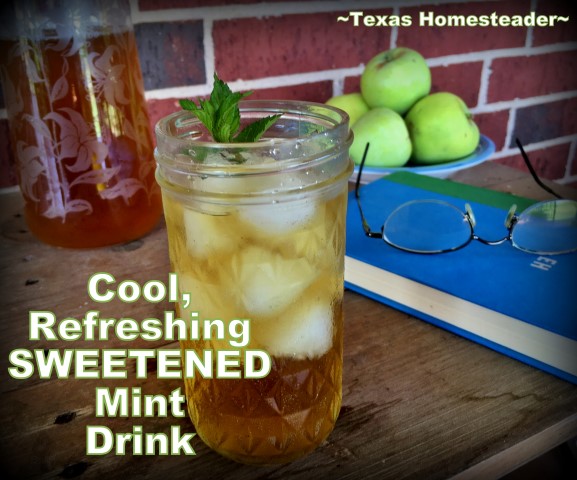
I also make a Sweet Sugar-Free Minty Beverage using the same sun-brewing method. It uses only fresh stevia and mint leaves harvested from my garden.
Let me tell ya, it sure is refreshing on a hot Texas summer’s day!
Using Homemade Stevia To Sweeten Baked Goods
It’s not recommended to just pick a recipe and change the measure of sugar to stevia to make it sugar free. Plus, remember, Stevia is about 300 times sweeter than sugar!
So it’s best to use it as part of your recipe instead of a sugar replacement. Here’s examples of how I use Stevia:
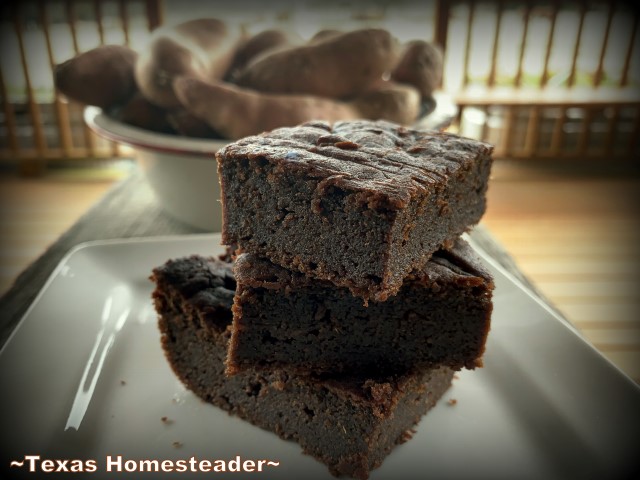
- Sweeten Gluten-Free Brownies – I make Guilt-Free Brownies from sweet potatoes. The brownies are sweetened with only a tiny 1/4 cup of honey. So it’s a lightly sweet & pretty guilt-free chocolate treat that I enjoy.
But RancherMan has quite a sweet tooth, he doesn’t give a flyin’ flip about guilt-free eating! He prefers the brownies to be sweeter.
So I often add a teaspoon of dried stevia powder to the brownie batter. It’s natural and sugar free, so it’s still guilt free yet pacifies his sweet tooth.
- Extra Sweetness For Granola – RancherMan likes to snack on handfuls of my Pumpkin Granola. But he likes it sweeter. So I’ll usually add about a teaspoon of dry stevia powder to the wet ingredients when I’m making it for him.
- Sweetening Plain Yogurt – I make my own Homemade Yogurt unflavored and unsweetened. That way I can use my yogurt as an ingredient in my Chocolate Fudgesicles, a low-fat Substitute for Sour Cream or to whip up homemade Creamy Salad Dressing.
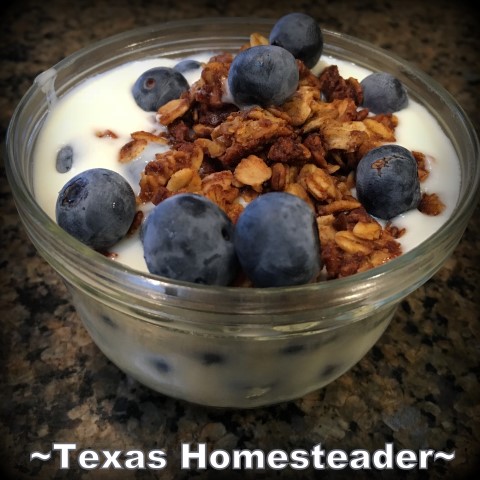
When I want to enjoy sweetened yogurt for breakfast I’ll typically stir in some honey, a handful of berries and maybe a sprinkling of granola.
But remember, RancherMan has a sweet tooth. So I’ll section off some plain unsweeteend yogurt for him and add a small amount of powdered Stevia and maybe stir in some fruit or a tablespoon of Pear Preserves.
He loves it that way and the texture of the preserves masks the fact that the finely-ground stevia powder doesn’t dissolve.
Stevia Safety Notes
If you ever have a question where you need honest-to-goodness factual information, check with a trusted source such as your doctor or your local extension agent!
Don’t rely on documentary or opinion-type stories that shouldn’t be taken as factual.
I asked our extension agent about Stevia safety & she sent me a few authority sites.
So I used them to do my own research and found the Stevia Wikipedia information interesting as well. But in researching there are a couple of things to note:
FDA Information. FDA posted an ‘important alert‘ on leaf Stevia. Not anything about its safety per se, but how this zero-calorie sweetener affects your sweet-food appetite.
I’m seeing that just like other zero-calorie sweeteners, it’s possible that it actually makes you crave MORE sugar if you consume enough of it. I’m not worried about the small amount in RancherMan’s iced tea. But just fyi –> FDA Information On High-Intensity Sweeteners
Effects On Health Conditions – And this is a very informative piece about Stevia and its possible effects on certain health conditions –> https://www.livescience.com/39601-stevia-facts-safety.html
When In Doubt, Check With Your Doctor
All-in-all I think it’s important educate ourselves before taking the leap into something new, whether it’s a new exercise regimen or a new diet. If there are any concerns about anything you eat, your doctor is always your best source of counsel!
But for RancherMan & me, this Stevia has been able to replace some table sugar that we would otherwise have to purchase. And it’s zero calorie to boot!
Growing my own sweetener? Well I think that’s pretty sweet!
~TxH~
Links Included In This Post
- *Buy Stevia Plants & Seeds on Amazon
- Edible Landscape Planted In Galvanized Tub
- Making Sun Tea
- Sweet Sugar-Free Minty Beverage
- Guilt-Free Gluten-Free Chocolate Brownies
- Homemade Pumpkin Granola
- Yogurt Made In Instant Pot
- Healthy Chocolate Fudgesicles
- Yogurt-Based Substitute for Sour Cream
- Healthy, Creamy Salad Dressing In 1 Minute
- Homemade Pear Preserves
- Prairie Homestead – Liquor-Based Stevia Extract
- Whole Lifestyle Nutrition – Video For Water-Based Liquid Stevia
My Favorite Garden Hacks
Garden Planning
- Easy Garden Planting Plan Spreadsheet
- Prepare Now! Late-Winter Garden Checklist
- How To Make Your Own Garden Soil
- Prepare Your Garden For Spring Planting
Seed Planting
- Planting Seeds In A Milk Jug Mini-Greenhouse
- Planting A Clear Tote As An Indoor Greenhouse
- Repurposed Cardboard Seed-Starting Pots
Soil Health
- Easy Compost For A Healthy Garden
- How Leaves Benefit Your Garden
- Using Manure In Your Compost & Garden
Garden Styles
- How & Why To Use Raised Beds In Your Garden
- 3-Sister’s Garden – The Original Companion Planting
- Planting A Large Galvanized Trough
- Where I Found The BEST Raised Bed!
- Planting A Blueberry Bush In Rustic Galvanized Tub
Garden Plants/Harvest
- Stevia – Growing Your Own Sweetener!
- My Simple, Zero-Waste Herb Drying Setup
- The Lazy Gardener’s Plant List – Plant Once, Eat For Years!
- How To Tell When Watermelon Is Ripe
- Luffa A Surprising Zucchini Substitute!
- How To Plant & Grow The Best Tomatoes
Water/Irrigation/Drought
- Keeping Potted Plants Watered
- Repurposing A Coffee Can For Deep-Soak Watering
- 3 Rainwater Collection Systems We Use
- Cheap (or FREE) Wood Mulch For The Garden
- Using Vining Plants For Living Mulch
- Surprising Use For Empty Clay Pots In The Garden
Weed Control
Garden Tips
- How To Save Outdoor Plants Even During A Hard Freeze
- Growing A Sustainable Garden: Eco-Friendly Practices
- Tricking Birds AWAY From Your Strawberry Plants
- Protecting Tender Seedlings From Wind
- Homestead Hack: Remember Where You Planted Seeds
- How I Use EcoBricks In The Garden
MORE Gardening Posts
References:
Find Your 2023 Updated USDA Plant Hardiness Zone
Texas Master Gardener’s Companion Planting – Plant Friend & Foe
C’mon by & sit a spell! Come hang out at our Facebook Page. It’s like sitting in a front porch rocker with a glass of cold iced tea. Lots of good folks sharing! You can also follow along on Pinterest, on Twitter or on Instagram.
If you’d like to receive an email each time a new blog post goes live it’s EASY to subscribe to our blog

