by Texas Homesteader ~
Many gardeners or grocery shoppers wonder how to tell when a fresh watermelon is ripe. Luckily there are several indications to let you know when the time is right to pick or buy that perfectly-ripe, sweet, juicy watermelon.
(Note: Some links in this post will take you to other related articles for further information. But links preceded with * are affiliate links. If you click and buy something I could receive a tiny commission.)
Indications Your Watermelon Is Ripe
There are several clues to look for to indicate that a watermelon is ripe, no matter what the variety:
-
-
-
Melon is deceptively heavy for its size
-
Bright yellow area where the watermelon touches the ground. (NOT white or green)
-
-
-
-
- Watermelon skin looks dusty white on top of the glossy green skin
-
Some people swear by the thump test. A dull thump is supposed to indicate a ripe melon. (I fail at this test every time – maybe there’s a secret?)
-
If you’re growing garden watermelon there are additional clues to know when to harvest:
-
-
-
‘Spoon’ (small spoon-shaped leaf very close to the melon) has dried and/or fallen off
-
The closest tendril to the watermelon is completely dried
-
-
Growing Sugar Baby Watermelon In The Garden
I prefer to grow Sugar Baby watermelon. I like that they’re smaller than those mammoth varieties such as black diamond & such.
(you can buy *Sugar Baby Watermelon seed here).
Sugar baby watermelons are much more moderately sized, typically weighing between 6 and 15 pounds. From a single Sugar Baby watermelon vine I typically harvest 6-7 watermelons. That’s plenty for RancherMan & me to enjoy throughout the summer.
Bonnie Plants is known for their seed. And according to Bonnie:
“This small, round melon is called an icebox type because it is petite enough to fit in the refrigerator. This widely adapted heirloom variety is solid, dark green on the outside with a bright red, firm and fine-grained flesh that is super sweet. Watermelon contains high levels of healthy antioxidants, making Sugar Baby a great sweet way to pack in good nutrition. Vines are compact. Plant about 4 feet apart.”
-
- Light: Full sun
- Fruit size: 8 to 10 pounds
- Matures: 78 days
- Plant size: Long vine
- Plant spacing: 48 inches apart
Watermelon Watering Requirements
It’s said that garden watermelons grow best when given plenty of water. That makes sense – it is watermelon after all!
But once that vine takes off, how in the world does a gardener know where to direct the water hose?
You could just water the entire planting row I suppose, knowing that you’ll eventually get at least some water to the roots of the plant where it’s needed. But I hate to waste that much water.
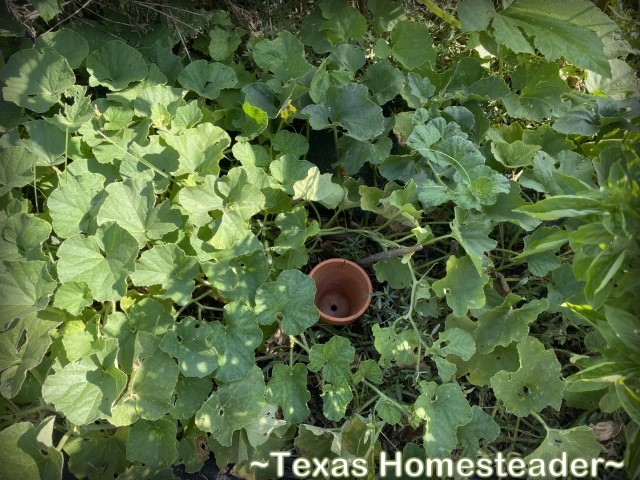
So early in the season I sink a clay pot right at the base of each of my vining plants.
This gardening hack not only marks the base of the plant but helps assure water is delivered directly to the crown in a method that allows it to slowly soak in right at the roots.
No wasted runoff, no evaporation!
When To Harvest Watermelon?
Each time I go to the garden I inspect the watermelons growing on the vine. Here’s what I’m looking for:
Dry Tendril – The very first tendril on the stem growing closest to a watermelon starts off green and gradually turns brown. I saw the tendril appeared to be dried all the way to the stem. And the ‘spoon’ was gone too.
Don’t jump the gun here! I was hoping one of my earlier melons was ripe, even though the tendril still had a tiny touch of color where it met the vine. I harvested it anyway thinking it was close enough.
Big mistake. The watermelon wasn’t quite there. I ended up having to feed it to my chickens.
Heaviness – I picked up the watermelon. Wow! Yeah, it’s pretty heavy. (It ended up weighing 8.2 pounds for this little 9-inch-long melon)
Underside Yellow – Then I flipped the watermelon over and looked at the underside where it had laid upon the ground during the growing season.
The color in that spot goes from green to white to cream colored to light yellow to bright yellow. The skin on this one was bright yellow.
I think this one is ready!
So I used my garden shears and cut the watermelon away from the vine. Now is the moment of truth!
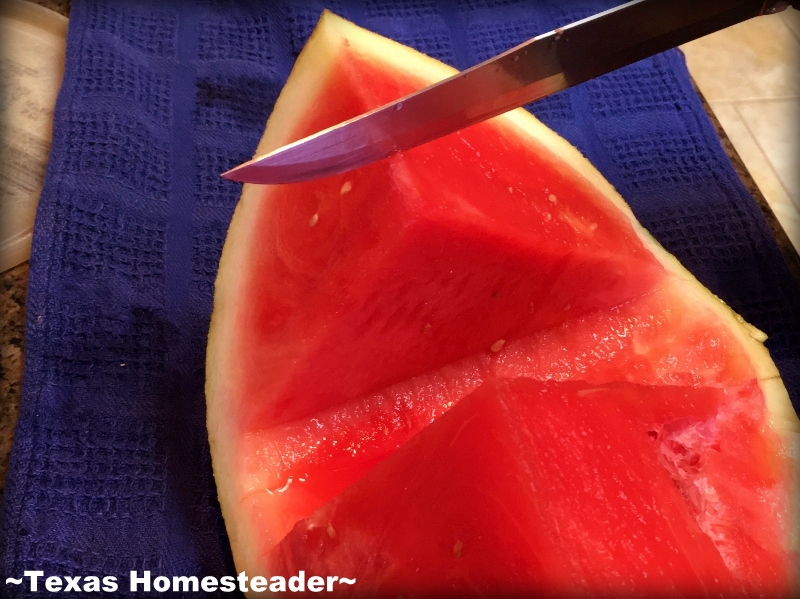
I didn’t jump the gun this time. The watermelon was… Perfect! Sweet and juicy.
So if you’re wondering if the watermelon in your garden is ripe, check out the helpful clues the plant is giving you. You’ll be enjoying a cold, sweet watermelon in no time!
~TxH~
My Favorite Garden Hacks
Garden Planning
- Easy Garden Planting Plan Spreadsheet
- Prepare Now! Late-Winter Garden Checklist
- How To Make Your Own Garden Soil
- Prepare Your Garden For Spring Planting
Seed Planting
- Planting Seeds In A Milk Jug Mini-Greenhouse
- Planting A Clear Tote As An Indoor Greenhouse
- Repurposed Cardboard Seed-Starting Pots
Soil Health
- Easy Compost For A Healthy Garden
- How Leaves Benefit Your Garden
- Using Manure In Your Compost & Garden
Garden Styles
- How & Why To Use Raised Beds In Your Garden
- 3-Sister’s Garden – The Original Companion Planting
- Planting A Large Galvanized Trough
- Where I Found The BEST Raised Bed!
- Planting A Blueberry Bush In Rustic Galvanized Tub
- Creating A Vibrant Pollinator Garden
Garden Plants/Harvest
- Stevia – Growing Your Own Sweetener!
- My Simple, Zero-Waste Herb Drying Setup
- The Lazy Gardener’s Plant List – Plant Once, Eat For Years!
- How To Tell When Watermelon Is Ripe
- Luffa A Surprising Zucchini Substitute!
- How To Plant & Grow The Best Tomatoes
Water/Irrigation/Drought
- Keeping Potted Plants Watered
- Repurposing A Coffee Can For Deep-Soak Watering
- 3 Rainwater Collection Systems We Use
- Cheap (or FREE) Wood Mulch For The Garden
- Using Vining Plants For Living Mulch
- Surprising Use For Empty Clay Pots In The Garden
Weed Control
Garden Tips
- How To Save Outdoor Plants Even During A Hard Freeze
- Growing A Sustainable Garden: Eco-Friendly Practices
- Tricking Birds AWAY From Your Strawberry Plants
- Protecting Tender Seedlings From Wind
- Homestead Hack: Remember Where You Planted Seeds
- How I Use EcoBricks In The Garden
MORE Gardening Posts
C’mon by & sit a spell! Come hang out at our Facebook Page. It’s like sitting in a front porch rocker with a glass of cold iced tea. Lots of good folks sharing! You can also follow along on Pinterest, on Twitter or on Instagram.
If you’d like to receive an email each time a new blog post goes live it’s EASY to subscribe to our blog








Great post!! Someday in the future I hope to grow my own, but until then I try and get a watermelon every chance I can in the summer.
Watermelon’s a nice cooling thing to eat during those hot humid Texas summers for sure! ~TxH~