by Texas Homesteader ~
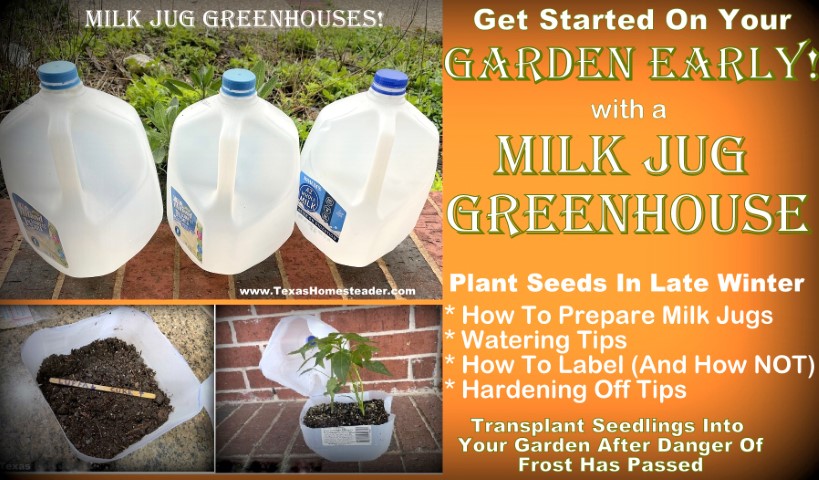
Did you know you can make your own mini greenhouse to plant & grow seeds using a plain ole milk jug?
The milk jug offers a warm moist growing environment and protection from the elements for your tender seedlings. Get a jump on the gardening season!
(Note: Some links in this post will take you to other related articles for further information. But links preceded with * are affiliate links. If you click and buy something I could receive a tiny commission.)
Why Plant Seeds In A Milk Jug?
Because of the milk jug’s protection of your young seeds/plants, you can start your seeds earlier than planting them in the garden. And c’mon y’all – seeds are CHEAPER than the plants!
A semi-transparent milk jug offers diffused natural light and moisture as well as protection from the elements for your tender seedlings.
Plus the milk jugs are portable so you can easily move them inside if the weather turns unexpectedly cold.
NOTE: If desired, you can just buy a *mini pop-up greenhouse to use year after year.
If you don’t want to pay shipping, you can totally *Try Amazon Prime For FREE for 30 days. Then place your order & get your free shipping, etc. Keep prime for 30 days FOR FREE & try it out – streaming movies, music, free shipping – the whole 9 yards! If you don’t want to continue you can cancel within 30 days and pay nothing for the Amazon Prime membership trial run.
What Containers Can I Use To Plant Seeds Besides Milk Jugs?
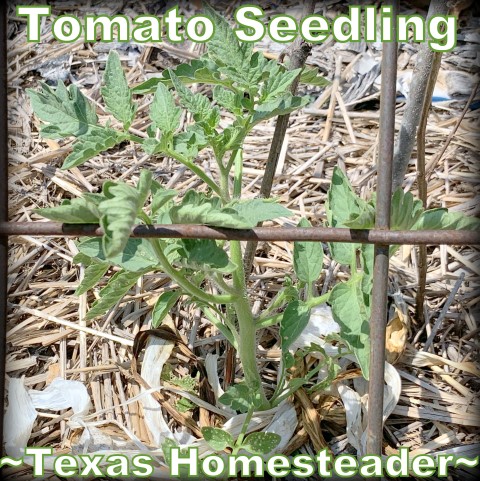
Any semi-transparent container will work. My tomato seeds were planted in a cleaned jug that once held vinegar. But a gallon water jug would work great too.
Personally, I worry that a clear plastic container might allow too much of the sun’s heat inside. So I stick with a jug that is semi transparent such as a milk or water jug.
How To Cut A Milk Jug For Planting
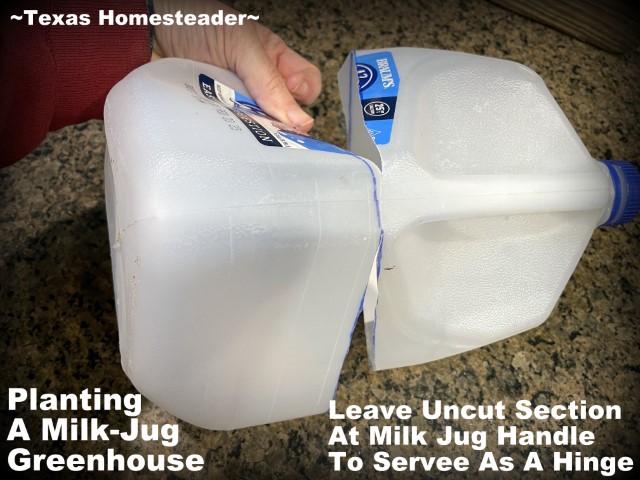
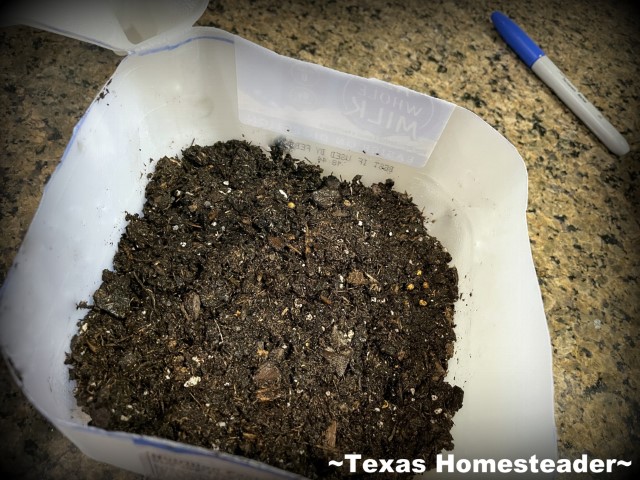
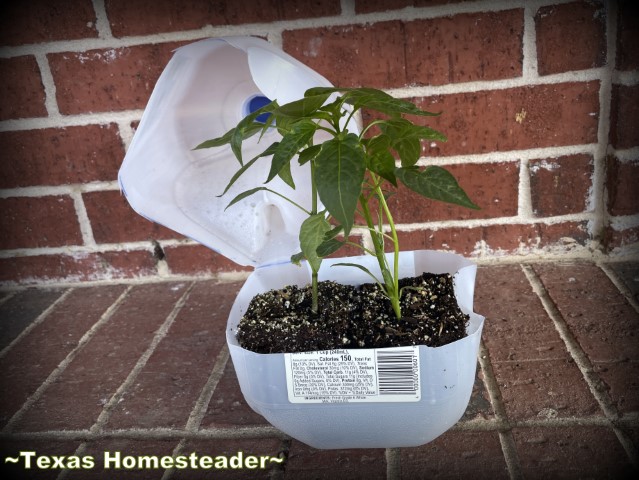
I cut the milk jug open horizontally so I can add soil and seeds. But I want to leave the area at the handle intact to act as a hinge.
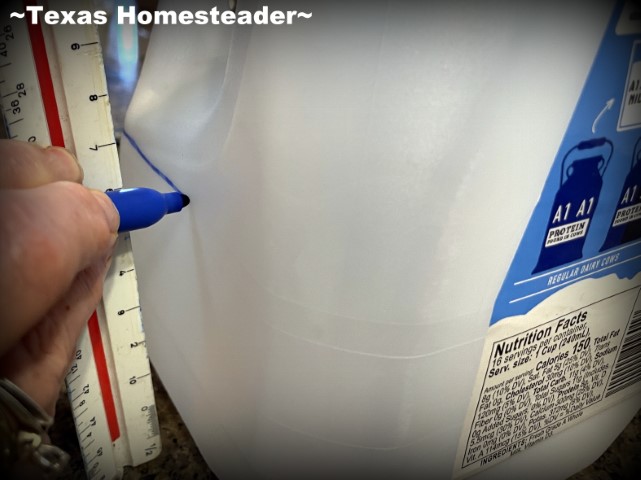
So first I mark a line around a milk jug about the height I want to cut. Usually right at the bottom of the milk jug’s handle.
Gardener’s Tip: I held the tip of a permanent marker against a ruler at the height I wanted to mark. Then I pressed the marker to the milk jug, turning the jug while keeping the marker stationary.
BOOM – a straight line all the way around!
When my milk jug was marked I carefully cut along the line, leaving the handle section intact to serve as a ‘hinge’.
Poke holes in the bottom of the jug for drainage and also for watering. You’ll want to also cut slits at the top to help moderate internal moisture.
How Much Soil Do You Add To A Milk Jug Garden?
Your new seedlings are ready to be planted in their new milk-jug greenhouse.
You’ll want to use seed-starting mix. First wet the soil and mix so the moisture is evenly distributed.
Then add about 2″ of moist seed-starting soil to the bottom of your prepared milk jug pressing gently.
Plant the seeds according to the seed packet, cover with a small amount of soil and press gently. I usually use a spray mister to lightly wet the soil afterward.
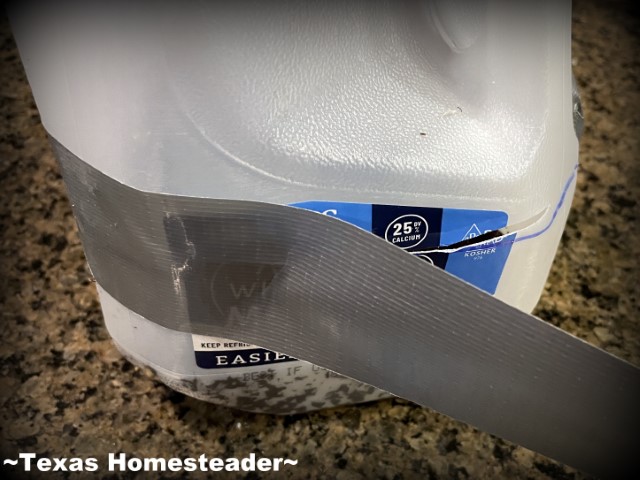
Then I’ll put the two parts of the milk jug together and use a strip of duct tape to seal the jug.
How To Label Your Milk Jug Planter
Here’s the deal: Marking the outside of the milk jug with a permanent marker sounds like a good idea. But trust me, the writing disappears in a short amount of time.
So I marked the duct tape that I wrapped around the cut section. But even that disappeared!
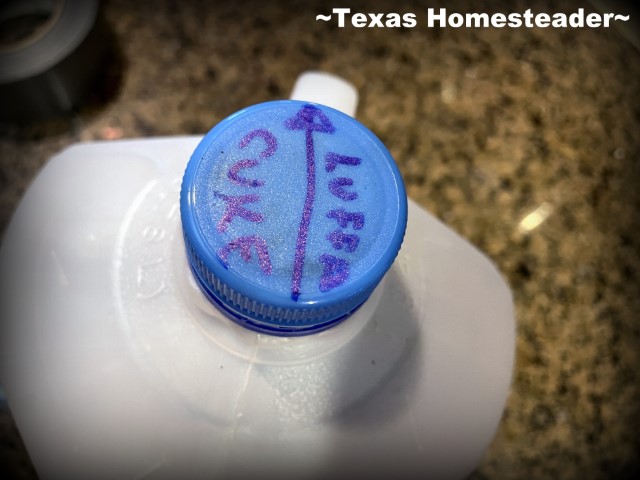
So now I add a note on the cap. The arrow points toward the handle & I’ve noted what is planted on either side of the jug.
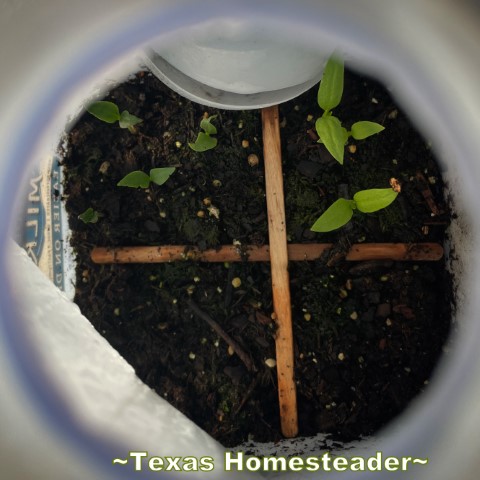
A wooden craft stick is inside separating my two plantings. So I marked the identification information on the wooden stick inside the jug too.
How Do You Water Seeds In A Milk Jug Garden?
Your seeds can easily be dislodged if you try to water them from the top. So I water my milk jug greenhouse from the bottom instead.
Place the milk jug in a container containing about 2-3″ of water. Allow the water to soak in from the holes in the bottom of the milk jug for several minutes.
Where To Place Your Milk Jug Planter Outside?
Once your milk jugs are planted, place them on the south side of a structure – preferably against a brick wall for more heat on those chilly late-winter days.
This location protects against north wind and offers the best sunshine for the seeds to grow in your milk jug.
If the weather is sunny and really starts to heat up (say over 55 – 60 degrees F. or so), you can take the cap off the jug until evening to allow excess heat to escape from inside the jug.
Then replace the cap in the evening so your seeds/seedlings are protected from cooler overnight temperatures.
How Long Does It Take Seeds To Sprout In A Milk Jug?
I planted these pepper seeds in my first milk jug. They sprouted about 3 weeks later. They’ll need a couple of weeks more before they’re ready for the next step.
I divided this planting into four different pepper plantings, but before I knew to write on the craft stick inside to identify the seed (instead of writing on the jug or tape.)
Inside this jug I planted jalapeno, pepperoncini, bell pepper and poblano. There are only 2 of us here and several jalapeno plants may be a touch too many! Don’t be afraid to do multiple plantings – just be sure to identify them.
How To Harden Off Seedlings For Garden Planting
When your seedlings have grown about 3″-4″ tall it’s time to plant them in the garden.
But you need to introduce them slowly to breezes, sunshine, etc. That’s called hardening off your seedlings.
You can harden your seedlings off right in the milk jug. Just un-tape your milk jug and lay the top back for a short amount of time to gradually expose the seedlings to their new outside environment.
It’s best to do this on a cloudy day or on a shaded patio so the sun’s not so intense, and with light breezes at first. Start with only 30-45 minutes a day – gradually increasing their exposure to the elements over about a week or two.
Don’t hurry this step. Give your tender seedlings the time they need to acclimate to their new outside world. You’ll be rewarded with healthier more vigorous plants.
When To Transplant Your Seedlings To The Garden
You’ll want to plant your seedlings in the garden when the danger of the last frost has passed. Here in NE Texas that’s around Easter each year.
When your seedlings have been hardened off it’s time to relocate them to their place in your garden.
Once again it’s best if you can to do this on a light breeze and cloudy day, giving them a good dose of water when they’re transplanted.
Keep an eye on them for the next few days to make sure they adjust quickly to their new environment.
Then you can rinse off your milk jugs and pop them into the recycling bin or start your next round of milk-jug greenhouse gardening.
~TxH~
My Favorite Garden Hacks
Garden Planning
Seed Planting
Soil Health
Garden Styles
- 3-Sister’s Garden – The Original Companion Planting
- Planting A Large Galvanized Trough
- Where I Found The BEST Raised Bed!
- Planting A Blueberry Bush In Rustic Galvanized Tub
Garden Plants/Harvest
- Stevia – Growing Your Own Sweetener!
- My Simple, Zero-Waste Herb Drying Setup
- The Lazy Gardener’s Plant List – Plant Once, Eat For Years!
- How To Tell When Watermelon Is Ripe
- Luffa A Surprising Zucchini Substitute!
Water/Irrigation/Drought
- Keeping Potted Plants Watered
- Repurposing A Coffee Can For Deep-Soak Watering
- Cheap (or FREE) Wood Mulch For The Garden
- Using Vining Plants For Living Mulch
Garden Tips
- Tricking Birds AWAY From Your Strawberry Plants
- Propping Tender Seedlings
- Homestead Hack: Remember Where You Planted Seeds
- How I Use EcoBricks In The Garden
MORE Gardening Posts
C’mon by & sit a spell! Come hang out at our Facebook Page. It’s like sitting in a front porch rocker with a glass of cold iced tea – lots of good folks sharing! You can also follow along on Pinterest, Twitter or Instagram.
If you’d like to receive an email each time a new blog post goes live it’s EASY to
Subscribe to our blog!

