by Texas Homesteader ~
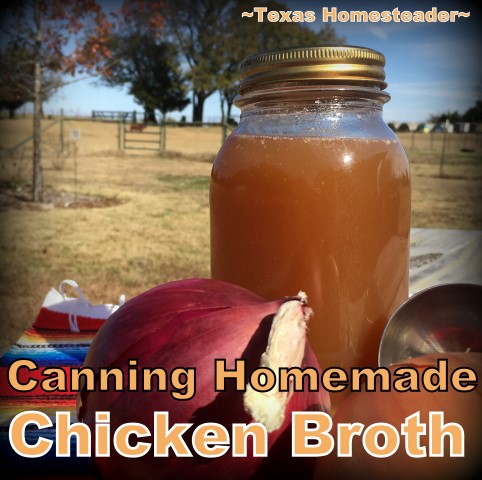
It’s easy, inexpensive & healthy to make homemade nutritious bone broth yourself. To preserve broth you can freeze it – or pressure can it to make it shelf stable.
Don’t be intimidated by a pressure canner, y’all. Canning broth is easy.
Canning Instructions –> Jump to Recipe
(Note: Some links in this post will take you to other related articles for further information. But links preceded with * are affiliate links. If you click and buy something I could receive a tiny commission.)
Homemade Broth Is Easy
Homemade broth is simple to make yourself using leftover chicken or beef bones.
-
-
-
Place bones in a pot of water
-
Add a splash of vinegar (pulls calcium from the bones)
-
Cook 2 hrs in Instant Pot, or overnight in slow cooker
-
Strain bones from broth & refrigerate broth overnight
-
Remove hardened fat from chilled broth
-
-
Broth Must Be Pressure Canned For Safety
To safely preserve your broth you can freeze or pressure can it. Water-bath canning won’t do here. And food safety is important.
But it’s simple to can broth:
Hot broth poured into clean hot jars,
10 lbs pressure for 20 – 25 minutes.
See? I told you. Easy!
I have a *Presto Pressure Canner that I use when I’m canning. It’s a large one that holds up to 7 quarts.
Can You Pressure-Can Food In A Pressure Cooker?
No, you cannot pressure-can food in a pressure cooker such as a standard *Instant Pot. The USDA has not approved it for safe canning results.
You need an actual *Pressure Canner to safely can and preserve low-acid foods such as broth and most vegetables.
(you can use an Instant Pot as a large stock pot to water-bath can more acidic food, but not as a pressure canner for low-acid foods.)
Making Homemade Broth
I make bone broth using whatever bones I have accumulated & stored in the freezer. Most of the time for me it’s Chicken Broth.
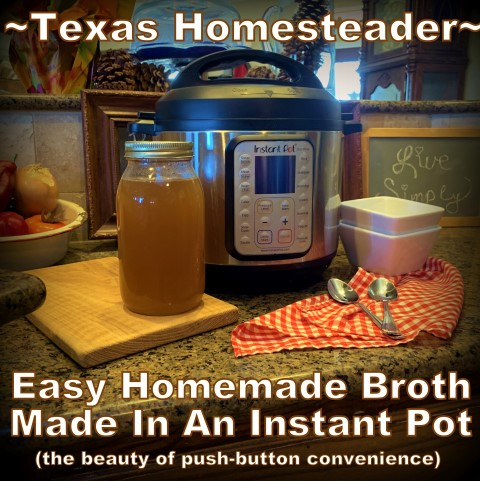
Whether making homemade broth in a slow cooker or even faster as Instant Pot Broth, it’s simple.
Heck with the Instant Pot, there’s a ‘BROTH’ button right on the side.
I just fill the pan, put on the lid, press a button and walk away! LOL
Whichever way it’s cooked, afterwards I strain away the bones and place the broth in the refrigerator overnight.
Removing Fat From Homemade Broth
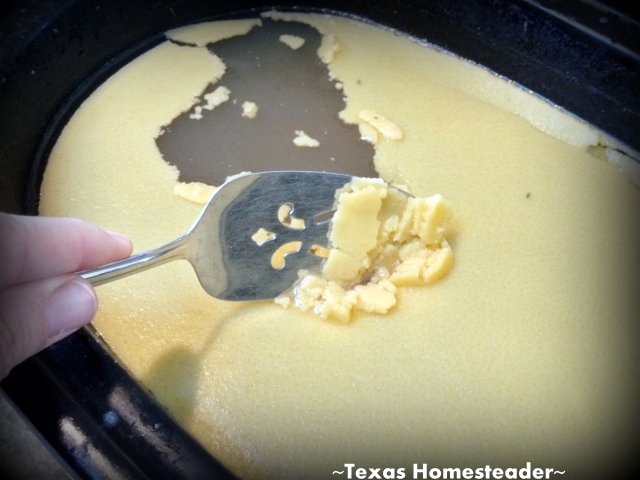
Chilling the broth overnight allows the fat to harden & rise to the top.
The next morning I simply skim the hardened fat away and my broth is done.
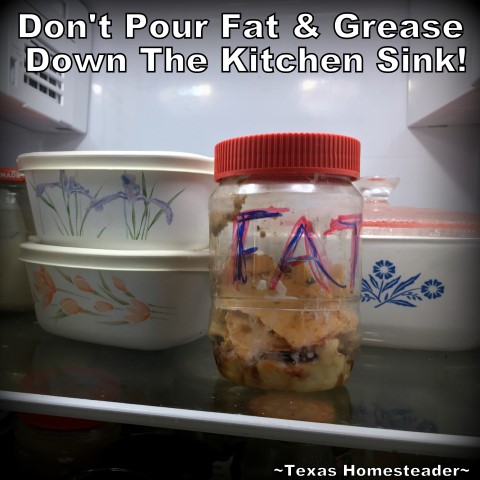
But it’s important not to put that fat down your kitchen sink.
I use a repurposed Plastic Jar For Fat that I leave in the fridge. When it’s full I screw on the lid and toss it in the trash.
Now I need to preserve my homemade broth.
Can You Preserve Broth With Home Canning?
Yes, homemade broth can be made shelf stable by canning it.
But for safety, broth cannot be water-bath canned, it must be pressure canned.
(see canning safety reference links at the bottom of this post)
Preparing To Pressure Can Homemade Broth
First I put a stock pot holding my chilled, defatted broth onto the stove and heat it to simmering.
In the meantime I prepare for canning.
-
-
-
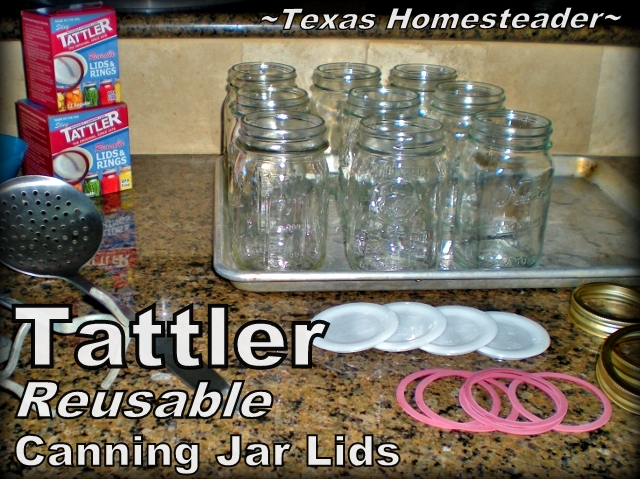
Boil water in small saucepan, remove from heat & drop in 2-part canning lids to soften the seals.
-
-
NOTE: Don’t boil the lids!
Most times I’m using my *Tattler Reusable Canning Lids.
It’s the inexpensive as well as eco-friendly choice for me since they’re reusable over & over again!
-
-
-
Place clean canning jars in cold oven, turn heat to 220 degrees F. or use some of the water required in your pressure canner in the bottom of the jars and leave them in your canner heating while you heat your broth.
-
-
This assures I’m not putting hot broth into a cool jar. So it reduces the chance of thermal shock and glass breakage.
-
-
-
Prepare pressure canner
-
-
(small amount of water in bottom, trivet placed, set on stove to warm)
-
-
-
Bring out canning supplies
-
-
(jar lifter, hot pads, canning funnel, ladle, etc.)
How To Can Homemade Broth
By now my homemade broth is simmering and ready to go into the jars.
-
-
-
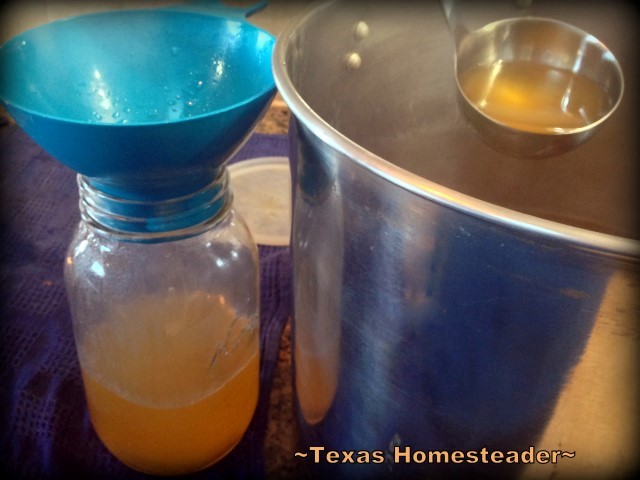
Ladle hot broth into hot jars.
-
Leave 1″ headspace.
-
-
-
-
-
Wipe the rim of each jar to clean.
-
Place the hot flat lid on top of the jar, top with the screw band just to finger tight.
-
-
NOTE: slightly varied lid-tightening procedure for Reusable Canning Lids.
-
-
-
Place filled jars in canner, locking down lid. (no weight yet)
-
Allow steam to vent from canner for 10 minutes, then add 10-lb weight.
-
Once the weight starts to jiggle, start timing.
-
-
-
Broth is pressure canned at 10 pounds weight for 20 minutes when canned in pint jars, 25 minutes when canned in quart jars. (references at the bottom of this post)
When Do You Take Jars Out of Canner?
After processing time is up I turn off the heat and allow the pressure to gradually reduce pressure on its own (about 20-30 minutes).
When no sound is heard as the weight is wiggled it’s safe to open the canner – always with the lid facing away from you to avoid steam burns.
Leave the jars in the hot canner for 10 minutes longer to ease the transition from hot temperatures to room temp.
(If I’ve used traditional canning lids I even hear some of the jars sealing during this time!)
After 10 minutes it’s time to remove the jars of broth to a draft-free location and allow them to cool and seal overnight. (do not touch the lids or rings yet)
Testing Pressure-Canned Broth For A Good Seal
The next morning remove the rings & test for a proper seal by pressing the tops of the traditional canning lids gently.
If they’re not sealed you’ll hear a plinky noise when you press. If you hear nothing, your jars are sealed.
For the Tattler lids I remove the rings and give the lids a very gentle pull upward as if preparing to remove them. If they stay tight to the jar they’re also sealed.
Wipe down the jars, label and store them in the pantry. They all stand at the ready to be used at a moment’s notice.
See, I told you canning broth was easy!
Now I must note here that I’m sharing how I canned my broth and it worked great. But different canners require different procedures and even your area above sea level affect what weight you should use. For your specific circumstances be sure to consult your canner’s manual. And be sure you read the USDA’s recommendations on safe canning and follow their directions closely. Food safety is important!

Pressure Canning Homemade Broth
Ingredients
- 6 quarts Homemade broth, unsalted
Instructions
Instructions
-
After broth is made place it in the refrigerator to cool completely so the fat will rise to the top.
-
The next morning remove the fat and place the stock pot holding 6 quarts of chilled, defatted broth onto the stove and heat it to simmering.
In the meantime prepare for canning:
-
Boil water in small saucepan, remove from heat & add 2-part canning lids to soften the seals. NOTE: Don't boil the lids!
-
Wash & keep canning jars hot by placing some of the water required in your pressure canner in the bottom of the jars and leave them in your canner to heat while you heat the broth. (This assures I'm not putting hot broth into a cool jar. So it reduces the chance of thermal shock and glass breakage.)
Prepare pressure canner:
-
Follow your canner's directions, for my 16-quart Presto canner:
-
Add 3 quarts of water and a splash of white vinegar into the canner.
-
Add the canning trivet and place canner on the stove. Heat at medium heat while broth is heating on another burner (keep jars to be used in the canner as it's heating to get them hot before adding the hot broth.)
Bring out canning supplies:
-
Bring out jar lifter, hot pads, canning funnel, ladle, etc.)
How To Can Homemade Broth:
-
When broth is simmering and the jars are hot, it's ready to go into the jars.
-
Ladle hot broth into hot jars leaving 1" headspace. Wipe the rim of each jar to clean.
-
Place the hot flat lid on top of the jar, top with the screw band tightened just to finger tight.
-
Place filled jars in canner, locking down lid. (no weight yet)
-
Allow steam to vent from canner for 10 minutes, then add 10-lb weight. Once the weight starts to jiggle, start timing.
-
Pressure can broth at 10 pounds for 20 minutes when canned in pint jars, 25 minutes when canned in quart jars.
-
After processing time is up turn off the heat and allow the pressure to gradually reduce pressure on its own (about 20-30 minutes).
-
When pressure is naturally released remove the lid but leave the jars in the hot canner for 10 minutes longer to ease the transition from hot temperatures to room temp. After 10 minutes remove the jars of broth to a draft-free location on a kitchen towel and allow them to cool and seal overnight. (do not touch the lids or rings yet)
Testing Pressure-Canned Broth For A Good Seal:
-
The next morning remove the rings & test for a proper seal by pressing the tops of the traditional canning lids gently. If they're not sealed you'll hear a plinky noise when you press. If you hear nothing, your jars are sealed.
-
Wipe down the jars, label and store them in the pantry.
~TxH~
Other Instant Pot Recipes:
- Instant Pot Bone Broth Is Push-Button Easy!
- IP Pot Roast And Gravy – Comfort Food FAST
- Pepperoncini Pot Roast – Only 3 Ingredients
- Homemade Yogurt: Instant Pot Method
- Cheesecake Can Be Made In An Instant Pot
- Single-Serving Cheesecakes In Mason Jars
- Homemade Tamales – Faster In An Instant Pot
- Instant Pot Boiled Eggs WITHOUT The Shell!
- Cooking Dry Pinto Beans in An Instant Pot
- Black-eyed Peas w/Spicy Rotel in And Instant Pot
- Instant Pot Goulash – Comfort Food FAST!
- One-Pot Meal – Spaghetti & Meat Sauce
- Foolproof Instant Pot White Rice
See ALL Our Instant Pot Posts!
Other Canning Posts
- Crazy Canning Lady: Successes & Failures
- Pressure-Canning Asparagus
- Canning Pears In Light Syrup
- Pear Preserves In Water-Bath Canner
- Water-Bath Canning Pear Relish
- Honeysuckle Jelly – Water-Bath Canned
- Canning Clover Blossom Jelly
- Wild-Plum Jelly Recipe & Canning
- Canning Blueberry Jam
- Pressure-Canning Fresh Corn
- Water-Bath Canning Homemade Apple Pie Filling
- Canning Cinnamon/Vanilla Applesauce
- Homemade Apple Cider
- Canning Fresh Tomato Pasta Sauce
- Canning Jar Storage Solution
- Reusable Canning Lids An Eco-Friendly Option
…And Many More
See ALL Our Food Preservation Posts
C’mon by & sit a spell! Come hang out at our Facebook Page. It’s like sitting in a front porch rocker with a glass of cold iced tea – lots of good folks sharing! You can also follow along on Pinterest, Twitter or Instagram.
If you’d like to receive an email each time a new blog post goes live it’s EASY to
Subscribe to our blog!
*Amazon affiliate


Do you get the bones from butchering? I do and this time just one bag of sHank bones. Done broth last year and put up 22 jars. I roast them in oven before boiling for extra flavor. Teresa
Just finished 14 quarts of bone broth yesterday. Made my first last year and loved cooking with it. I appreciate all you do and have a wonderful Thanksgiving!
14 quarts – wow, you GO girl!! It’s crazy how long I went purchasing broth instead of making it myself. I guess I just assumed it was complicated. But broth is such a healthy food, especially when you control the salt, preservatives, etc. Enjoy your broth. 🙂 And the happiest of Thanksgivings to you & your family as well. ~TxH~