by Texas Homesteader ~
Instant Pot Yogurt – so easy! I’m sharing step-by-step instructions with photos to make your own creamy yogurt.
And (as there always is) I share a shortcut I use in the timing of making it too!
Jump Jump to Recipe
(Note: Some links in this post will take you to other related articles for further information. But links preceded with * are affiliate links. If you click and buy something I could receive a tiny commission.)
Homemade Yogurt Efforts In The Past
Making homemade yogurt was actually the very first self-sufficiency step I took decades ago.
I started making 1/2 gallon of Stove-Top Homemade Yogurt every week or so.
But I found it’s even easier to make yogurt in an Instant Pot electric pressure cooker.
So we purchased the *6-Quart Instant Pot Duo, partially because it included the yogurt feature.
Homemade Yogurt Directions:
Making yogurt – whether stovetop or pressure cooker – is easy:
-
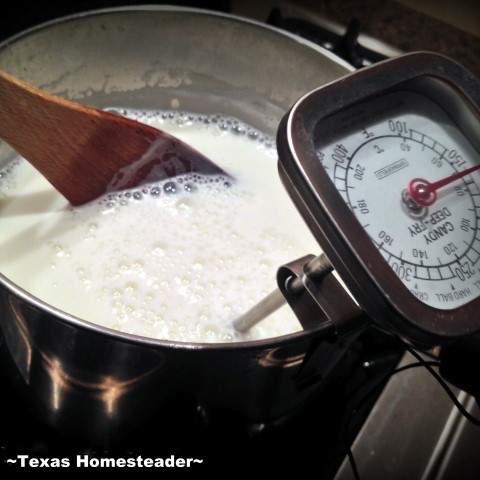
Heat milk to about 180 degrees
-
Cool milk to about 100 degrees
-
Stir in yogurt starter
-
Incubate yogurt in warm environment for about 8 hrs
-
Refrigerate finished yogurt
What Kind of Milk To Use For Homemade Yogurt?
I’ve used different kinds of regular homogenized milk for my yogurt.
Whole Milk – Gives a thicker, creamier finished texture.
2% Milk – still a good texture – not quite as thick as whole milk but lower fat.
Skim Milk – I wouldn’t recommend making yogurt with skim milk. It seems offputtingly thin and lackluster flavor.
Which Commercial Yogurt Has Required Active Cultures?
To make yogurt you’ll need to add a starter to warmed and then cooled milk. A starter is simply a bit of yogurt containing live active cultures.
Just look on the label of the yogurt available in your store. You’re looking for one that contains live active cultures to use as your homemade yogurt starter.
I typically buy Braum’s or Dannon unflavored yogurt with active cultures.
Once you make your own yogurt you can set some back to use as homemade starter next time. But if this is your first time you’ll need to purchase yogurt with active live cultures.
Can You Use Flavored Yogurt With Active Cultures For Starter?
I prefer to use unflavored starter for my yogurt so I can use my homemade yogurt in a few of my recipes (listed below).
Some say your yogurt will not make correctly if you use a sweetened or flavored yogurt even if it has active cultures.
But I’ve done it on several occasions when I couldn’t find the unflavored version. It always came out fine.
How To Use The Yogurt Setting On Instant Pot
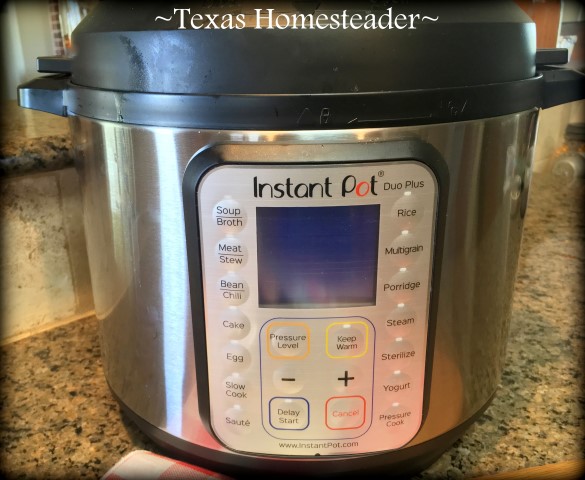
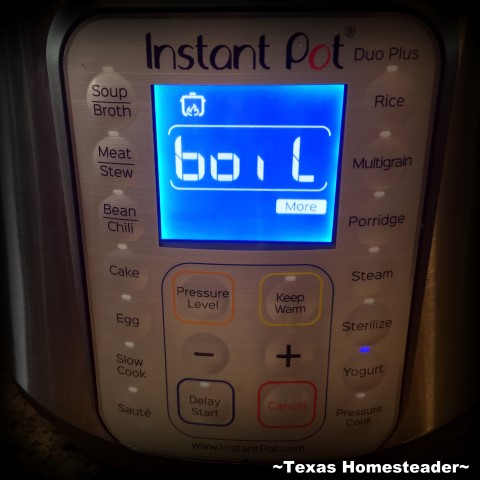
Pour a half gallon of cold milk into the inner liner, place the pressure cooker lid on top & secure it. Then press the “Yogurt’ button until it displays ‘BOIL‘.
It takes about 25 minutes for the milk to come to the correct temperature.
How Cool Should Yogurt Be Before Adding Starter?
But you can’t add the starter yet! The milk is hot & will kill the starter, keeping it from turning your warmed milk into yogurt.
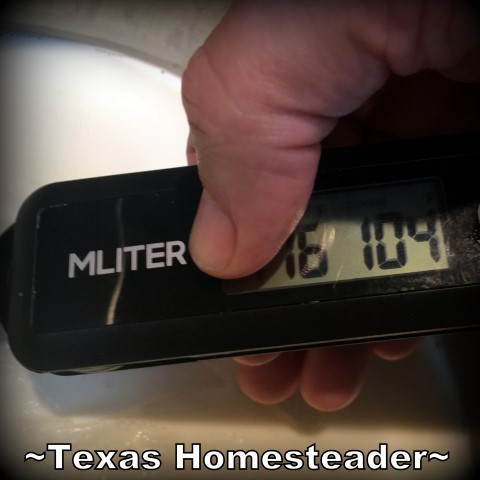
First we have to cool the milk down. Some say to around 110 degrees Fahrenheit, but I strive to cool it down to between 100 – 105.
You can check to see that it’s reached the correct temperature using an *Instant Read Thermometer.
You can speed the cooling by setting the container into a large bowl of ice water.
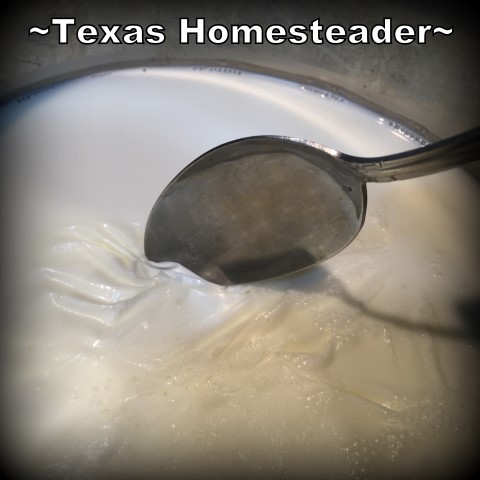
During the cooling down period a skin has probably formed over your milk. It’s easy to remove it by sliding a spoon along the skin to gather it up.
Now that the milk is a safe temperature it’s time to add the starter by stirring in 1/4 cup of active-culture yogurt starter until it’s fully incorporated.
How To Incubate Homemade Yogurt
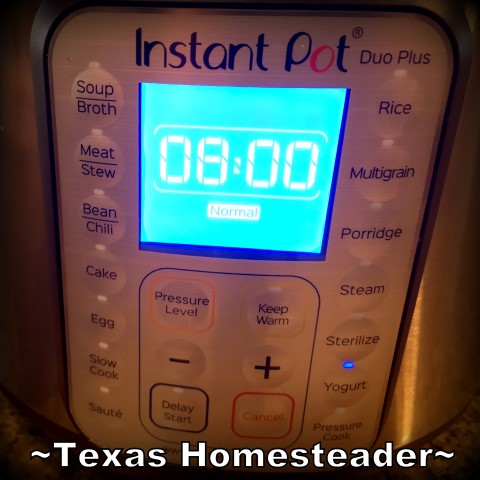
Now it’s time to incubate the yogurt. Press the ‘Yogurt‘ button again until it shows 08:00, which means it will incubate at a warm temperature for 8 hours.
Most folks like 8 hours incubation for their yogurt. But those who like it more tangy might opt for 10 hours, which you can do by pressing the ‘+’ button until it shows 10:00.
Now your hands-on part is over until your yogurt is finished. Those cultures will get right to work for you.
Presto/CHANGEO your warm milk turns into homemade yogurt. Filled with probiotic goodness.
SHORTCUT: Make Yogurt While You Sleep
I often time my homemade yogurt procedure to look like this:
- Pour milk in IP at 8:30 pm, press yogurt-BOIL button. Snuggle on the couch with RancherMan & watch TV.
- 25 minutes later during commercials, check that milk reached desired temp and place pot on counter to cool. Snuggle on the couch with RancherMan & watch TV.
- 1 hr later check to see that milk has cooled, add starter & place pot in IP, press Yogurt-0800 button and go to bed.
The next morning I place the finished yogurt into reusable canning jars. Then into the fridge they go. Yogurt making has never been this easy!
What Is The Texture Of Homemade Yogurt?
Homemade yogurt isn’t quite as hard & rubbery as you may be accustomed to with commercial yogurts. The commercial guys add thickeners & additives to their yogurt.
But Homemade yogurt is more silky. It comes out of the Instant Pot thin enough to pour into jars. But it thickens as it cools.
To Thicken Finished Homemade Yogurt
If you like your yogurt even thicker you can stir in about 1/3 cup of powdered milk.
I find this continues to thicken as it’s stored in the refrigerator. Plus it adds a little protein to your yogurt.
How To Make Single-Serve Homemade Yogurt
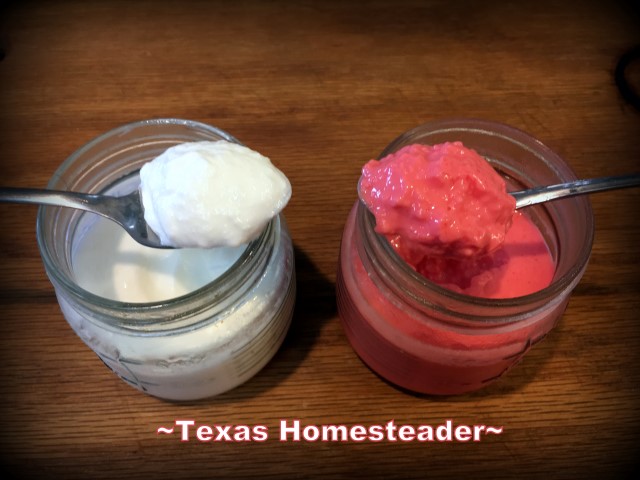
You can jar the yogurt in quart jars for their fridge. But to make them single-serve you can spoon it into ½-pint glass jelly canning jars and store them in the fridge.
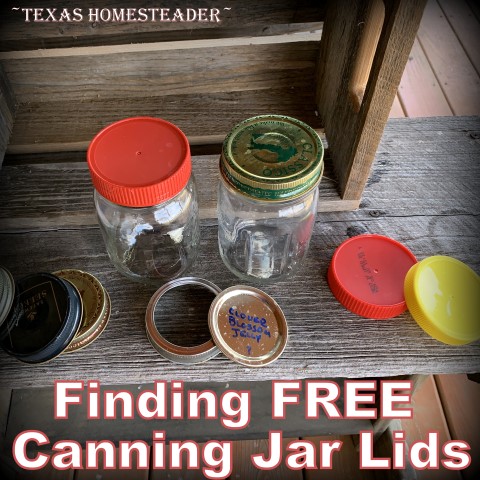
I have an ample supply of screw-top lids for my jars since I’ve learned where to Find FREE Canning Jar Storage Lids.
Those glass jars & reusable lids can be washed & reused for years. No trash!
Recipes That Use Homemade Yogurt
I make my homemade yogurt unsweetened so I can use it as an ingredient:
In my Buttermilk Biscuits that RancherMan loves.
A low-fat Sour Cream Substitute – just add some lemon juice.
My Favorite Healthy 1-Minute Creamy Salad Dressing.
Healthy Chocolate Fudgesicles
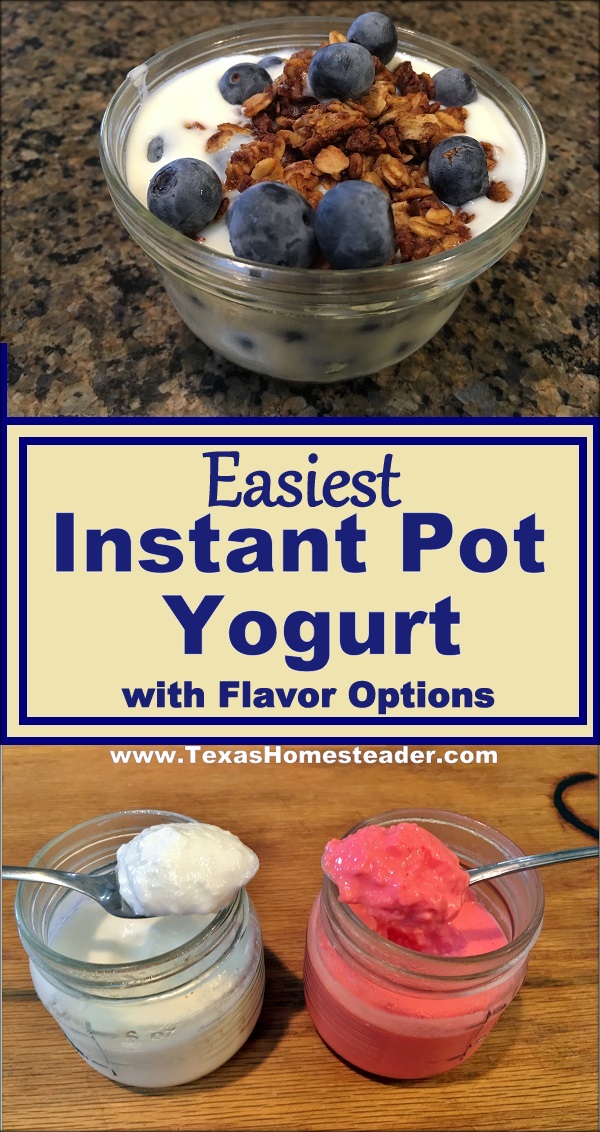
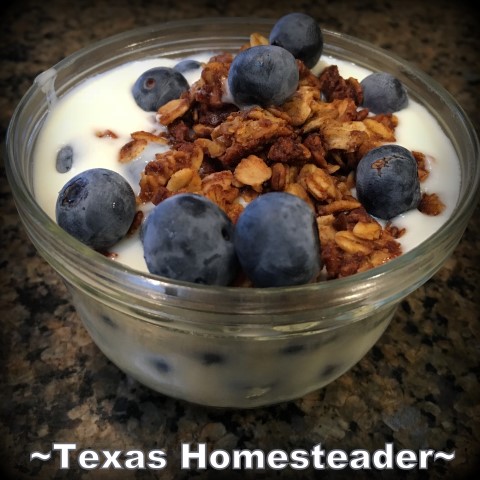
But if I want yogurt for breakfast I’ll sweeten it with some Harvested Honey from our apiary and maybe a handful of granola & fresh blueberries.
RancherMan prefers it much sweeter than I do. He’ll typically stir in some homemade Pear Preserves or maybe Wild-Plum Jelly.
He always tops his yogurt with a handful of Pumpkin Granola.
Adding Jell-O To Homemade Yogurt
A Homesteader Facebook follower said she jars up about half of the unsweetened yogurt for her, then stirs a box of sugar-free Jell-O into the remainder for the grandkids.
RancherMan loves it this way! But, you know, then again – RancherMan’s a big kid himself.
So go ahead, take the leap & make easy homemade yogurt & be proud of yourself. You’ve just taken a step to eco-friendly (and BUDGET friendly) self sufficiency.
Way to go!
Did you make this yogurt? Please rate the recipe in your comment below!

Instant Pot Yogurt Recipe - 1/2-Gallon
Creamy homemade yogurt made easy in a pressure cooker. Commercial yogurt often has added gelatin & thickeners (often along with some chemical nasties I'm afraid.) The taste of the homemade yogurt can't be beat, is significantly cheaper and healthier for you. And no more plastic yogurt containers go to the landfill! #TexasHomesteader
Ingredients
Ingredients
- 1/2 gallon 2% or whole milk
- 1 8-oz container unflavored yogurt with active cultures (such as Braum's or Dannon brands)
(If making sweetened yogurt you also need)
- 1 cup sugar or your choice of sweetener
- 1 Tablespoon vanilla
Instructions
Instructions
-
Place 1/2 gallon of milk in Instant Pot and add lid. The venting lever can be open or closed, it doesn't matter.
-
Press 'Yogurt" button until the display shows "BOIL" The IP will bring milk to proper temperature (This step takes about 25 minutes.)
-
IP will beep when the milk has reached approximately 180 degrees. Test with instant-read thermometer. (If making sweet yogurt, add sugar now and stir well to dissolve.)
-
When 180 degrees has been reached, remove pot & place on counter to allow milk to cool to approximately 100 - 105 degrees Fahrenheit. This step takes about an hour.
To speed cooling, fill sink or large bowl with ice water. Then place the pot with milk in the cold water.
-
When milk is at a safe 100 - 105 degrees, add yogurt starter and stir well to incorporate. (if making sweet yogurt, add vanilla now).
-
Place IP pot back into pressure cooker and replace lid. Press 'YOGURT' button until the display shows "08:00". This will keep yogurt at incubation temperature for 8 hours.
-
After 8 hours your IP will beep, signaling the incubation time is through. Pour slightly-thickened yogurt into jars and store in the refrigerator.
Recipe Notes
Yogurt will firm a little more upon cooling, although it's a more silky yogurt than the ones in the store since they add gelatin & thickeners to the commercial stuff
~TxH~
Links In This Post:
- Homemade Yogurt – Stove-Top Method
- *Instant Pot Brand Pressure Cookers
- *8-Quart Instant Pot
- *6-Quart Instant Pot Duo
- Savory Instant Pot Roast
- *Instant Read Thermometer
- Find FREE Canning Jar Storage Lids
- Country Style Buttermilk Biscuit Recipe
- Harvested Honey In Jars
- Pear Preserves Recipe
- Wild-Plum Jelly Recipe – No Added Pectin
Our Favorite Breakfast Posts
Egg-Based Breakfasts
- Biscuit Sandwich Breakfast
- Breakfast Quesadillas
- Farmer’s Breakfast-Bake Casserole
- All-In-One Ham/Egg/Cheese Breakfast Muffin
Breakfast Breads
- Homemade Country-Style Buttermilk Biscuits
- Leftover Biscuit Dough To Cinnamon Rolls
- Blueberry Muffin Recipe
- Sugar-Free Oatmeal & Berry Muffins
- Fluffy Homemade Pancakes
- Blueberry Cream Cheese Stuffed French Toast
Other
- MYO Chai Tea Mix
- Homemade Hash Browns
- Homemade Maple-Flavored Pancake Syrup
- Honey-Sweetened Pumpkin Granola
- MYO Instant Microwavable Oatmeal
- Favorite Homemade Jelly Recipes
- Simple Cottage Cheese Recipe
- Homemade Yogurt: Stovetop Method
- Homemade Yogurt: Instant Pot Method
- Easy Homemade Breakfast Sausage Seasoning
- Cooking Breakfast Should Include HAZARDOUS DUTY PAY!
See All Our Recipes
Our Delicious Jelly & Preserves Recipes:
- Clover Blossom Jelly
- Our Favorite Jelly Recipes
- Honeysuckle Jelly – Childhood Memories In A Jar
- Wild Plum Jelly – No Added Pectin!
- RancherMan’s Favorite – Pear Preserves
- Blueberry/Lemon Jam – No Added Pectin
- Concord Grape Jelly – No Added Pectin
- Why Didn’t My Jelly Set? Tips To Save Unset Jelly
All Jelly, Jam & Preserves Recipes
C’mon by & sit a spell! Come hang out at our Facebook Page. It’s like sitting in a front porch rocker with a glass of cold iced tea. Lots of good folks sharing! You can also follow along on Pinterest, on Twitter or on Instagram.
If you’d like to receive an email each time a new blog post goes live it’s EASY to subscribe to our blog!




How much jello would I use for 8oz of this yogurt?
I am an ‘eyeball the recipe’ kinda girl. Haha! I use a half gallon of milk for each batch of yogurt. Then I pull out a small 1/2 pint jar for next batch starter and a little more just for me to use with recipes. I flavor the rest with a regular-sized 0.3-ounce box of sugar-free jello. It does add a little thickening but I don’t find it adds a lot. What it does add is a delicious taste with no sugar. Sometimes instead I add a portion of those little sugar-free flavor pouches people use to flavor bottled water. I find it’s a little cheaper and results in less trash to toss. ~TxH~
The instant pot really does make this yogurt a cinch. I’d never considered using sugar-free jello for flavoring, but I tried the strawberry-flavored sugar free jello and it was wonderful. So many flavor options that way with no extra fat or calories. Love this recipe!
I was wondering why in your stove top method you used the dry milk as well but don’t with your
instant pot?
You can use the exact same recipe in both stove top as well as instant pot Jackie. I guess over the years I’ve just kinda quit adding dry milk. It does still benefit the yogurt by making it a little thicker and adding some protein too. But I ran out of dry milk once so I just made the yogurt without it and it turned out fine. So simplicity and frugality won and I often just leave it out these days. But you bring to mind a good point, I should probably at least add it into the IP yogurt recipe and note that it’s optional. Thanks for pointing this out. ~TxH~
That sounds so easy, I have to try this.
It’s surprisingly easy Joe. Give it a try. ~TxH~