by Texas Homesteader ~
Does your recipe call for self-rising flour, but you only have all-purpose flour in your kitchen? No worries, you can make your own self-rising flour in 1 minute by adding only two tiny ingredients to all-purpose flour.
Check out this helpful Homestead Hack.
What Recipes Use Self-Rising Flour?
Almost all of my typical Homestead recipes call for using all-purpose flour. But there are a few recipes that call for self-rising flour instead.
Baker’s Note: Don’t substitute all-purpose flour if the recipe calls for self-rising flour. Your recipe will not turn out right!
There are only a few of my favorite Homestead recipes that require self-rising flour, such as:
Mix-n-Bake Cheddar Sour Cream Biscuits
Homemade Blackberry Cobbler
Cast Iron Skillet Peach Cobbler
Almost everything I typically make uses all-purpose flour with a few exceptions. So I don’t typically buy and keep self-rising flour in my pantry.
How Can You Tell If Self-Rising Flour Is Bad?
Oh I’ve purchased self-rising flour before, don’t get me wrong. But after I used it for that one or two recipes it took me a long to use the rest of the bag. So long, in fact, that by the time it was needed my recipe was a big FLOP.
Apparently the ingredients that give the flour its self-rising qualities can get old enough to lose their punch.
As a result my recipe didn’t turn out right. But of course that occurred on the evening when I’d invited my parents to join us for supper. How embarrassing!
Baker’s Note: If your self-rising flour has been in storage for long, don’t take the chance (like I did) that it will be fresh enough for the ingredients to actually be active.
Learn from my bad experience & save yourself the embarrassment. Trust me on this.
When You Need Self-Rising Flour Instead
Sometimes I find I need self-rising flour when I didn’t expect it. A few days ago I’d decided to try a new recipe. I’d scanned the ingredients and knew I had everything in my pantry the recipe required.
But I overlooked the fact that it called for self-rising flour instead of all purpose flour. I seldom have self-rising flour available in my pantry.
No worries. I’ll just make my own fresh self-rising flour instead. It’s easy and I only need all purpose flour & two tiny ingredients – baking powder and salt.
My recipe called for a cup of self-rising flour so that’s the quantity I’m showing in the recipe below.
If you find yourself needing more than a single cup just increase the recipe below by the number of cups of self-rising flour you need in your own recipe.
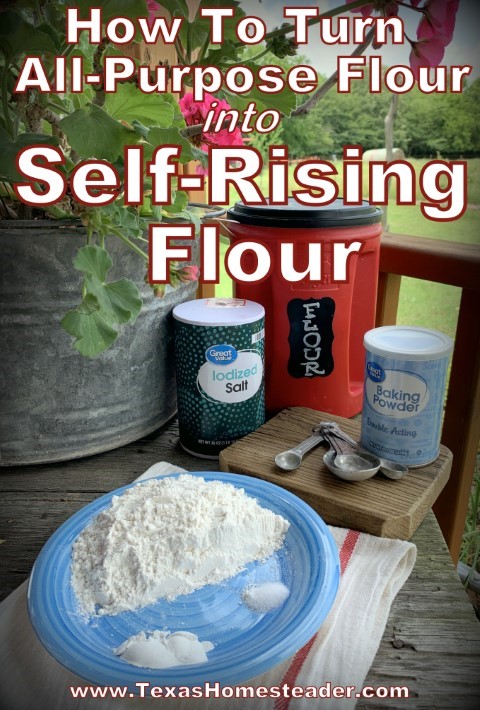
How To Make Self-Rising Flour From All-Purpose Flour
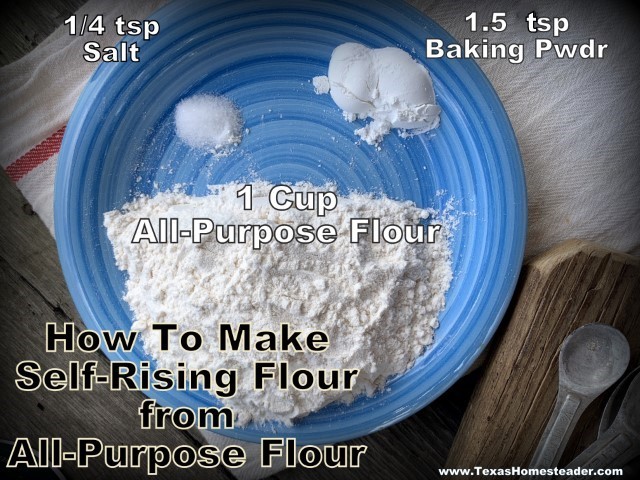
It’s easy to make a cup of self-rising flour from all-purpose flour:
-
-
-
1 cup all-purpose flour
-
1½ teaspoons baking powder
-
¼ teaspoon of salt
-
-
BOOM!
Done.
See what I mean? Heck it almost takes more time to fetch the baking powder and salt from the kitchen cabinet than it does to make a cup of self-rising flour from all purpose flour. Because literally seconds later I have self-rising flour instead!
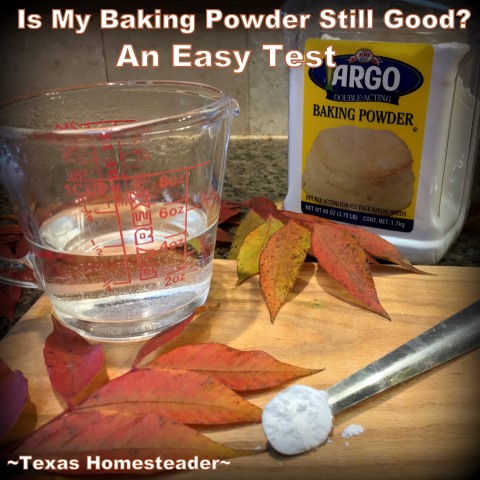
Baker’s Note: Be sure to Test Your Baking Powder to make sure it’s still good too!
So next time you find yourself needing self rising flour, don’t despair. Whip it up in seconds.
The recipe for each cup of flour needed follows. But be sure to also check the handy list below for a few of my favorite Homestead kitchen hacks.
There you’ll find how to tell if your baking powder is good, and how to expand your muffin pan when you still have leftover muffin batter to bake, among many other helpful tips. I’m sure you’ll find a tip to save YOU time in the kitchen too!
Did you try this hack? Please rate the recipe in your comment below!
MYO Self-Rising Flour - 1 Cup
Don't have self-rising flour for your recipe? No worries, you can make it yourself in minutes using only 3 ingredients: All-purpose flour, baking powder and salt. Multiply this recipe by the number of cups required in your recipe. What a handy hack to use in your kitchen. #TexasHomesteader
Ingredients
- 1 cup All Purpose Flour
- 1½ teaspoons Baking powder
- 1/4 teaspoon Salt
Instructions
-
Mix all ingredients in a small dish to make 1 cup self-rising flour.
~TxH~
Other Kitchen Hacks
Low Waste Kitchen Tips
Food Tips
- Keep That Broccoli Fresh
- Don’t Waste Onion Trimmings
- How To Get Free Vegetable Broth
- Easier Deviled Eggs – No Mess!
- MYO Crispy Taco Shells CHEAP
- Instant Pot Boiled Eggs WITHOUT The Shells
- Saute & Freeze Onions For Kitchen Convenience
- Roasting Peppers Quickly On Gas Stove Top
- Heat-Free Way to Peel Tomatoes
- How To Tell If Your Baking Powder Is Still Good
Kitchen Efficiency Tips
- Make Your Slow Cooker More Efficient
- No Cooking Fat Down The Drain
- Quick Baking Measurement Reminder System
- Easy Reminder For Kitchen Stove
- Expand Your Muffin Tin Capacity With Canning-Jar Rings
- Less Mess When Measuring Honey
- Easily Opening Those Stubborn Jars
Cleaning/Organizing Tips
…and many MORE!
See All Homestead Hacks
C’mon by & sit a spell! Come hang out at our Facebook Page. It’s like sitting in a front porch rocker with a glass of cold iced tea. There are lots of good folks sharing!
And you can also follow along on Pinterest, Twitter, Instagram
If you’d like to receive an email when a new blog post goes live,
subscribe to our Blog!




How convenient to be able to quickly make a self-rising flour one cup at a time and so quickly too. I’ll never buy special self-rising flour again!
Thank you for this –especially for the part on how your recipes failed because your pantry stock lost its umph! I also want to note that I see a picture of iodized salt …. please look into the fact that this cheap salt is only good for scrubbing porcelain sinks. look into REDMONDS REAL SALT instead.