by Texas Homesteader ~
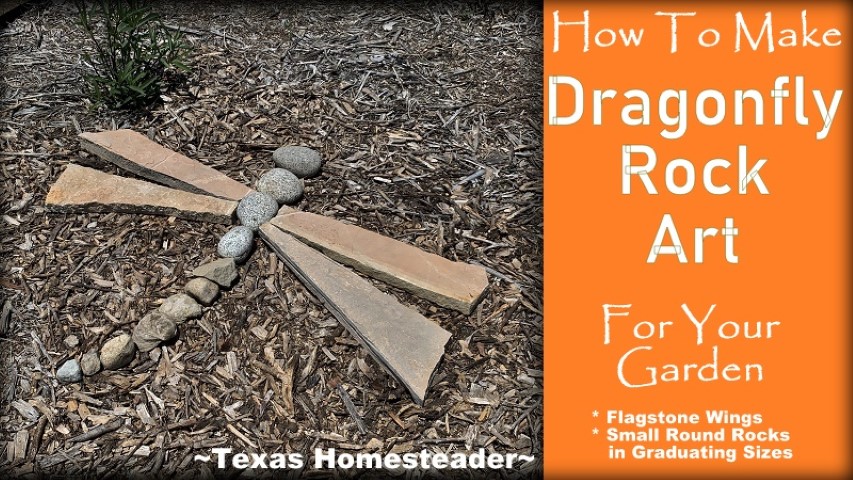
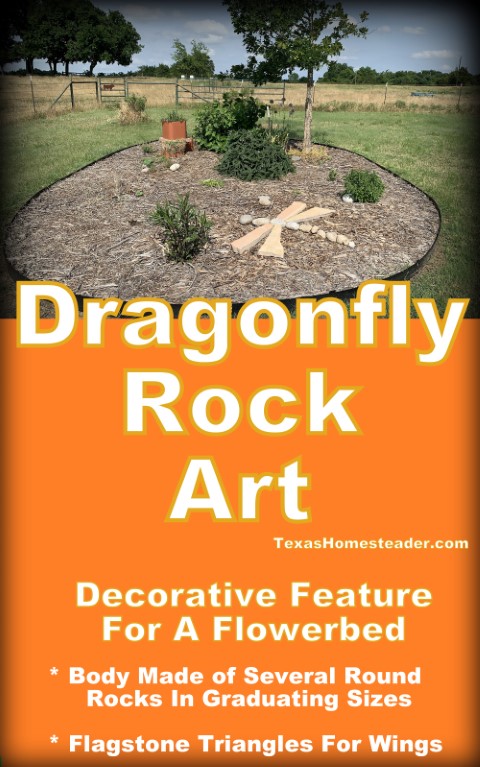
I made a large dragonfly rock art accent feature for my pollinator garden using round stones for the body and a piece of flagstone cut for the wings.
(Note: Some links in this post will take you to other related articles for further information. But links preceded with * are affiliate links. If you click and buy something I could receive a tiny commission.)
Decorating A Landscaped Garden Using Rock
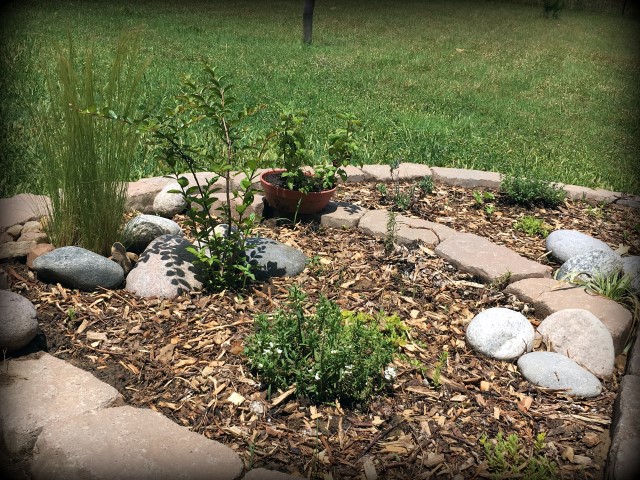
In my pollinator garden bed I’ve planted various flowers, flowering herbs and as many pollinator friendly plants with colorful visual interest as I could fit in. I especially love the beauty berry bush I planted in there!
For a garden accent I wanted to create a large dragonfly figure made of rocks. This rock art really adds some pop and visual interest to my landscape and it cost me nearly nothing!
Not only would a rock dragonfly be an interesting visual interest piece to go in my pollinator garden but it would also honor my mother, a Master Naturalist. (The dragonfly is the logo of the Texas chapter of Master Naturalists.)
I decided I wanted my dragonfly figure to be a larger piece of art, about 3-ft long.
Supplies Needed For Dragonfly Rock Art Project
So I began gathering the rocks I’d need to make this dragonfly rock art:
-
-
-
A large piece of Flagstone to cut for the 4 wings.
-
Round stones graduating in size from larger to smaller for the dragonfly body.
-
-
Finding Dragonfly Art Rocks
Several years ago when we Landscaped Our Outdoor Living Area I purchased a few palm-sized river rocks to scatter throughout the bed.
I’ll use some of those for the larger rocks needed for my dragonfly body.
Then I’ll use rocks from right here on the Homestead to make the rest of the dragonfly’s body.
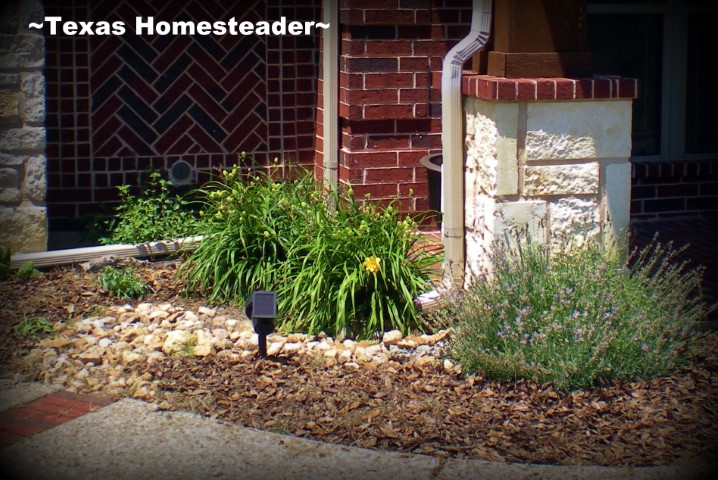
RancherMan & I often collect the golf ball to baseball sized rocks we come upon while we’re strolling the pastures. I used them to form a dry creek bed decorative feature at a couple of the rain gutters next to our home.
I love the natural way it looks and it helps distribute the water coming out of the gutter. So I’ll repurpose a few of those gathered rocks for my dragonfly design as well.
Flagstone Rock To Make Dragonfly Wings
Making the dragonfly body out of graduating-sized rocks will be easy with rocks I already have on hand. But what about the wings?
I wanted to use large, flat stones for the wings. So I first called around some landscaping companies that dealt with building beds and paths using rock. But none could help me. It would be up to RancherMan & me to find the solution.
We stumbled upon an open pallet of flagstone rock at a Lowe’s Home Improvement Store. From that partial pallet of flagstone you could buy any single piece you wanted for $6.99. PERFECT!
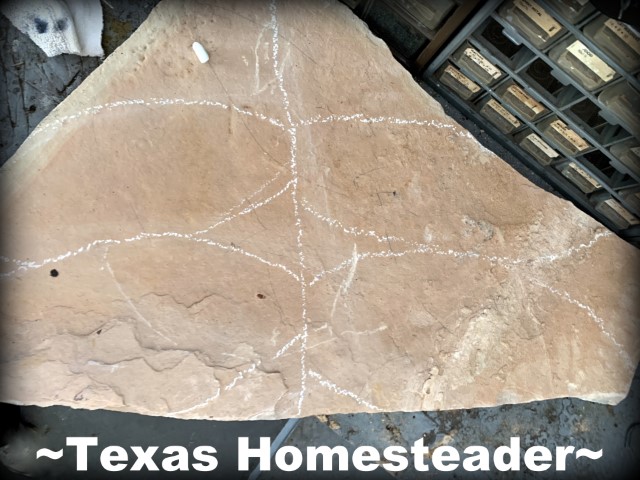
We picked out the largest piece and brought it home. I used chalk to outline the sizes and shapes I’d hoped the flagstone would be cut into.
Wrong Way To Cut Flagstone
But RancherMan & I had never cut rock before. In reading procedures online we saw you’d need to score the rock first and then gently & repeatedly tap on the scored line to gradually fracture and split the stone.
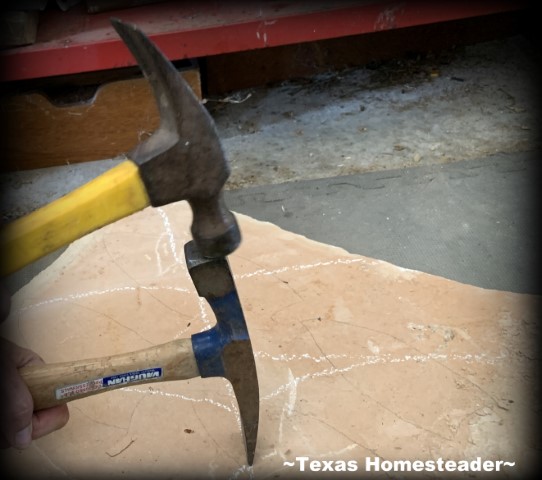
So we used a rock hammer with a chisel edge and a regular hammer to score the stone. RancherMan tapped lightly along the line he was hoping to cut to score the rock first. Then went back over that scored line tapping along the line again & again to deepen the score line.
But instead of fracturing the rock along our intended line, it made its own fracture. And instead of breaking where we wanted, it broke in one long honkin’ piece. Ugh… Now what??!!
Back to the drawing board!
Since no more flagstone rock was available at the home improvement store, we’d need to amend our plans for the size and shape of the wings to use the rock we had.
I once again used chalk to draw wings from the two pieces we now had available to us, now they’d be triangular.
Supplies Needed To Cut Flagstone Rock Successfully
The easiest & successful way to cut the flagstone rock would require these supplies: (you can click on links for further information)
-
-
-
A small hand-held *Angle Grinder
-
A *Masonry Grinding Wheel (the kind that looks like sandpaper-grit texture)
-
Metal wedges such as these *Set UP Wedges
-
A standard claw hammer
-
-
Safety Precautions When Cutting Stone
I knew cutting that stone would throw up lots of tiny pieces of rock & dust. I didn’t want RancherMan to be injured and I surely didn’t want him breathing that rock dust!
So we first opened the two doors of his shop to get proper cross ventilation. Then he donned his rock-cutting safety gear: (you can click on links for further information)
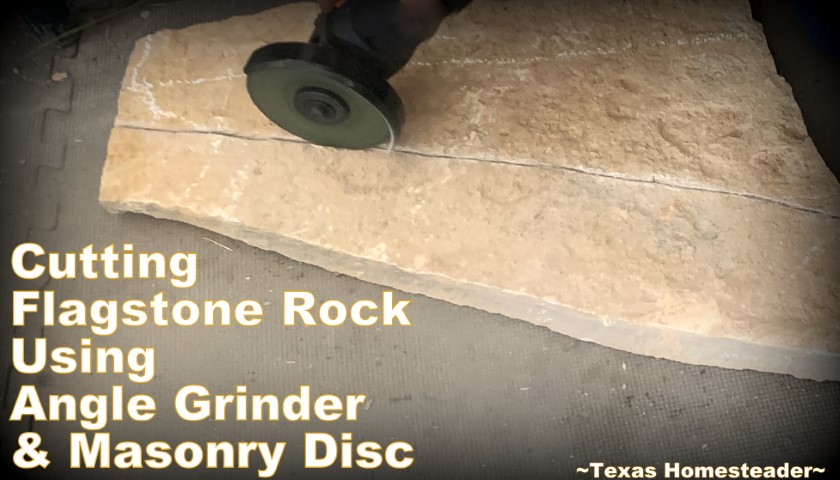
Using the angle grinder and masonry grinding disk, RancherMan first scored along the new triangular lines I’d drawn in chalk. He then went back over those scored lines and cut the rock as deeply as the masonry disc would allow.
Finally I used those two metal wedges evenly spaced across the score line to help me fracture the rock. With a claw hammer I’d tap on first one then the other metal wedge. The rock fractured exactly as we’d hoped.
RancherMan repeated the scoring step with the angle grinder for the other wings and finally they were all four cut.
Assembling Dragonfly Garden Rock Art
I placed the rock wings on each side of my dragonfly rock feature and stood back to take a look. I love how it turned out, and I love the large bold garden accent size of it.
And I really love how it honors my mom’s work and passion as a Master Naturalist.
~TxH~
Our Favorite Crafts & Projects
- Make Your Own Clothespin Apron
- A Denim Dish Carrier Using Worn Jeans
- Cute Cloth Gingham Napkins For $1
Outdoors & Garden
- How To Build A Birdhouse Using A Fence Plank
- Make A Dragonfly Rock Garden Accent
- Painting Rocks To Look Like Strawberries
- Fun, Customized Cornhole Game
- MYO Backyard Tossing-Game Bags
- How To Paint A Texas Flag Gate
Home Décor
- Arrowhead Cross Collage In Shadow Box Frame
- Rustic Reclaimed Barn Wood Headboard
- Old Barnwood Wall Photo Feature
- Homemade Barnwood Mirror
- Cute Flannel Pillows Using Flannel Shirts
- Make An All-Natural Air Freshener
Misc
…and many MORE!
See All Crafts
C’mon by & sit a spell! Come hang out at our Facebook Page. It’s like sitting in a front porch rocker with a glass of cold iced tea. Lots of good folks sharing!
You can also follow along on Pinterest, on Twitter or on Instagram.




I am really impressed on how the bed is coming along and now adding this dragonfly piece makes it perfect. Someday maybe I will have a spot to create one.
Thank you for your kind words. I’ve enjoyed playing with different plants in this garden bed. The pollinators love it, and it’s beautiful to the eye too. Win/Win! ~TxH~