by Texas Homesteader ~
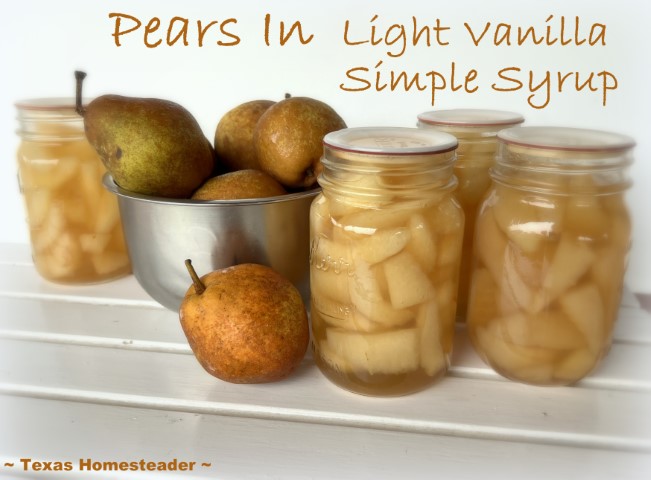
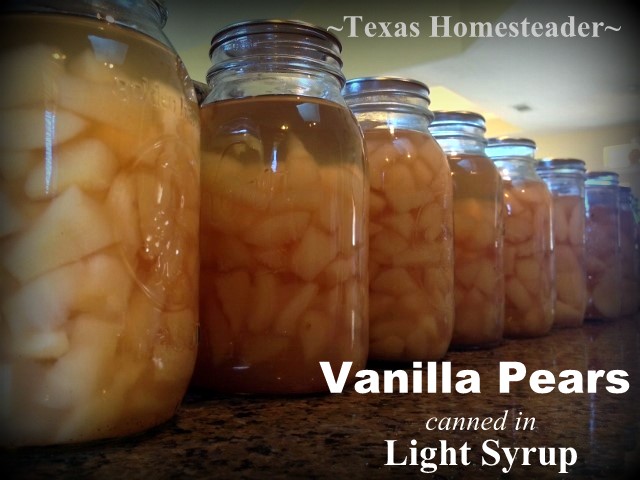
I enjoy chilled home-canned vanilla flavored pears as a simple dessert. They’re delicious eaten cold right out of the fridge. And they’re so easy to make!
Note: Some links in this post will take you to related articles for further information. But links preceded with * are affiliate links. If you click and buy something I could receive a tiny commission. But the price you pay will NOT change. It’s an easy way to support this blog without anything coming out of your pocket. So click often! Thank you!
I’m sharing step-by-step instructions for making (and optional canning) fresh, juicy, delicious pears in a light vanilla-flavored syrup.
Preparing Vanilla Pears
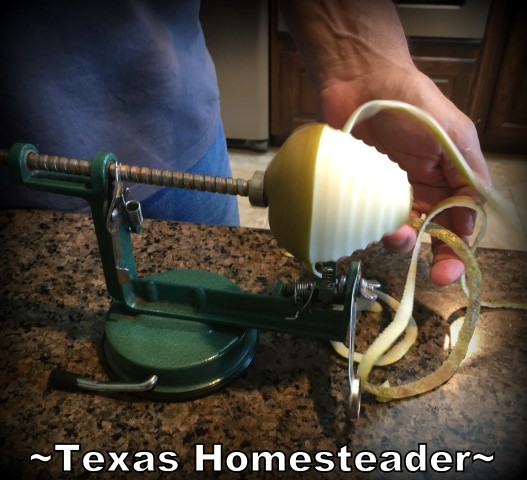
Peeling lots of pears with a knife is a daunting task indeed. Thankfully using this *apple peeler I can peel a pear in 5-7 seconds!
As my pears are peeled I cut them in half, scoop out the hard seed section in the middle & drop the pear halves into a solution of *Fruit Fresh and water.
How To Keep Fruit From Turning Dark Without Fruit Fresh?
Fruit Fresh helps keep cut fruit from turning dark when exposed to air. But I don’t always have it in my kitchen.
If my simple syrup is already made I just remove the pan from the heat & drop the peeled pears into the syrup and give it a stir. This method doesn’t keep the pears quite as light colored as the Fruit Fresh solution does, but it does help keep them from turning dark.
Making Vanilla-Flavored Simple Syrup
Simple syrup is just a mixture of sugar and water. By changing the ratio of sugar to water you can make either light, medium or heavy syrup.
Simple syrup can be made with varying sweetness:
Light Syrup – Ratio of 1 part sugar to 3 parts water.
Medium Syrup – 1 part sugar to 2 parts water
Heavy Syrup – 1 part sugar to 1 part water
I prefer light syrup most of the time as the pears are usually sweet all by themselves. So for a canner load of 7-quarts of pears (35 cups) I stir together 2 cups sugar to 6 cups of water and bring the mixture to a boil for 3-4 minutes to fully dissolve the sugar. You can adjust for smaller quantities, you just need enough simple syrup to cover the pears.
Add prepared pears to the simple syrup and let them simmer for 5-10 minutes, depending upon how soft your pears are.
Finally remove the pan of pears & syrup from the heat and stir vanilla extract. You can enjoy the sweet pears warm or chilled.
Hot Pack Vanilla Pears To Water Bath Can
I almost always can my pears and my canner holds 7 quart jars. That means I’ll need about about 35 cups of pears. So I follow the same procedure above until I have 35 cups of prepared fruit.
Simmering the syrup & pears thoroughly before packing into jars is called ‘Hot Pack‘. It helps keep the fruit from floating as much after it’s canned. So I make sure to do that when I’m canning pears as well.
Gathering Supplies For Home Canning
First prepare the canning jars by washing them thoroughly.
Keep them hot by either placing the clean jars in an oven set to 225ºF or fill the jars with water & place them in the canner water as it heats to boiling.
Then assemble your canning tools:
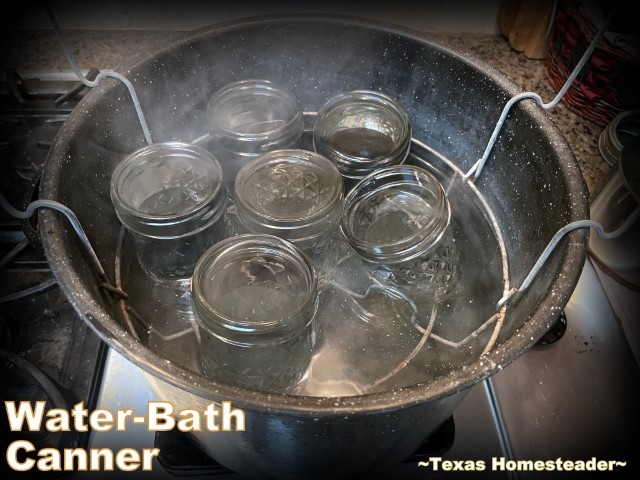
A *Water-Bath Canner – a large pot with a trivet.
*Jar Lifter – to carefully lift and place hot jars aside.
*Stainless-Steel Canning Funnel – for ease of transferring hot pears into jars.
*Canning Flats & Rings – either disposable or reusable.
Go ahead & fill the canner with water & set it on the stove to begin heating.
Preparing Canning Lid Flats For Canning
There’s some debate as to whether or not you still need to soften the seals on disposable canning lid flats these days. But I typically still do.
Bring a small amount of water to a boil. Then remove pan from the heat and drop in the flat lids making sure they’re submerged in the water. Allow them to stay in the hot water as you make your other preparations.
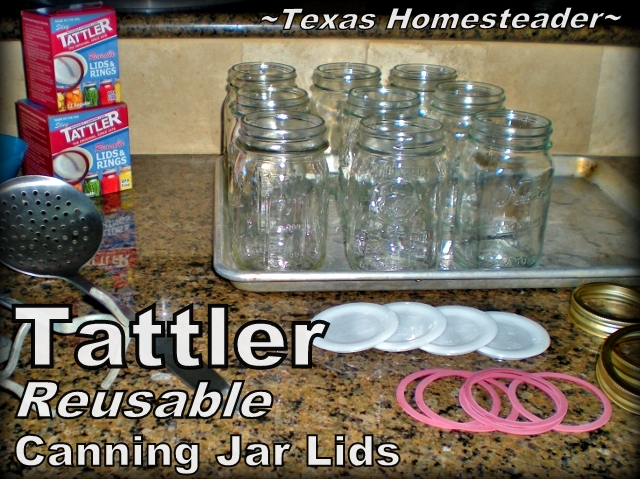
Reusable Canning Lids
I use disposable lids when canning food for gifts, but for my own pantry I always use reusable *Tattler Lids. I love how they’re almost infinitely reusable.
A savings of money AND the environment!
Do Reusable Canning Lid Seals Fail More Often?
In my experience, reusable canning lids do not fail more often. For me the seal failure rate for my reusable lids is low, about the same as with disposable lids.
I feel those who experience a higher seal failure rate might be trying to use the exact same procedure for a reusable lid as they do a disposable metal one.
But there is a slightly different procedure to using reusable lids successfully. Don’t worry, it’s easy!
You Can Read About Canning With Reusable Tattler Lids Here
Filling Canning Jars With Vanilla Pears
Ladle the hot pears into clean and hot canning jars. Then top them off with syrup, leaving 1/2″ headspace in the jar.
Run a plastic spatula handle inside the jar around the pears to allow any trapped air bubbles to be released. Be sure to wipe the rims of the jars to assure there’s no residue or syrup there which will keep the sealing process from being successful.
Then top each jar with the canning lid, added a canning ring and tightened it down finger-tight.
Finally put each jar in a simmering water bath canner making sure you have at least 1 inch of simmering water covering the jars.
Canning The Vanilla Pears
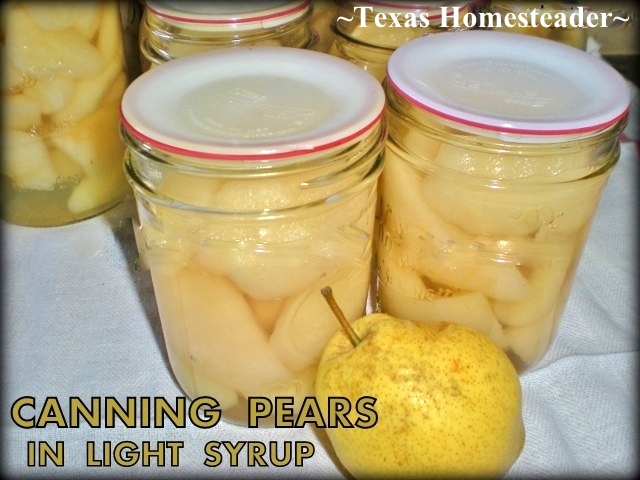
Here in NE Texas I process pints for 20 minutes & quarts for 25 minutes. (your time could vary based on altitude and even your canning equipment. Be sure to follow the instructions for your area)
When the canning time is up, turn off the heat and allow the jars to sit in the hot water for an additional 10 minutes. This helps equalize the pressure to help prevent syphoning. (hot contents trying to push out beneath the lids of the jars.)
Then after that rest time is done, carefully remove the hot jars from the canner onto a clean kitchen towel away from drafts.
Leave your jars undisturbed for several hours or overnight to cool & seal.
How To Tell If Canning Jars Are Properly Sealed?
You’ll hear a ‘PLINK’ as each metal lid seals tightly to the jar, usually very shortly after removing them from the canner.
The next morning when you remove the canning ring you can further test the seal by pressing the center of each flat lid. You should hear nothing.
If you hear a metallic plink each time you press a lid, that jar did not seal. Place any unsealed jars in the refrigerator and consume the contents within a couple of days.
Wash each sealed jar with a warm soapy cloth to remove any traces of syrup. To label the contents use a permanent marker to write the contents and date on the lid.
I’ll share my recipe and canning procedure below. Enjoy!
Fresh Pear Halves In Vanilla Syrup
One of my favorite ways to enjoy fresh pears is simmered in a light vanilla syrup. You can water-bath can it for 20-25 minutes and store those jars of goodness in the pantry too. #TexasHomesteader
Ingredients
- 35 cups Fresh pears Peeled, cored & halved
Light Syrup
- 6 cups Water
- 2 cups Sugar (3 cups sugar for a heavier syrup)
- 1½ teaspoons Vanilla Extract
Instructions
Instructions
-
Make light syrup (3 parts water to 1 part sugar) Boil 6 cups of water, then add 2 cups sugar and stir to dissolve. Boil for 3-4 minutes to completely dissolve sugar. Remove from heat & set aside.
-
Peel, core & halve fresh pears. If desired, drop prepared pears into fruit fresh solution to keep them from turning brown. (I typically just drop them in my simple syrup pot & give a stir)
-
When all pears and prepared, drain from fruit fresh solution (if using) and add pears to simple syrup. Boil about 5 minutes for hot-pack procedure.
Remove from heat & stir in 1½ teaspoons of vanilla extract.
Water-Bath Canning
-
Prepare 7 quart jars by washing and rinsing thoroughly. Heat jars either by placing in an oven set to 200 degrees or by adding water & placing jars in canner as it's heating. (This helps prevent the thermal shock of placing hot food in a cool jar)
-
Fill water-bath canner with water and place on the stove over medium-high heat. Boiling this much water takes quite a bit of time so start this step early.
-
Boil water in a small pan, remove from heat and drop in flat canning jar lids to soften the seals.
-
When pears are ready to can, place funnel atop hot canning jar and fill with hot pears. Top with syrup to within about 1/2" of the rim.
Run a small rubber spatula down alongside the edges of the jar to release any trapped bubbles. Top with more syrup if needed.
Wipe rim of jar with clean wet cloth to assure no syrup or food particles remain. Add canning jar flat lid and use canning jar ring to tighten finger tight. Add each lidded jar of pears carefully to the boiling water in the canner.
-
When all jars are added to the canner, assure the boiling water covers the top of the jars by at least 1". Then place the lid on top of your canner and bring the water to a boil.
-
Boil water 1" over jars for 25 minutes for quarts, 20 minutes for pints.
When canning time is up, turn off heat and allow jars to remain in the canner for 10 additional minutes. This helps equalize the pressure inside the jars reducing the chance that pears & syrup don't pressure themselves from beneath the lid when removing from the canner.
-
After 10 minutes rest time is up, carefully remove the jars of your canned pears and place on a towel on a countertop away from drafts. Allow to cool overnight.
-
The following morning test the seals by pressing gently on the center of each flat lid. If you hear a plinky noise when pressed, place that jar in the refrigerator and consume within a couple of days.
If no noise is heard when pressing the center of the flat lid, your jar of fruit has been successfully sealed. Remove the jar band, wipe down the jar to remove any syrup residue, label the contents and store in your pantry.
Recipe Notes
REUSABLE CANNING LID NOTE: Using Tattler reusable canning jar lids is slightly different than using traditional metal 1-time use canning jar lids. Per the Tattler site:
TATTLER REUSABLE CANNING LID USAGE
Tattler Lids do require a bit of variation from conventional metal lids. Being a two piece combination with a rubber gasket ring, Tattler Lids must remain a bit loose during processing in order for the jar to vent the pressure that has built in the jar during processing. An online customer gave us a very good tip on how tight is 'Just Right'. To get the feel for the correct tightness prior to processing, place the jar on a counter top or other smooth surface, then place your index finger on the lid (do not apply too much pressure while tightening the metal band). Screw the metal band on until the jar begins to spin on the counter top (or other smooth surface). This is the perfect tightness for processing!
THE FOLLOWING FINAL STEP IS CRUCIAL TO ENSURE A GOOD SEAL:
Once the process is completed and the jars are removed from your canner, Let the bubbling die down (approximately 4-5 minutes), as this is pressure still releasing from the jars. Place a towel over the still hot jars (for safety) and finish tightening the metal bands. Now, let your jars cool naturally and when cool to room temperature, remove the metal band and lift the jar slightly by the lid. It should be well sealed. Your food is ready for storing (store without metal screw bands).
Other Pear Delights:
- Pear Sauce (like applesauce but with pears)
- Sweet-n-Savory Pear Relish
- Pear Cake – A Surprisingly Delicious Recipe
- Fresh Pear Preserves
Other Canning Posts
Misc. Canning Posts
- Crazy Canning Lady: Successes & Failures
- Canning Jar Storage Solution
- Reusable Canning Lids, An Eco-Friendly Option
Canning Vegetables
Canning Fruit
- Canning Pears In Light Syrup
- Water-Bath Canning Homemade Apple Pie Filling
- Canning Cinnamon/Vanilla Applesauce
Canning Jams, Jellies & Preserves
- Pear Preserves In Water-Bath Canner
- Honeysuckle Jelly – Water-Bath Canned
- Wild-Plum Jelly Recipe & Canning
- Canning Blueberry Jam
- Clover Blossom Jelly & Canning Instructions
- Homemade Grape Jelly & Canning Instructions
Canning Broth, Drinks & Sauces
…And Many More
See ALL Our Food Preservation Posts
C’mon by & sit a spell! Come hang out at our Facebook Page. It’s like sitting in a front porch rocker with a glass of cold iced tea – lots of good folks sharing! You can also follow along on Pinterest, Twitter or Instagram.
If you’d like to receive an email each time a new blog post goes live it’s EASY to Subscribe to our blog!


Coming over to say hello from Living Well Spending Less Linkup. Canned pears are one of my favorite things and you have to have a tree to make them. They don’t sell pears like this in stores. I had no idea anyone else did this!
This is great and very informative, we are about to come into our fruit season in Australia, so I will definitely be taking note. Thanks for sharing at Good Morning Mondays. Blessings
I may be making me some of these here real soon. Its explained very well. Stopping by from Darling Downs Diaries.
I learn something new from you each week. Awesome. Pinned and tweeted. Lou Lou Girls
Sounds yummy! I love canned pears. I love them super cold, straight from the fridge.
My MIL loves Bartlett pears. I canned some last year in light syrup as well, and she took almost every jar! LOL! Thanks for sharing your recipe, it’s always fun to see how other people make theirs. Pinned and shared 🙂
Love canning fruit, but I must admit I have never canned pears. I love them, but I do not have a source. Thanks for sharing on Rural Wisdom and Know How. Hope to hear from you again next week.
These look so good too! Love pears. Now I really want to can. Someday. If I were one of your grandkids I’d want to come eat at your house all the time. 🙂
Great tutorial! 🙂
Yep, nothing like canned pears cold from the fridge, YUM!!
Thinking of going out to get some pears today!
Jeanie Cullip ~ Twin Falls Mommy