by Texas Homesteader ~
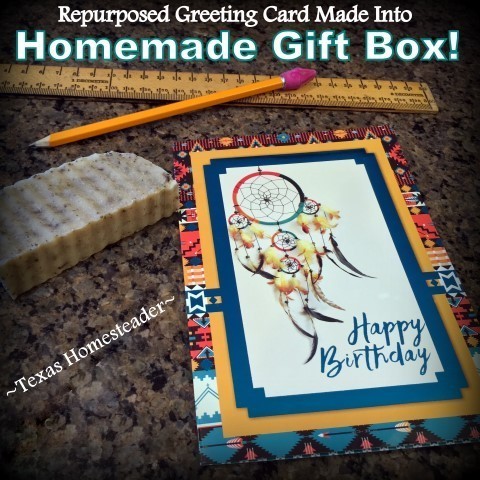
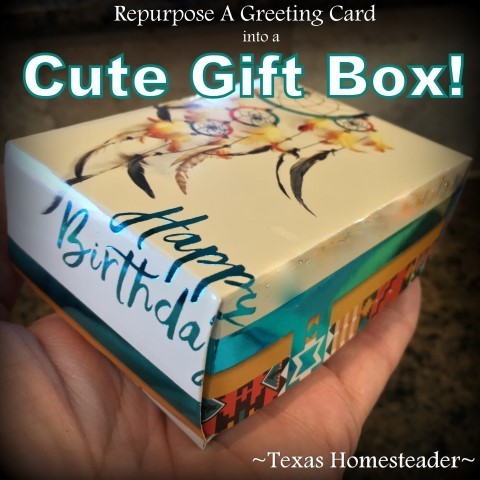
You can repurpose a pretty greeting card into a cute small gift box. It’s a beautiful, easy & zero-waste way to present your gift! Just a few cuts & folds will have your homemade gift box ready in minutes.
Y’all remember last Christmas I showed you how to repurpose Christmas Cards into cute little Christmas gift boxes? Well I thought I’d point out that you can use any greeting card to make these gift boxes.
Making A Homemade Gift Box Using A Birthday Card
A friend of mine was celebrating a birthday recently. I decided to gift her some homemade Lavender/Rosemary soap. But how to package it in a cute, personalized yet eco-friendly way?
It was a quick and easy fix. I pulled out the beautiful birthday card she gave ME last year and decided to turn it into a cute little gift box with a lid for her.
Won’t that be the sweetest idea? Plus it’s the perfect size for a bar of homemade soap!
You see, we typically gather monthly to celebrate whomever’s birthday falls in that month. So I’d saved all the birthday cards from my own party last year.
I typically use the pretty fronts of the cards for gift tags. But I thought it would be a cute idea to actually use the birthday card my friend gave me to make her gift box now.
Making The Top Of The Homemade Card Box
I first carefully separated the front from the back of the card. Each side will become a side of my homemade gift box.
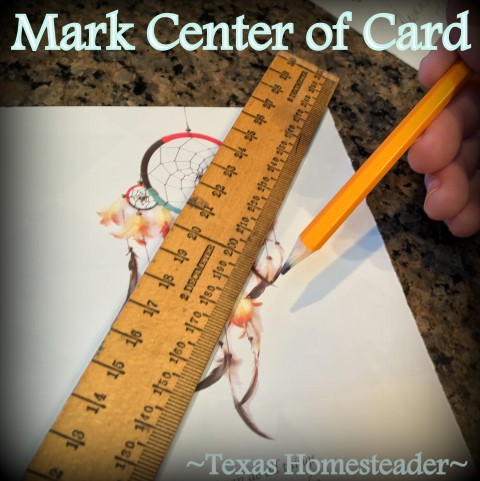
Then on the flipside of the front half I laid a ruler from the top corner of the card to the bottom corner across. I drew a light pencil mark in the center. (I draw it lightly, as I’ll be erasing it when the folds are complete.)
Then I did the same thing on the opposite side of the card. This gives me a light pencil ‘X’ in the exact center of the card.
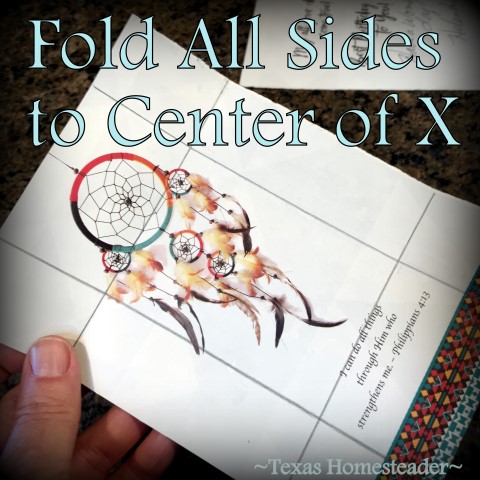
Now I fold the short top side to the point when the marks intersect on the X and use the ruler to crease it well.
(I’m using the illustration below from my Christmas card gift box because this fold instruction is a little easier to see)
Anyway, I do the same for the bottom short side and both of the long sides too, folding & creasing each edge of the card.
What I’m left with is the back side of this front half of the card with these creases: (I traced along the creases lightly with a pencil to make it easier for you to see)
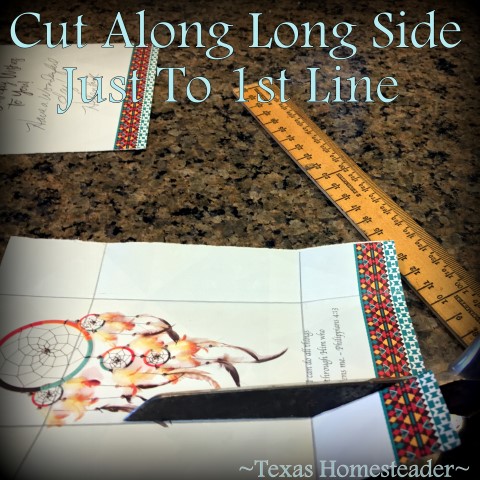
Now I focus on the lines that go parallel to the long sides of the cards.
I cut from the bottom corner along the longer side just to where the very first line intersects with it. I do this on either side of the long side, both top & bottom.
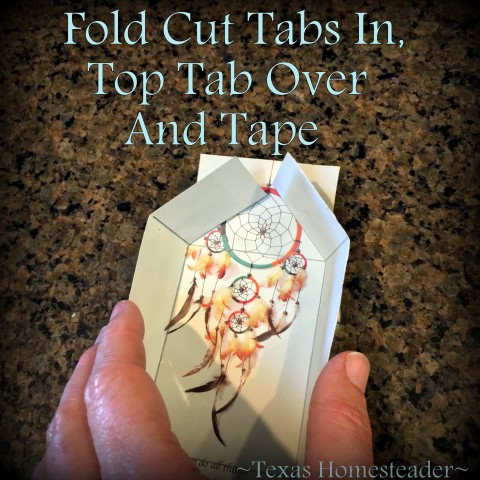
This will form the tabs which are then folded in & the longer middle tab is folded up & over.
I’ll tape it down to form my box. Hooray – the top of my box is complete in short order!
Making The Bottom Of The Card Box
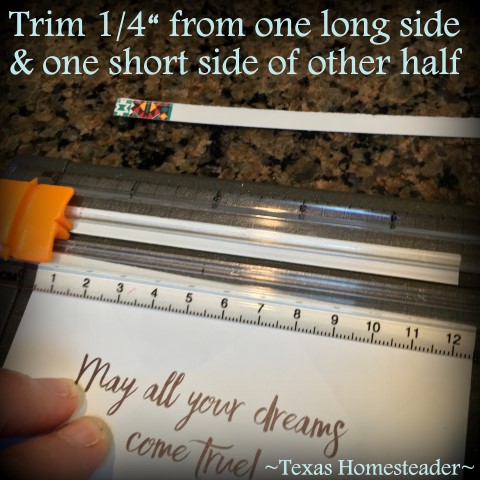
Now it’s time to use the back half of the card to make the bottom of my gift box. But I need to make it just slightly smaller than the top so it’s fit inside the top portion of my gift box.
So I first trim a small quarter inch from one of the short sides and one of the long sides of this back section of the card.
Then I follow the exact same procedure as I did with the top section of my gift box. I mark a light pencil mark in the exact center of the card, fold, crease and cut the tabs.
Finally I fold & tape exactly as I did for the front of the card and voila!
One cute little homemade gift box using a greeting card!
My friend loved it. And she especially loved that I used the same card she’d given me for my birthday last year.
The design of that card was already special to her, that’s why she bought it in the first place.
Plus I’ve been able to repurpose something that would have just been thrown away into a beautiful way to present my heart-felt homemade gift to my sweet friend!
~TxH~
Easy Beginner’s Crafts & Projects We Love
Gifts
Home Décor
Clothing & Accessories
Other Easy Projects
…And Much More
See All Make-It-Yourself Posts
C’mon by & sit a spell! Come hang out at our Facebook Page. It’s like sitting in a front porch rocker with a glass of cold iced tea – lots of good folks sharing! You can also follow along on Pinterest, on Twitter or on Instagram.
If you’d like to receive an email each time a new blog post goes live it’s EASY to Subscribe to our blog!




This is a Great Little repurpose when your need a gift box for that special person ~TxH~. I Pinned it to my pinterest board called Discovering Repurposing and posted it to My Google Discover Repurposing Community.
Nice little repurpose anyone can do.
I love this idea & I have all kinds of cards saved up. Thank you for another idea for using them!
OMGosh Ann, I really think this is a quick & easy way to put a little “OH! How CUTE!” into your gift. And once you make one, the subsequent ones are even easier & faster to complete too. ~TxH~