by Texas Homesteader ~
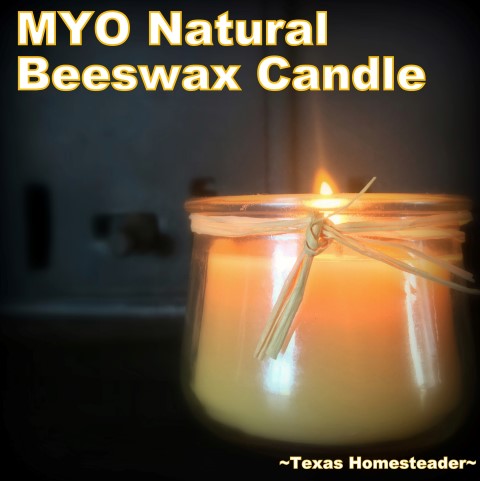
I love candles, but these days I prefer an all-natural beeswax candle. And you’re not gonna believe how easy it is to make one yourself. They make a cute gift idea too!
(Note: Some links in this post will take you to other related articles for further information. But links preceded with * are affiliate links. If you click and buy something I could receive a tiny commission.)
I Don’t Want To Burn Paraffin Candles
But back in ‘the day‘ I had lots of regular candles and I burned them often. I loved the gentle flicker of the flame and the scent of the candle itself.
Then years ago I heard about the nasties that can be released by burning traditional paraffin wax candles. According to Cleveland Clinic Health Essentials, paraffin’s not the best choice to burn.
So now I make my own homemade beeswax candles. (They make a great homemade gift idea too!)
What Do You Need To Make Beeswax Candles:
It’s easy to make your own natural beeswax candles. All you need is:
*Beeswax Pellets
*Candle Wicks
*Glass Candle Jars
Repurposed Jar Ideas For Homemade Beeswax Candles
There are lots of options for reusing jars to use for your candles.
Mason jars – I like to use the small 1/4-pint sized crystal design ones. They’re pretty and I love the smaller size.
Empty Jar Candles – Just remove any remaining wax of an empty jar candle and clean the jar well before making your new jar candle.
Thick Repurposed Jars – Make sure the glass is thick. Thinner glass jars shatter easier if they get too hot.
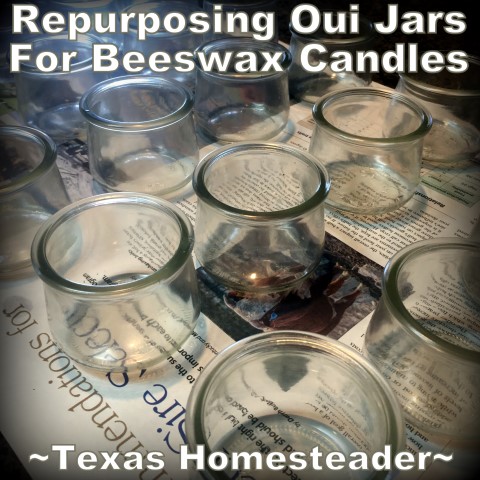
My aunt saved me several of the cute 3.5 oz size Oui yogurt jars. The glass is very thick on these jars.
I removed the labels, cleaned the jars well and set them on a piece of newspaper to catch any drips.
What Candle Wicks To Use For Homemade Candles?
I like to use *9 cm cotton-core candle wicks. They work great for my small candles.
I’ve also read about *Candle Wick Stickers you can buy to press the wick into place on the bottom of your jar.
They’re pretty cheap so if that suits you best, go ahead & pick them up too. I’ll be using another method that doesn’t require adhesive tabs.
Anchoring A Wick To Bottom Of A Candle Jar
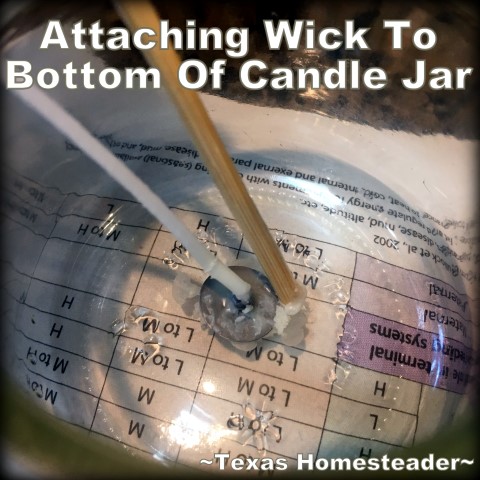
Instead of adhesive tabs to hold the wick, I dipped the metal disk of each wick into some melted wax and centered it on the bottom of the jar. I used a chopstick to press it gently to make sure the everything adhered well to the bottom of the jar.
Holding A Wick Straight While Pouring Candle Wax
I need to secure the length of my wick so that it doesn’t just collapse into the jar when the hot wax is poured in. There are various ways to do this:
Roll Candle Wick Around Pencil
Most people use a pencil or chopstick to secure the wick. The metal tab is affixed to the bottom of the jar and the top of the wick is wrapped around the pencil.
Then they set the pencil on top of the glass jar with each end resting on opposite sides. This works best with longer wicks.
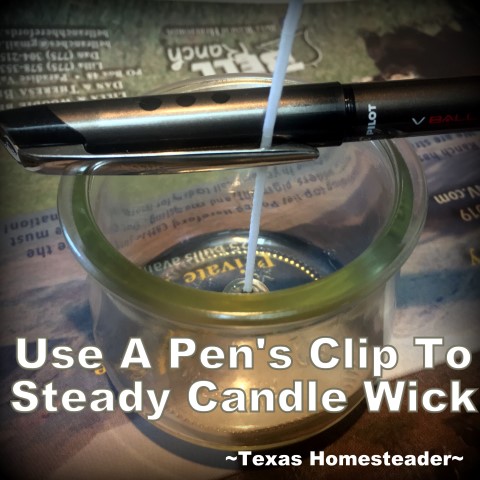
Use The Clip Of A Pen To Hold Candle Wick
Other people use the clip on a pen. But I’ve found that depending upon the style of either the clip or the pen, it doesn’t always sit steady.
The pen can tilt or roll slightly on top of the jar and not hold the wick as straight as I like.
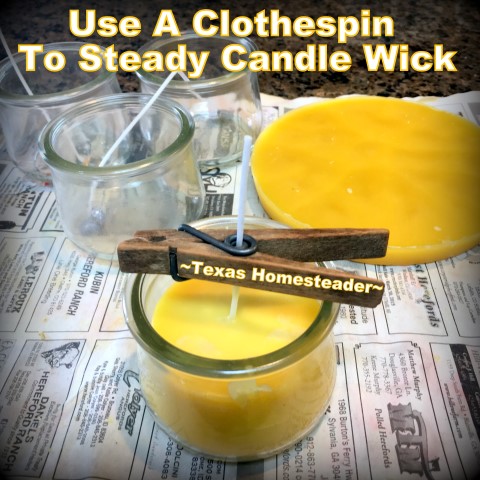
Use A Wooden Clothespin To Hold Candle Wick
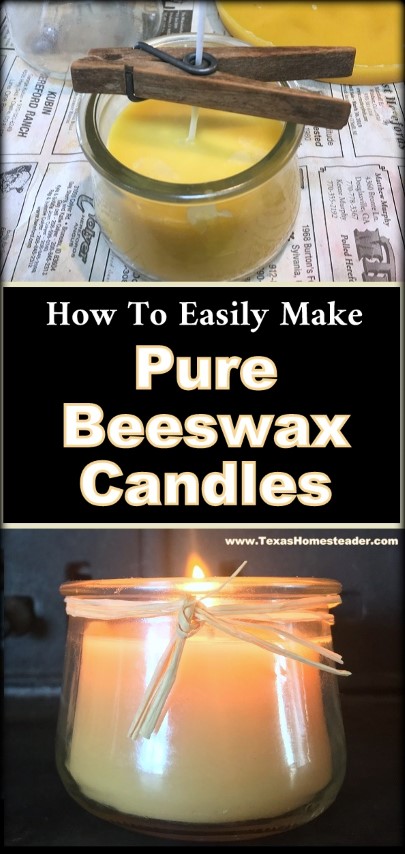
I usually use a wooden clothespin. The wick threads right through the hole in the spring in the center of the clothespin.
For these small jars the clothespin easily reaches each side of the jar and holds the wick steady.
(Note, I often sell blocks of our natural beeswax in our online store – check it out!)
Now that your jars are ready, let’s melt the beeswax!
Melting The Beeswax
Beeswax is flammable and can be dangerous. Never just place hardened wax in a pot on the stove to melt!
Close contact with a high heat source can easily make the wax reach flash-point and catch fire.
The safest way to melt beeswax is the double-boiler method. But it’s important to use a vessel you want to use only for beeswax in the future. (trust me on this one – you’ll never fully get beeswax cleaned off it again!) Many people just use a clean tin can.
Place the hardened beeswax pieces in a heat-proof vessel and place it in a pot with water in the bottom. Turn on the stove & heat the water slowly.
As the water heats it will heat & melt the beeswax to make it pourable.
Alternative Wax-Melting Method
I use my *Solar Oven to melt my beeswax. There’s no direct contact with an excessively intense heat source that way.
I place chunked-up hardened wax into an old 2-cup glass measuring cup (that I use only for beeswax) & place it in my solar oven. The sun will melt the wax gently for me.
Pouring Melted Wax Into Prepared Candle Jar
It’s time to pour the melted wax into the candle jar. Careful, this is not a good time to have the children or pets at your feet.
Pouring hot wax is one of the main reasons I love to melt my wax in an old second-hand 2-cup glass measuring cup. That handle & pouring spout makes this part easy!
I gently pour melted wax into my jar, filling to about 1/2″ or so below the rim of the jar.
Let Melted Homemade Candle Wax Cool
Everything will be left undisturbed until the wax is completely cooled and hardened. It’s important to allow the wax to cool slowly. I’ve heard that if you try to cool it too fast the wax can crack.
When the wax has cooled about 2-3 hours and is solid I’ll remove the clothespin & trim the wick to about 1/4″.
These beautiful beeswax candles are lightly scented of honey. No artificial scents and nothing added. Just pure, natural beeswax.
Candle-Burning Safety Notes
Common sense, but never leave a candle burning unattended. And the jars themselves can get really warm, so keep them away from anything flammable or where children or pets can disturb them. And don’t burn the candle so far down that the actual flame is close enough to crack the glass container. Always practice safety around an open flame!
~TxH~
Easy Beginner’s Crafts & Projects We Love
Gifts
Home Décor
Clothing & Accessories
Other Easy Projects
…And Much More
See All Make-It-Yourself Posts
C’mon by & sit a spell! Come hang out at our Facebook Page. It’s like sitting in a front porch rocker with a glass of cold iced tea – lots of good folks sharing! You can also follow along on Pinterest, on Twitter or on Instagram.
If you’d like to receive an email each time a new blog post goes live it’s EASY to Subscribe to our blog!
References:
Cleveland Clinic Health Essentials

