by Texas Homesteader ~
When you have a painting project, each day means you’re cleaning brushes and reusing them day after day. I’ve found an easier way. See how we preserve brushes to resume painting at a later date – you’re gonna love this!
Our Painting Project
RancherMan & I have our own apiary. We have several established beehives but sometimes we’re also performing splits or catching swarms. So occasionally we’ll buy more deep-body beehive boxes.
The wooden beehives usually come unfinished. It’s up to us to paint the outside to preserve the wood against the elements.
The only thing is since we have to let each coat of paint dry before adding another coat, this often involves short painting sessions over the course of several days.
Keeping Paint Brushes Usable
What about the cleaning of the brushes between painting sessions? Will the brushes be ruined on day 2? Day 3? Day 4?
What if it takes several days before we can even resume painting?
C’mon y’all, see what we do to preserve the brushes and roller to resume painting at a later date. You’re gonna love this!
Painting Over Several Days
When we’re painting our wooden beehive boxes, we first coat the exterior of the boxes in linseed oil. Then we allow the boxes to dry and paint the exterior surfaces with an oil-based paint.
RancherMan was able to get the linseed oil coating on the wooden boxes done before this week-long spring storm rainy streak came. So now he’s anxious to begin painting to finish the job.
But with the rainy season he can’t get outside to complete the painting of the box exteriors all at one time.
So he’s painting sections of each box in his shop and allowing each side to dry before moving to the next section.
Of course we worried about a roller or paint brush that might be coated in paint being stored away until it’s needed again the next day. Maybe we can keep that paint wet on the bristles and not have to wash the paint brushes out each and every day. But how?
Using Plastic That DOES Come Into Our Home…
Y’all know how much I HATE PLASTIC in all its forms. So when the inevitable plastic comes into the house through products purchased I make sure it’s saved for further uses. At least I can get full use of the darn thing before it’s thrown away.
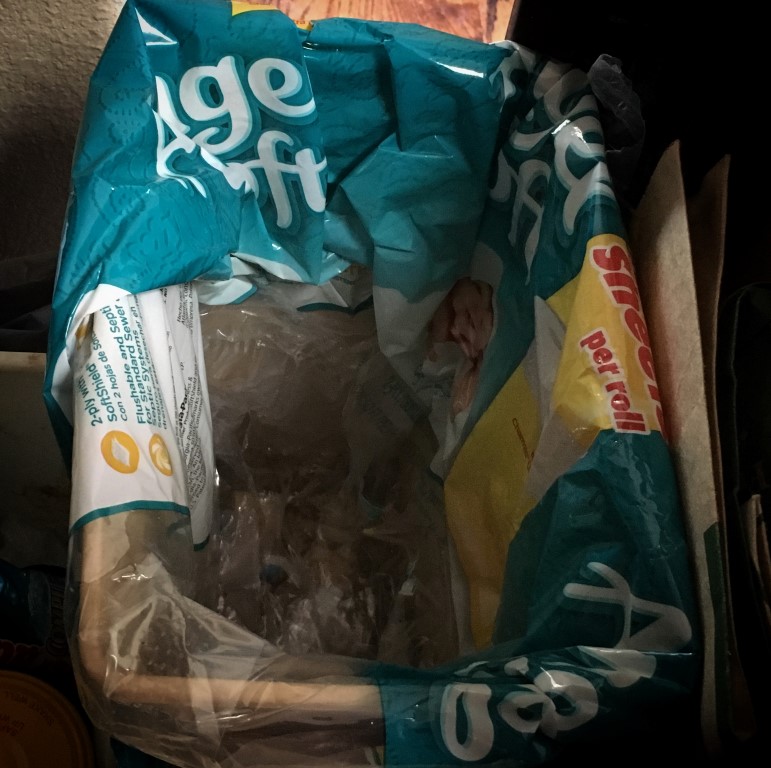
A large family-sized pkg of toilet paper is carefully opened so that plastic bag can be used to line our tiny trash can.
Or sometimes I use plastic bags that food was purchased in to section out single-serving portions of main dishes before placing them into a single freezer bag for the freezer when I use the Cook-Once, Eat-Twice method of cooking.
Repurposing Plastic Bags When Painting
But today that blasted plastic bag is going to save clean water from being used each day to wash the brushes.
Plus this tip is keeping excess chemical-ridden oil-based paint from being washed away repeatedly, either onto the ground or into our septic system.
And it will also save the brushes/roller from being ruined and needing to be replaced for subsequent painting sessions due to dried paint crusting the surface.
Saving Paint Brushes For The Next Day
What’s our easy tip?
Well, before quitting for the day we simply transfer as much of the paint as possible from the paint roller onto the boxes.
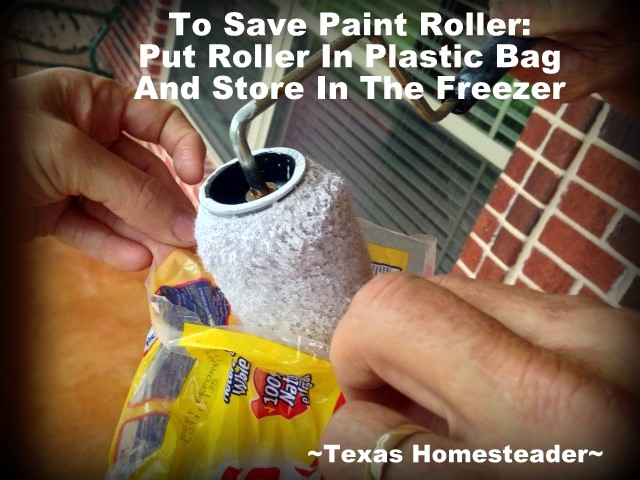
Then we place the roller into this perfectly-sized repurposed plastic bag, secure with a twist tie around the metal part of the roller and BOOM! The plastic bag keeps air from reaching the surface of the roller, which kept the paint from drying.
This paint roller will be ready for action tomorrow. He just picks up where he left off the day before.

When we’re ready to paint again we just bring out the roller, give it a few minutes to thaw and BOOM! We carry on.
He can pick up right where he left off! You know anything that keeps cleanup chores down is going to be a winner, right??
~TxH~
Other ‘Use Whatcha Got’ Ideas
- Make A Cute Porch Lantern
- Assuring Safety Around An Underground Cistern
- Repurposing An Empty Parmesan Cheese Container – BRILLIANT!
- MYO Simple Craft Paintbrush In A Pinch
- Replacing Our Bedside Clock/Radio
- Predator Guard For Our Martin House
- Trick Birds Away From Garden Strawberries
- Protecting Tender Seedlings
- Safer Straight-Pin Storage
- Tame Electrical Cords
- Save Your Fingernails When Cleaning
- MYO Chalkboard Labels
- Keeping Boots Stored Neatly
- How Leaves Greatly Benefit Your Garden
- Pretty Wax-Dipped Pinecone Fire Starters
- All ‘Use Whatcha Got’ Posts
C’mon by & sit a spell! Come hang out at our Facebook Page . It’s like sitting in a front porch rocker with a glass of cold iced tea. There are lots of good folks sharing! And you can also follow along on Pinterest, Twitter or Instagram
If you’d like to receive an email when a new blog post goes live,
subscribe to our Blog!


Great tips regarding the brushes and rollers. Thanks, I will use them. But please be careful with bees. Fellow down the road, looooong time beekeeper, got stung and had some sort of reaction. Killed him on the spot. From the southern side of our county, regards.
Beekeeping (like cattle ranching) involves risks. But I guess so does driving on the expressway in rush hour traffic to get to an office job. LOL ~TxH~
I hate plastic, too, but not as much as I hate styrofoam . . . two nasty things to do to our planet.
I’ve used that idea with the paint roller or brush and it works wonderfully. I do reuse my plastic grocery sacks by always having a couple in my pocket when I walk my dog.
Have a lovely day.
Connie 🙂
Even though I haven’t accepted a plastic shopping bag since some time in the late 1990’s, they still find their way into our home via things people bring for us, etc. When they do end up here I’m sure to use them in our little bathroom-sized kitchen waste basket, at least the dang things get another use before being thrown away! I understand even through they’re sometimes accepted for recycling, the material is very difficult to recycle. ~TxH~
Yup. Do the same thing here. Whole idea/process is to keep the painted brushes and rollers from being exposed to air to keep from drying out and getting hard.
I do line my roller pan with a small garbage can / waste basket bag and makes for no washing of the roller tray. Once the paint tries on the bag, I just clean off and reuse the bag over again or instead of cleaning the dry paint off, turn bag inside out and use again.
Was going to suggest as well by putting in the freezer but you beat me to it. :}
RancherMan’s giving that a try, although it did keep the tray clean I think it ended up wasting more paint than he planned since the plastic folds up when the paint roller goes over it. Maybe he should try again? I love that you’re able to still use that bag Colleen – you’re SO clever! ~TxH~
I put the roller tray inside the bag; flattening the bag inside of the tray and securing the bag tightly.
Once finished I take a pallet knife or small paint brush and scoop up what paint I can and put back into the paint can. Good thing about using a small paint brush and using up that excess paint in the tray is if you have any so called ‘touch’ up’s that need to be done once you’re finished with the roller.
Any paint that is left; which is very little; Once it tries you can peel it off and reuse the bag over again
That’s exactly what I do! But I use Walmart bags for my paint roller, kind of conforming one to the roller and then putting another over that. Do that with your paint brushes, too, by using a plastic sandwich bag. Slip the brush part into one corner, smooth and flat, then fold the rest of the bag snugly around. Secure it with tape or one of those elastic hair thingies, or, if you have several brushes, pack several of them (each one wrapped) together in a bigger bag and press out all the air. Otherwise sometimes you can slip the wrapped brush in with the roller somewhere. That way they don’t get separated from each other.
Love your hacks! Good luck with your bees…