by Texas Homesteader ~
*contains affiliate link
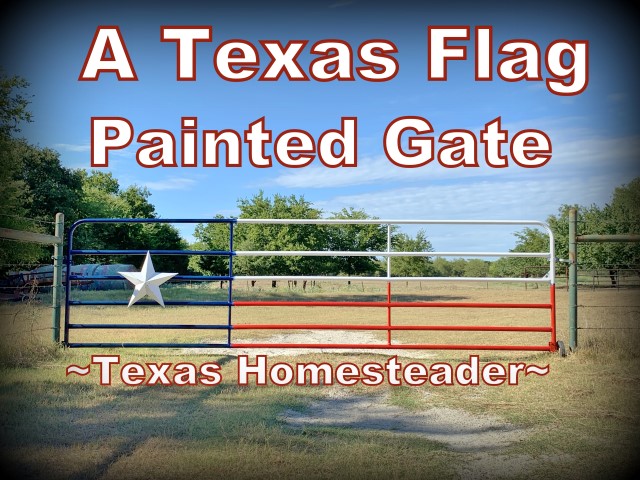
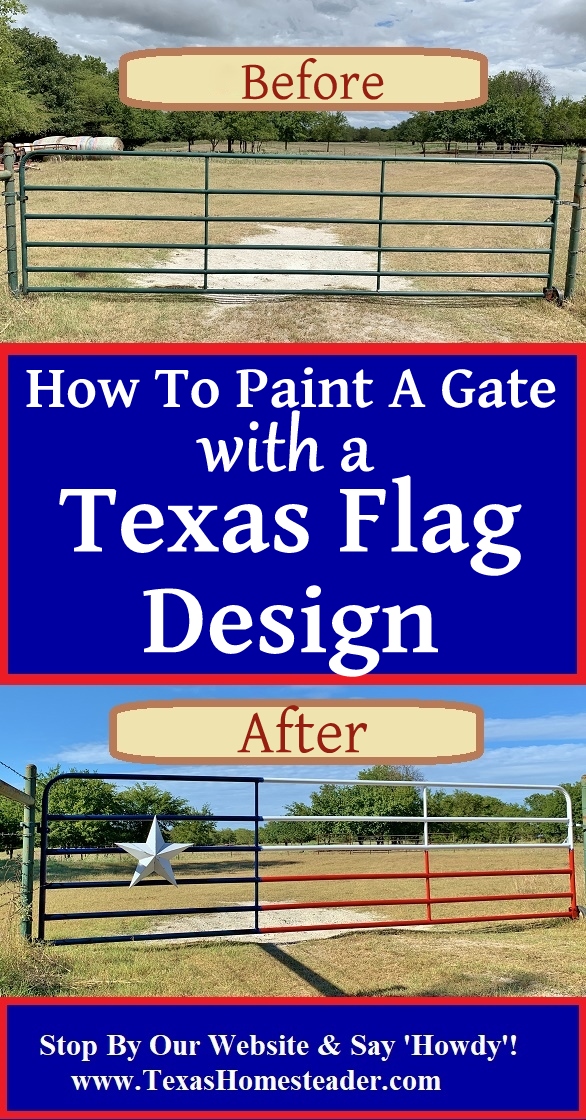
RancherMan & I painted one of our 16-foot long gates in a Texas Flag pattern to show our Texas pride. I think the gate looks awesome.
Many were interested in how we did it – paint color choices, metal star size, etc. So today I’m happy to share how we did it.
(Note: Some links in this post are for further information from earlier posts I’ve written. But links preceded with * are affiliate links. If you click them and buy something (almost anything, not just the item noted) I could receive a small commission. But the price you pay will NOT change. It’s an easy way to support this blog without anything coming out of your pocket. So click often! Thank you!)
A Special Gift
Several months ago while traveling around gorgeous Blanco, Texas (before this blasted pandemic) I saw a gate painted like a Texas flag. I immediately knew that I wanted one for my own.
Fast forward a couple of months. RancherMan asked me what I wanted for my birthday this year. I told him I wanted Texas flag gate supplies.
This ended up being a very easy yet fun project. And I love the look of our new gate. Can you tell we’re proud Texans?
Gathering Simple Supplies
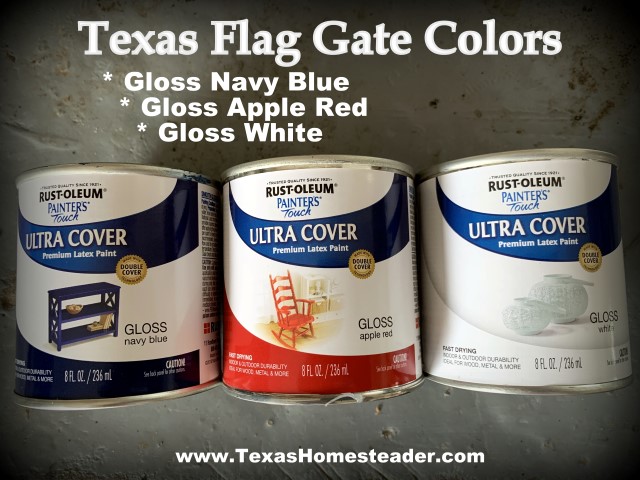
So RancherMan picked up three colors of high-quality *Rustoleum Paint. All three colors we chose were gloss and high coverage formulas.
Our color choices were Gloss White, Gloss Apple Red and Gloss Navy Blue. These three little 8-oz cans were inexpensive and pretty much finished the painting of our gate. (Although RancherMan picked up another can of red paint to apply a thicker coat to cover the original hunter green color of our gate.)
If you think your original paint colors might bleed through, you might pick up the next larger sized cans.
He also tracked down a *24″ metal star online. Well, actually we first ordered an 18″ star. But when it was received and we held it in place to see what we thought, it wasn’t near big enough to look right with the dimensions our 16-ft ranch gate.
We’re even contemplating replacing it later with an even bigger 36″ star. But then again, maybe not. I’ll be sure to share if we decide to trade out the current 24″ one.
Preparing The Gate For Painting
Anyway, when all supplies had been received we got ready to paint the gate. We first took heavy-grit sandpaper and roughed up the existing finish on the gate. This helps the paint stick better.
Some might add a primer coat before painting. But I figured Rustoleum is heavy-duty paint specifically formulated for metal. So we simply sanded the gate a bit and wiped it all down clean.
Before painting the gate we took some painter’s tape and taped off areas where the colors would meet.
Painting The Gate
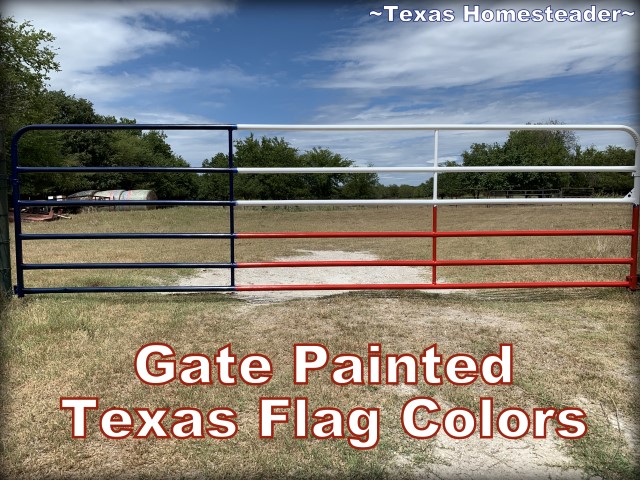
Then we painted the first third of the gate blue, including the vertical bars on each side of that section. The remaining 2/3 of the gate were split – the top 3 bars were painted white, the bottom 3 bars painted red.
Since the spacing of the bottom bar was not as wide, we painted the vertical bars red all the way up to the first row of white bars so the halves would appear more even.
My first thought was to distress the paint on the gate. I didn’t want it to look showroom new. And I love the distressed-paint look. So I painted broad strokes leaving a small amount of original gate color beneath the new colors.
I stood back to look. Hummmm…
Difference Between ‘Distressed’ Painting & Crappy Painting
Both RancherMan & I agreed that there’s a fine line between looking like distressed paint and just looking like a crappy paint job.
This was definitely the latter.
So I added another coat of paint and allowed it to dry. I even added a final coat of paint to make sure the color was solid. I liked that look much better.
Now for the gate painting all that’s left to do is remove the painter’s tape and touch up the joints.
The Metal Star
Time to focus on that metal star. But the 24″ metal star we bought was bronze-colored – just because it was the least expensive purchase option for us.
So I painted the star white, inside and out. Why would I paint the inside of the star? Well there’s a method to my madness.
Sometimes our gate to the pasture is closed and that is the view we’re after, proudly displaying our Texas flag gate when visitors arrive. But often we chain that gate open to be able to freely move back & forth to the back pastures.
I didn’t want it to look like an unfinished backside of the gate. When the gate is open still I want it to look like a Texas Flag.
So I’ll paint the bars directly behind the metal star white as well. Between that section of bars painted white and the inside of the star itself painted white, you’ll still see a star shape.
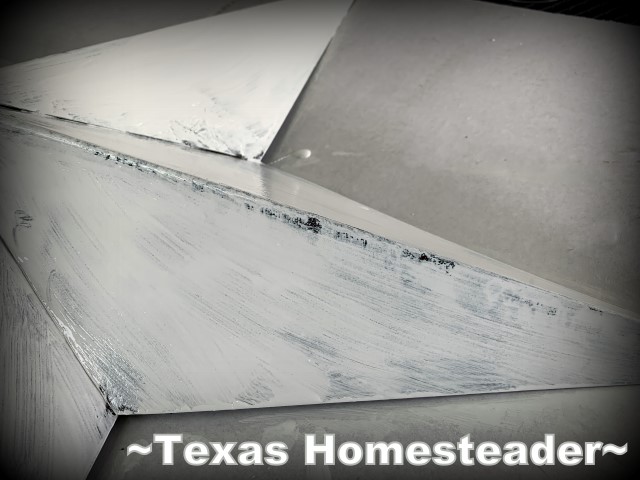
After the star was painted but while the paint was still semi-tacky I used fine grit sandpaper along the edges. This gave the star a distressed paint finish.
Not such a good look on the gate itself but fabulous detailing for the star. I love it!
When all was done I wired the star to the gate and stood back to look.
Oh Yeah, I like it!
RancherMan plans to drill the star at 3 points where it touches the bars of the gate and screw the star directly to the gate to make it even more secure.
After he screws the star down I’ll touch up the screws with a little white paint. Then they’ll just disappear from view.
Yes, we’re PROUD to be Texans, can you tell??
I love the way our gate turned out.
~TxH~
Our Favorite Crafts & Projects
- Make Your Own Clothespin Apron
- Cute Flannel Pillows Using Flannel Shirts
- Rustic Reclaimed Barn Wood Headboard
- Old Barnwood Wall Photo Feature
- Rustic Barnwood Mirror
- Make An All-Natural Air Freshener
- Painting Rocks To Look Like Strawberries
- MYO Beeswax Candles
- Cute Santa Sleigh Made With Candy
- A Denim Dish Carrier Using Worn Jeans
- Fun, Customized Cornhole Game
- MYO Backyard Tossing-Game Bags
- Cute Cloth Gingham Napkins For $1
- Arrowhead Cross Collage In Shadow Box Frame
- Pretty Wax-Dipped Pinecone Fire Starters
…and many MORE!
See All Crafts
C’mon by & sit a spell! Come hang out at our Facebook Page. It’s like sitting in a front porch rocker with a glass of cold iced tea – lots of good folks sharing! You can also follow along on Pinterest, Twitter or Instagram.
If you’d like to receive an email each time a new blog post goes live it’s EASY to
Subscribe to our blog!
*Amazon affiliate


Oh, Love the new and improved look of your gate. You just may have started a trend in your area as others may follo9w by painting their gates as well.
Great job.
That looks great Tammy. We’ve several 16’s here but our main is (2) 10’s. Better to get our camper in and out. It would be one additional upright in the middle but doable. Just another iron in the fire. LOL!
S’always something, huh Ken? Being bored is just not an option! LOL ~TxH~
Love it – great job!
Thanks Ellen – I love the way it turned out. ~TxH~