by Texas Homesteader ~
Did you know there’s a way you can reuse flat canning lids over and over again? Yep, that’s right – I’ve been reusing mine… for years! But there’s a secret. Come see how.
(Note: Some links in this post will take you to other related articles for further information. But links preceded with * are affiliate links. If you click and buy something I could receive a tiny commission.)
Hard-To-Find Canning Supplies
It’s been hard for many to locate traditional canning supplies. It seems everyone has been bitten by the home-canning bug.
And when you do find canning lids – boy howdy have the sellers taken advantage of these hard times. WHEW! The price has shockingly spiked.
So I’m even more thankful that I’d purchased my reusable canning jar lids years ago.
Can You Reuse Canning Supplies?
There are many eco-friendly reusable aspects of home canning:
Glass Canning Jars – I’m still using my grandmother’s jars from the 1940’s.
Metal Screw Bands – Now being made more rust resistant so you can reuse them even longer.
Canning Lid Flats – It’s recommended only to use the metal flat part of a traditional canning lid once then thrown away.
So I went looking for a better way and found reusable canning flats are actually a thing.
And the clouds open and choirs sing!
About Reusable Canning Lids
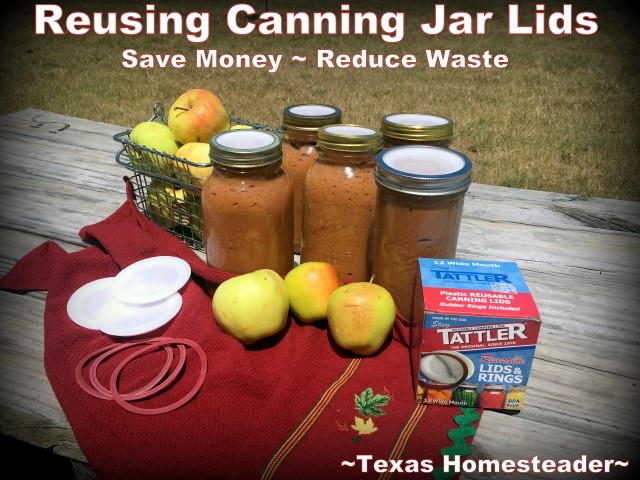
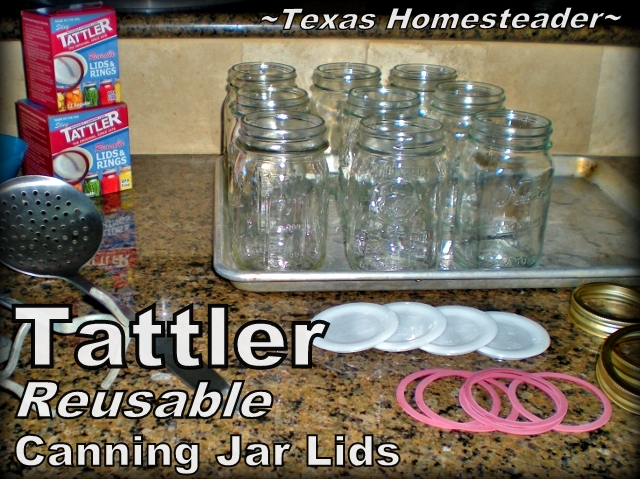
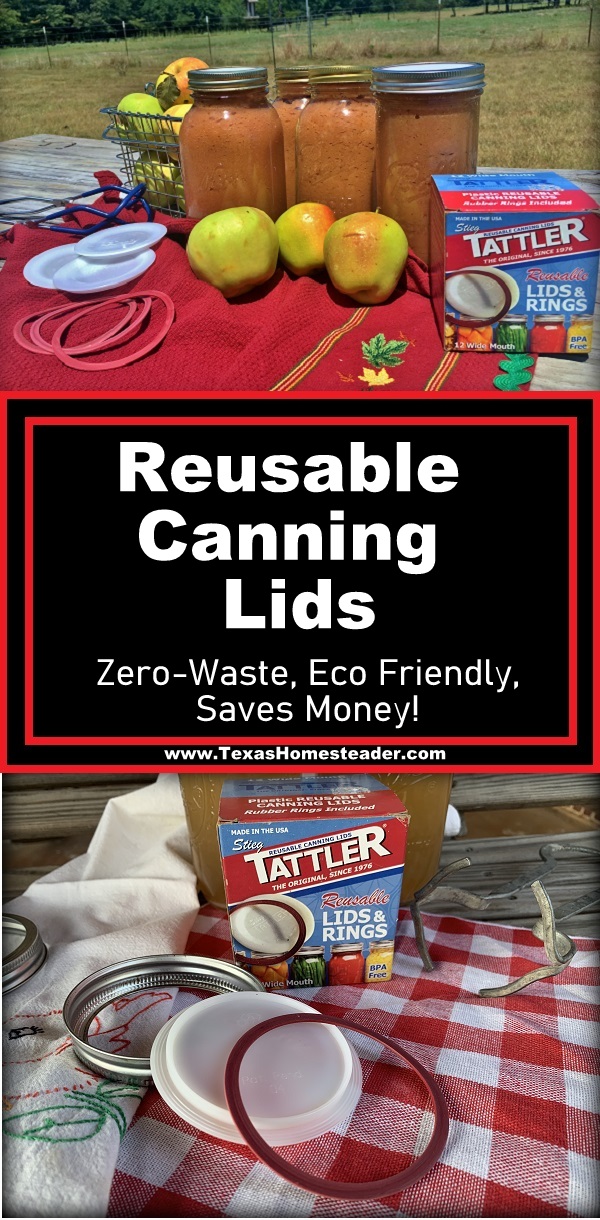
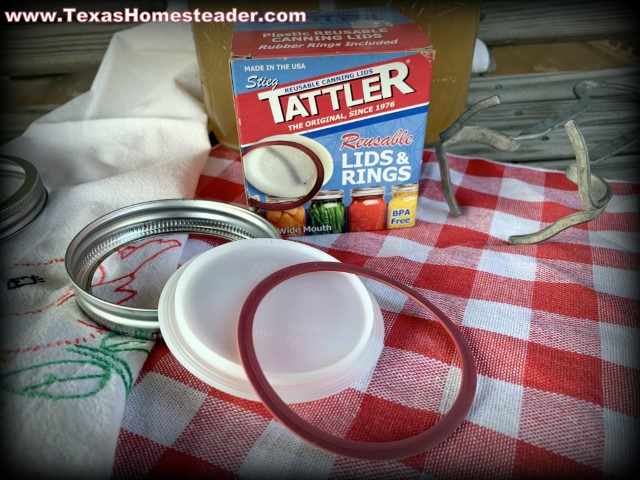
*Tattler Reusable Canning Lids fit regular and wide-mouth canning jars and use standard screw bands too. The processing time is the same.
As a matter of fact, the canning procedure with reusable lids is exactly the same as with traditional canning lids with the exception of how tight you screw them on before processing, and the fact that you tighten them the rest of the way after processing.
Do Reusable Canning Lids Have A Higher Failure Rate?
I’ve read comments from others who have said they feel there’s a higher failure rate using reusable canning lids. But I haven’t found that to be the case at all.
I’ve used my reusable lids when canning all manner of foods, whether water-bath canning or pressure canning. My failure rate seems to always be as a result of my own error.
Why Do Canning Seal Failures Happen?
There are many reasons canning failures happen – whether using reusable or conventional lids.
Common Sealing Failure With Any Type Of Canning Lid:
In the cases when I experienced a sealing failure, it was the same as with using conventional lids. Here are common reasons a canning seal might fail:
-
-
-
Chips or flaws in the mouth of the jar.
-
The metal band being reused enough times that it had just enough ‘drag’ in the surface to keep it from tightening the way I’d intended.
-
Any small food particles not wiped off the mouth of the jar before canning.
-
Incorrect headspace.
-
-
And remember, with a Tattler reusable lid – if you tighten it the same as conventional canning lids before placing in the canner, that could be the most common cause for reusable canning lid seal failure.
Don’t forget Tattlers need the metal bands to be just a smidge looser when they go into the canner so that pressure can escape the jars. THEN you finish tightening it after canning is done.
According to the Tattler website:
TATTLER REUSABLE CANNING LID USAGE
Tattler Lids do require a bit of variation from conventional metal lids. Being a two piece combination with a rubber gasket ring, Tattler Lids must remain a bit loose during processing in order for the jar to vent the pressure that has built in the jar during processing. An online customer gave us a very good tip on how tight is ‘Just Right’. To get the feel for the correct tightness prior to processing, place the jar on a counter top or other smooth surface, then place your index finger on the lid (do not apply too much pressure while tightening the metal band). Screw the metal band on until the jar begins to spin on the counter top (or other smooth surface). This is the perfect tightness for processing!
THE FOLLOWING FINAL STEP IS CRUCIAL TO ENSURE A GOOD SEAL:
Once the process is completed and the jars are removed from your canner, Let the bubbling die down (approximately 4-5 minutes), as this is pressure still releasing from the jars. Place a towel over the still hot jars (for safety) and finish tightening the metal bands. Now, let your jars cool naturally and when cool to room temperature, remove the metal band and lift the jar slightly by the lid. It should be well sealed. Your food is ready for storing (it’s best to store without metal screw bands on the jars).
Canning With Tattler Reusable Vs. Conventional Lids:
Almost everything is the same using either kind of lid when canning – whether water-bath canning or pressure canning. Basically the steps are:
- Clean jars are kept hot until filling.
- Canning lids placed in hot (not boiling) water to soften rubber seal. (with Tattlers, that’s just the rubber seal part, although you can keep the actual Tattler flat hot as well if you like)
- Hot food placed in clean, hot jars
- Wipe rim of canning jar with clean, wet, lint-free rag to assure no food particles are present
-
(Tattler Step) Add softened rubber seal to bottom of Tattler flat canning lid
-
- Place flat lid atop hot jar filled with hot food.
- Add metal screw band and tighten ‘finger tight’.
-
(Tattler Step) Only tighten metal band until canning jar begins to turn when finger is placed atop Tattler applying gentle pressure. Tattlers need their metal bands a little more loose than traditional lids so that pressure can escape the jar during canning. (See the statement above from Tattler’s website)
-
- When canning time is up, turn off heat & set timer 10 additional minutes and allow canned food to remain in the canner during that time. This helps equalize the pressure inside the jar so you don’t get a potential syphoning (food eruption from beneath the lid) when you remove the jars. Ask me how I know. Eh hemmmm…)
- Then remove top of canner and carefully remove canned food and place hot, canned jars on a towel in an out-of-the-way draft free location to leave undisturbed for 24 hours to cool.
-
(Tattler Step) Now that you’re removing the canning jars from the canner is the time to finish tightening up your metal band for your tattler lids.
-
- The next morning, remove the canning jar metal bands.
- Test the seal. You may have heard the ‘ping’ of the traditional lids as you removed them from the canner. But now that the jars have cooled 24 hours it’s time to test that seal. The traditional lids will have pressed onto the jars and no ‘plinky’ sound is heard when you press the center of the traditional canning jar lid.
-
(Tattler Step) To test the seal for your reusable Tattler lids, gently pull up on the Tattler as if about to remove it. If it doesn’t move with gentle pressure and is firmly attached to the jar – you’re good!
-
- Wipe down jars, label contents and store in your pantry. Congrats!
NOTE: Since my Tattler lids are reusable I don’t write on them. Instead I use a ‘permanent’ marker to write on the jar itself. It’s easily removed when the jar is empty.
I’ve Loved My Reusable Canning Lids For Years!
Really, that’s all there is to it. There’s so little difference in the way a Tattler reusable lid is used vs traditional one-&-done throwaway lids that really, there’s no reason not to have them!
I’ve canned many things with them, such as:
-
-
-
Pressure canner Canned Corn.
-
Canned Applesauce in a water-bath canner.
-
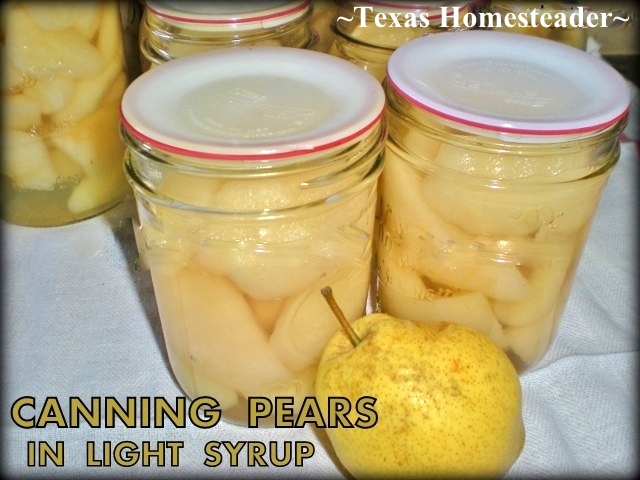
Canned Pears in a water-bath canner.
-
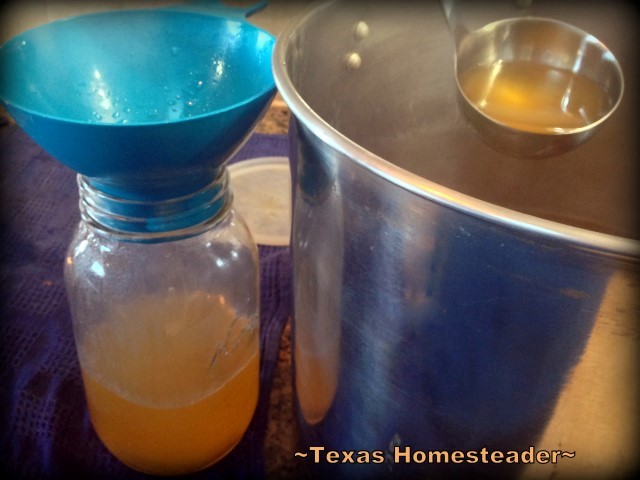
Homemade Broth in a pressure canner.
-
-
(A more complete list of food I’ve canned is at the bottom of this post.)
I absolutely love the eco-friendly, low-wastiness of reusable canning lids. How wonderful it is not to have to buy canning lids every year.
These Tattlers are reusable over & over. I’ve had mine for over 9 years now and they’re still as reliable as ever.
Where To Get Your Own Tattler Reusable Canning Lids
So if you’ve been frustrated in trying to find canning lids, or if you just hate the waste of single-use canning lids, now’s the time to get your own *Tattler Reusable Canning Lids HERE.
Heck, if you have Amazon Prime, you might even get them with free shipping or faster delivery. So you could get them both faster & cheaper!
NOTE: If you don’t already have it, you can totally *Try Amazon Prime For FREE for 30 days. If you don’t want to continue you can cancel within 30 days and pay nothing. But we’ve gotten lots of use from our Amazon Prime by streaming videos & TV shows, streaming music, free next day shipping option on many items, etc. Give it a try, you’ve got nothing to lose!
~TxH~
Links In This Post
- *Tattler Reusable Canning Lids
- Canned Corn In A Pressure Canner
- Hot Water Bath Canned Applesauce
- Water Bath Canned Pears In Vanilla Syrup
- Easy Pressure Canning For Homemade Broth
Other Canning Posts
Misc. Canning Posts
- Crazy Canning Lady: Successes & Failures
- Canning Jar Storage Solution
- Reusable Canning Lids, An Eco-Friendly Option
Canning Vegetables
Canning Fruit
- Canning Pears In Light Syrup
- Water-Bath Canning Homemade Apple Pie Filling
- Canning Cinnamon/Vanilla Applesauce
Canning Jams, Jellies & Preserves
- Pear Preserves In Water-Bath Canner
- Honeysuckle Jelly – Water-Bath Canned
- Wild-Plum Jelly Recipe & Canning
- Canning Blueberry Jam
- Clover Blossom Jelly & Canning Instructions
- Homemade Grape Jelly & Canning Instructions
Canning Broth, Drinks & Sauces
…And Many More
See ALL Our Food Preservation Posts
C’mon by & sit a spell! Come hang out at our Facebook Page. It’s like sitting in a front porch rocker with a glass of cold iced tea – lots of good folks sharing! You can also follow along on Pinterest, Twitter or Instagram.
If you’d like to receive an email each time a new blog post goes live it’s EASY to Subscribe to our blog!




Unfortunately, I’m experiencing about a 10% failure rate with Tattler Lids. Traditional Metal Sealing lids don’t fail on me. I’ve done the single finger tightening Trick, however, I’ve tightened immediately when removed from pressure canner. I see you recommend waiting 5 minutes before tightening lid. I’ll give that a try. Maybe I’m over tightening it? I see the seal kind of pushing out beyond the plastic top, is that normal to see the seal sitting about 1mm beyond the lid after tightening it?
Thank you!
My failure rate with reusable Tattlers is pretty low and about equal to the low occasional failure rate on metal lids. I can usually tell why a failure happened, oftentimes for me it has something to do with the band. (Sometimes an older band will sort of drag when adding it) but sometimes because I wasn’t diligent enough with wiping absolutely all food particles/liquid from the mouth of the jar because I was in a hurry, etc. I’ve seen the red seal push out beyond the white top as you’ve before, but that doesn’t happen to me often. I don’t think it would cause a failure though. Although it took a short learning curve to use my Tattlers correctly for best results, and I still use metal lids from time to time for whatever reason, but my Tattlers serve me well over & over again so using them is my preference. Good luck! ~TxH~
Hello!! Sorry, I just started teaching myself about canning at the end of last summer when our tomatoe plants exploded…lol. I have a few questions if you don’t mind answering them. lease and Thank you!!
1) Are both the Tattler lids and rubber rings reusable??
2) Do you have to water bathe some items and preasure cook others??
3) Which method do you think is best?? Since I did not need either for the tomatoes and I am self teaching for next year is there a preference??
4) Do Tattler lids just come in regular mouth size or do they have large as well??
Again….
Thank you!!
~Gabrielle Grecian~
Canning food is an important step in self sufficiency. But done incorrectly it can cause severe illness. You’ll want to follow a trusted recipe exactly with regard to whether pressure canning or water batch canning is required, ingredients, headspace requirements, canning time, etc. to assure you end up with a safe product. But to answer your questions: 1) Yes Tattler lids and rings are reusable over & over again. I’ve had mine for several years now and expect to use them for several more. 2) High acid things such as pickled vegetables, sugar preserves and tomatoes can be safely water-bath canned. But lower acid things such as most unpickled vegetables, broth, etc must be pressure canned to be shelf stable. 3) Neither method is necessarily best, but fully dependent upon the type of food being canned to result in a safe product. You mentioned tomatoes – they can be safely water-bath canned as long as you add a bit of acid in the way of citrus such as lemon juice. And finally 4) Tattler reusable lids come in both regular mouth size as well as wide-mouth size. I’ve used both sizes based on what I’m canning – for instance I typically use regular mouth jars for broth or applesauce, but wide mouth jars for chunkier foods such as apple pie filling or pickle spears to make it easier to remove from the jar. But jar mouth size is more personal preference, whichever you like is fine. The Amazon link in this post will show you the options available. Good luck in your canning adventures. ~TxH~
Thanks very much for the info on how long they last. 8 yrs for you so far is good enough for me. Going to order right now!
I love zero-waste food preservation Maya. And these Tattlers sure help attain that. Happy canning! ~TxH~
I keep my old ; already used canning flats along with the rings that may be a bit rusty but I Do Not use them for canning.
The flats i use for craft projects, making for plant labels, photo magnets, ornaments, along using the flats for storing dry pantry goods in. Each flat that has been used for canning I used a red marker and put a small red X on it or I store in an empty coffee container along with the rusty rings.
The rings can be used by cutting a circles from a sheet of cork, placing inside the ring and using as coasters or playing tic-tack, toe game by making a board from scrap plywood.
The old rusty canning rings; spray paint orange and make into a ring pumpkin decor.
Using the rings; make into cute winter scene ornament to hang on a tree or put onto a gift package or make a few and put into a gift basket.
Many uses for them old canning rings and flats.
The flats I have used and put a picture of each one of our grandkids on and great grand kids; glue on a magnet and place on fridge.
The rings along with the old flats make for a great wind chimes as well.
Love your canning lid repurposes, Colleen. How clever you are! ~TxH~