~ by Texas Homesteader ~
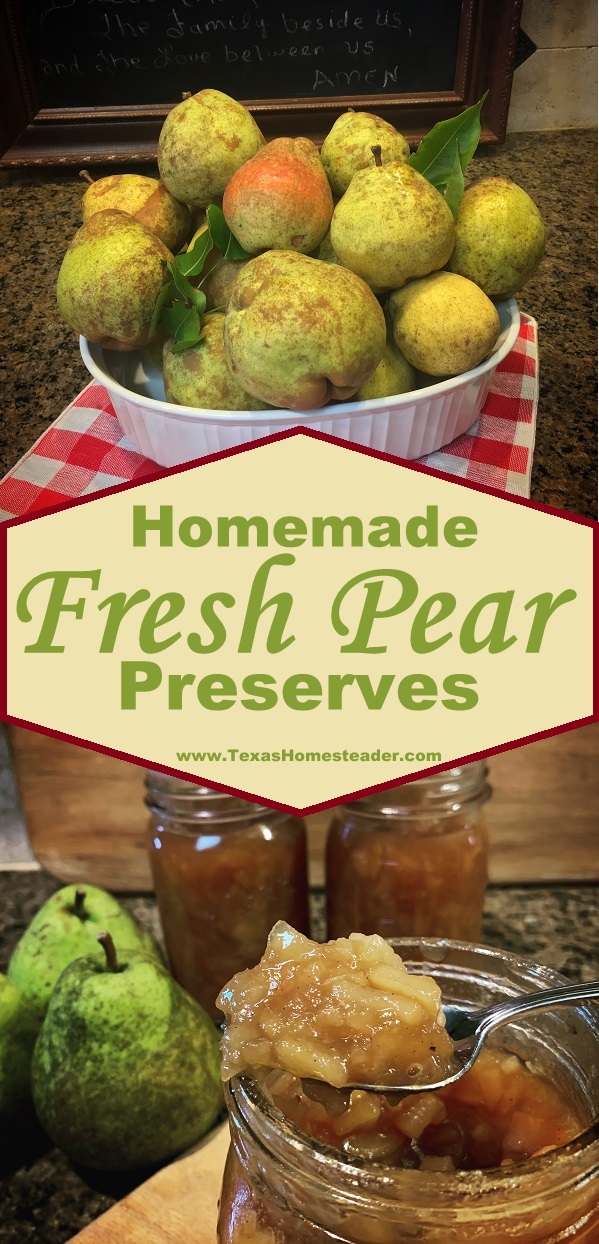
When it’s pear season, I like to use them to make fresh pear preserves. It’s a favorite of RancherMan’s for sure!
(Note: Some links in this post will take you to other related articles for further information. But links preceded with * are affiliate links. If you click and buy something I could receive a tiny commission.)
RancherMan loves the pear preserves typically made by a close family friend. So I called her up & asked if she would share her recipe.
Being the sweetheart that she is, she did! And she said I was welcome to share the recipe with you. (Thanks Virginia)
Picking Fresh Pears
A sweet friend invited me to come pick some of the pears from her huge pear tree recently. And of course I jumped on that offer!
RancherMan & I showed up at her house armed with a feed sack that typically holds 50 lbs of feed. We proceeded to fill that bad boy up with pears!
We thanked her profusely, waved goodbye and came home to begin processing all those pears.
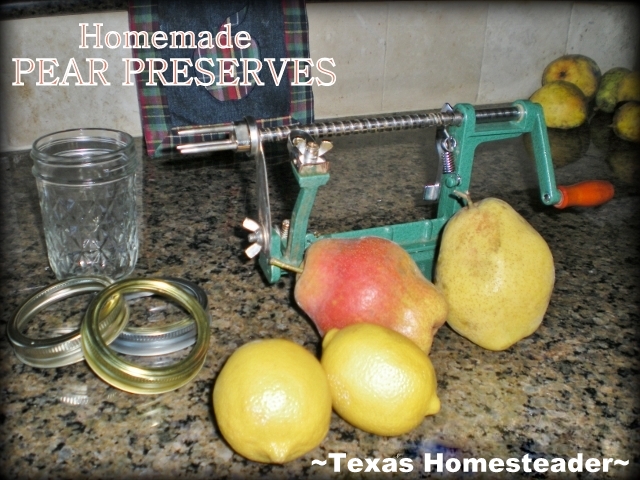
Having so many pears to go through I was very thankful that I had this *apple peeler to get me through it quickly.
I don’t know what I would do if I had to peel that many pears with a paring knife!
I found that I could peel, core & slice a pear in 5-7 seconds! WOO-HOO, watch me go!
Of course the first thing I canned was a couple of batches of pear halves in light syrup. I love to eat these right out of the jar cold from the fridge.
But now I’ll be making RancherMan’s favorite pear preserves using Ms. Virginia’s recipe.
Why Are My Pear Preserves Too Juicy?
I preferred to make these pear preserves in double batches. And with the first double-batch of preserves I made, I followed the recipe exactly.
But it seemed to have too much syrup. And I had to boil the pears over 2.5 hours to get it to the consistency I wanted.
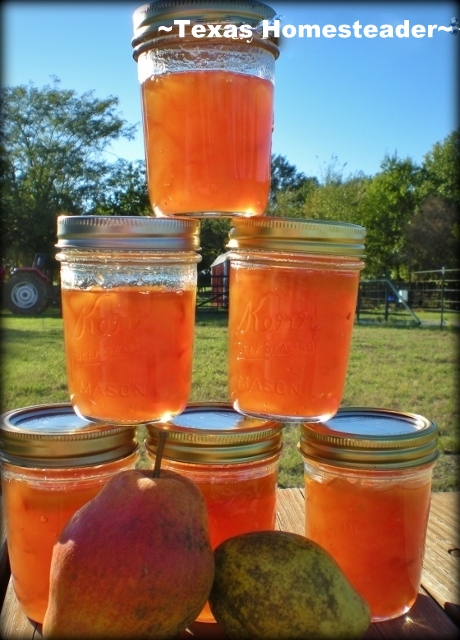
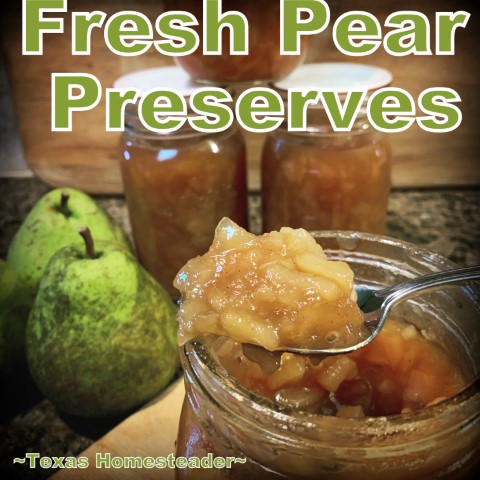
Note: Pear preserves in photo were not canned. If canning be sure to fill with only 1/2″ headspace.
Tip For Thicker Pear Preserves Using Very Ripe Pears
I asked Virginia about the thinner preserves & she said it appeared my pears must be very ripe. She recommended that I should try it again with the same amount of sugar but less water & slightly more pears per batch.
So for my second double-batch of Pear Preserves using very ripe pears I used:
-
-
-
11 cups of peeled chopped pears
-
1 cup water
-
3 cups sugar
-
2 sliced lemons
-
2 Tablespoons vanilla extract
-
-
It did seem to help the quantity of syrup.
I only boiled the pears this time for about 1 hr 15 minutes. I like to get them to reach a temperature of 220 degrees F. for a nice thick syrup.
When they were as thick as I like I turned off the heat, stirred in a tablespoon of vanilla.
Water Bath Canning Instructions For Pear Preserves
I wanted to can the preserves, they make amazing Christmas gifts!
To water-bath can pear preserves:
-
-
-
Ladle hot, thick preserves into clean hot jars
-
Wipe the rim of any syrupy drips
-
Placed two-part canning lid in place – finger tight only.
-
Lower into a water bath canner, covering jars by at least 1″ water.
-
Once water returns to boiling, process for 10 minutes.
-
Remove, set aside undisturbed overnight.
-
-
The resulting pear preserves this second time were a lighter color. Maybe because I didn’t simmer the pears as long, although I really love the golden color of the first batch too. Both were absolutely delicious!
Virginia warned me not to try to make more than a double batch at a time so I heeded her advice and always make double batches. Each of the double-batches I made yielded 6 half-pints.
Favorite Fresh Pear Preserves Recipe
So without further adieu here’s the single-batch recipe as Virginia gave to me along with her instructions
(I have included a few of my own notes in italics)
Did you make these Pear Preserves? Please rate the recipe in your comment below!
SINGLE-BATCH PEAR PRESERVES RECIPE
This delicious recipe yields 3 half-pints of pure bliss. I always double it! The recipe was shared by a dear friend and is RancherMan's absolute favorite preserve. I'm happy to make it for him every year.
Ingredients
- 1 quart (4 cups) peeled, cored & cubed pears (~TxH~ Note: add another 1.5 cups for very ripe & juicy pears)
- 1.5 cups sugar
- 1 cup water (~TxH~ Note: use only 1/2 cup water for very ripe & juicy pears)
- 1 lemon sliced 1/4" with seeds removed
- 1 Tablespoon Vanilla extract (optional - I added after pears were cooked but before adding to jars)
Instructions
-
DIRECTIONS: Peel, core, and cut up the pears. You will need 4 cups of pears PER BATCH ready to go. (See notes below for very ripe pears)
-
Make a syrup of 1 1/2 cups of sugar and 1 cup of water. (See notes below for very ripe pears)
Boil about 10 minutes to dissolve the sugar and start the process of creating syrup, then cool slightly.
-
Slice lemon into approximately 1/4" slices and remove the seeds. Add lemon slices to the syrup when you start the process with the pears, three or four slices to each quart of pears.
-
Add prepared pears & lemon slices and bring to a slow boil. Once boiling, boil rapidly until the pears are translucent and tender. This generally takes about 30 minutes to one hour.
(note, my boiling process took longer, I like them to reach 220 degrees F. Watch for the pears to turn translucent and for the syrup to thicken to your liking)
Watch the boiling pears closely as they can burn very badly quickly.
Canning Pear Preserves
-
Place hot preserves in clean, hot ½ pint canning jars, leaving ½" headspace.
-
Wipe jar rim and place 2 part canning lid and ring on top of jar, tightening only finger tight.
-
Lower jars into water bath and make sure water covers the top of the jars by 1" - 2".
-
When water returns to boil, process preserves 10 minutes. Then carefully remove from water-bath and place jars in draft-free location for 24 hours before removing the rings, testing the seal, wiping down and labeling the jars.
Recipe Notes
Note from Ms. V: This recipe comes from my mother's Kerr canning book circa 1938. It is a slow process but so worth it.
(~TxH~ Note: add another 1.5 cups of pears per single batch for very ripe & juicy pears)
(~TxH~ Note: use only 1/2 cup water for very ripe & juicy pears)
* * * * * * * * * *
Thanks Virginia – you’re the BEST!
~TxH~
Other Pear Delights:
- Pear Sauce (like applesauce but with pears)
- Sweet-n-Savory Pear Relish
- Pears Canned In Light Vanilla Syrup
- Pear Cake – A Surprisingly Delicious Recipe
- Fresh Pear Preserves
Our Delicious Jelly & Preserves Recipes:
- Clover Blossom Jelly
- Our Favorite Jelly Recipes
- Honeysuckle Jelly – Childhood Memories In A Jar
- Wild Plum Jelly – No Added Pectin!
- RancherMan’s Favorite – Pear Preserves
- Blueberry/Lemon Jam – No Added Pectin
- Concord Grape Jelly – No Added Pectin
All Jelly, Jam & Preserves Recipes

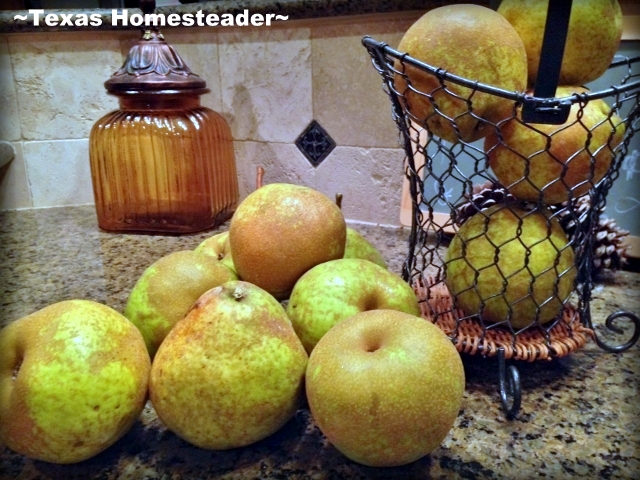


What’s the name of the pears you are using :). We have the same ones pictured and have been trying to find out what the name of them are.
Sorry Debbie. Our pear tree is not yet producing, so I gather pears from one friend or another’s trees each year. There are several friend’s that share so I don’t know which friend’s pears are in the photo. Maybe try your extension agent for ID? I’ve always found they’re extremely helpful. ~TxH~
The pears taste good but the syrup was overly sweet and I’d already reduced the sugar to 1 cup and water to 1/2 cup because of the ripeness of the pears. I’m glad I tried it.
I could see that result, Christine. The more ripe the pears the more moisture and the sweeter they are. But I’m so glad you like these pear preserves – they’re RancherMan’s absolute favorite way for me to preserve pears. ~TxH~
Made a single batch per the recipe and it turned out perfectly. I did not use the vanilla for flavouring but instead added the rind of one mandarin, a quill of cinnamon, 2 crushed cardamons pods and a star anise to the syrup. Took them out just before I put the preserves into jars. So very tasty.
Hi there, how small do you cube the pears – roughly?
Hummm… I suppose it would depend on how chunky you like your preserves. For RancherMan, I usually chunk them to 1/4″ but I’ve chunked them to about 1/2″ before too. Spreading on biscuits is easier with smaller chunks but he likes to stir it into his yogurt to sweeten, and for that purpose he prefers the larger chunks. I generally make it using smaller chunks though. ~TxH~
How do I get my syrup thicker?
Sounds like you’re experiencing the same thing I experienced & detailed in this post. The recipe-giver informed me that the ripeness of the pears could affect the syrup thickness. She instructed me to amend the liquid I was added and it worked great for me. I did finally get the thin syrup to thicken up with a significantly longer boil time while stirring constantly. ~TxH~
This is the same recipe I use for making strawberry and fig jam, except no water added to those jams.
I made this pear jam but used only a very small amount of water since the pears were already very juicy.
Good call Pat. I know pears can be anywhere from barely any juice when first ripe to very juicy when more ripe. Plus I’m sure the variety of pear makes a difference too. RancherMan loves these pear preserves and I’m happy to make them for him when we’re blessed with a few pears. ~TxH~
Is the measurement on the pears 4 cups of pears? Or one quart plus 4 cups , which would actually be double, right? I’ll be trying this recipe this year when the pears come in. I have made your honeysuckle jelly and it’s a family favorite. Making it again this week!
The note ‘four cups’ should be in parentheses and is just a clarification for the quart measurement. I’ll correct it immediately Marian, thanks so much for bringing this to my attention! Glad you loved the Honey suckle jelly, it’s a favorite with us too! You’re gonna love this pear preserves equally well I’m sure. ~TxH~
Do you leave the lemon slices in or remove them before putting pears in jars?
I’ve done it both ways Kim, it has no effect on the canning procedure so the decision is yours. I think it looked kinda cool in my jars that I gave as gifts. And for our own jars, after I pop the lid of my canned jars I take the lemon peel out and nibble on it – it’s delicious like candied lemon peel. But technically it’s not used in the same way as spooning pear preserves on a biscuit or stirred into yogurt, so I’ve pulled the lemon slices out before canning on occasion too. Personally, I like leaving them in because I like snacking on them when I pop the seal on a new jar, but it does mean sometimes RancherMan has to dig them out before stirring pear preserves into his yogurt. ~TxH~
Pear preserves sound so good. I’m trying to learn more about this, so I’m definitely saving for later!
The pear preserves sounds delicious!! So nice of Virginia to share the recipe, and thank you for sharing with us!!
Homemade pear preserves sound so good. Happy canning!
I have some young pear trees so I hope to get to try this before too long!
What a timely recipe! I have about 60 lbs of pears ripening in my basement and was wondering what to do with em! Now I know…thanks for sharing this on the blog hop!
Looks delicious, such a pretty color! YUM!!
Your preserves looks wonderful. Amazed by the beautiful color. Looks like there is more air space (1/2in.?) in your canned pear preserves; more than normal the way it seems. Is that the requirement for canning pears? My apple peeler hardly sees the light of day. Have had mine for a few years now and I think it has only been used twice.
The air space requirement is a minimum to keep the bubbling preserves from getting under the lid and making a failing seal. As long as I leave at least the minimum amount, I usually just try to divide the preserves evenly amongst the jars so there’s not the last one that’s left only 3/4 full, and often times that leaves a tad more than the minimum requirement of airspace in the jars.
That’s not exactly correct. Yes, you leave airspace at the top of the jar, called head space, in order to accommodate the expansion of the food during processing. But it is equally important not to leave too much head space because the food may not expand to push out all the air at the top of the jar which can mean your jars may not seal properly. Also, part of the reason canned foods are shelf is because most food borne bacteria can’t grow in an anaerobic environment (to little air). If the jars are not full enough for all the air to be pushed out from expansion during canning, any bacteria will quickly grow and will not only spoil the food but may also make the consumer ill.
Wow! I haven’t blogged as regularly as I used to so it has been a while since I had the opportunity to visit your lovely blog, but I am so thankful for G’day from Oz where I have found you again! I am a home schooling parent and we had a canning workshop at our co-op recently. I have not gotten into canning personally yet, but it is a goal of mine.
The picture is gorgeous! And I love that the recipe is from 1938. Just stopped by to let you know I am featuring this in a few minutes! I was unable to copy your beautiful picture to show off, but I am linking it up 🙂 Thanks for sharing!
My grandmother makes a pear syrup that tastes so good that you will like your lips so fast you could beat your own brains out. HA. Thanks for sharing on Rural Wisdom and Know How.
This takes my mind back to my aunt making peach preserves. She would always give me a jar when I came home on break from college. I’ve never made preserves myself but this makes me think I should give it a try. Definitely having a peeler makes the job seem easier…
Your pear preserves look delicious! I’d love to slather some on a hot buttered biscuit. I’ve only made pear preserves once. I usually make fig preserves, since we have a huge bush, but I DO love pear. Thanks for sharing your recipe.
Sounds delicious! I will have to try this one. We just got a huge bag from our local supermarket (not as great as your tree!) but we’re enjoying munching through them so far.
Gorgeous! And this look so yummy too! I miss my pear trees that I planted at our last house. sigh. I planted 2 trees here, but they take so long to produce.
Thanks for sharing the recipe! I hope to have my own homegrown pears one day to try this recipe!
LisaLynn, I planted a pear tree year-before-last here and it’s struggled due to ongoing drought. I’m noticing with the recent rainfall there are green leaves showing on the tree again so I’m hoping it really does have that kind of vigor! (fingers crossed) ~TxH~
Making pear preserves is a little time consuming but so, so worth it! I love your jars shining in the sun! 🙂
Oh I’m so glad to get this recipe. My grandmother used to make pear preserves, she must have had, just like you, a friend who had a pear tree You never see pear preserves in stores even ones like local orchards which often carry different varieties of locally made jellies and preserves. So I will have to try this and see how it measures up to my remembrance. So glad you posted it and your friend offered the recipe.
Good friends are a good thing to have indeed Victoria! ~TxH~