by Texas Homesteader
*affiliate link
Gardening is a fun hobby, but c’mon there’s lots of work involved too. From planting seeds or tender seedlings to standing under that hot summer sun watering, weeding and harvesting.
Seeing that basket of fresh healthy produce is enough to make it all worthwhile of course. But oftentimes your harvest comes all at once as feast or famine. After putting in all of that tender loving care to your precious garden it’s important to make sure none of your hard works goes to waste.
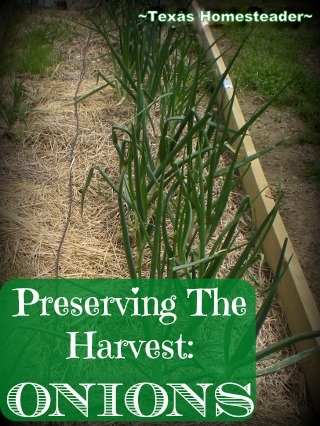
For instance I harvested my onions when their growing time was up. But how to make sure a whole garden full of onions can be enjoyed instead of being sat aside deteriorating until they’re only compost worthy? You can bet your hat I won’t be letting my hard work go to waste!
(Note: Some links in this post are for further information from earlier posts I’ve written. But links preceded with * are affiliate links. If you click them and buy something (almost anything, not just the item noted) I could receive a small purchase. But the price you pay will NOT change. It’s an easy way to support this blog without anything coming out of your pocket. So click often! Thank you!)
Cleaning Up Harvested Onions
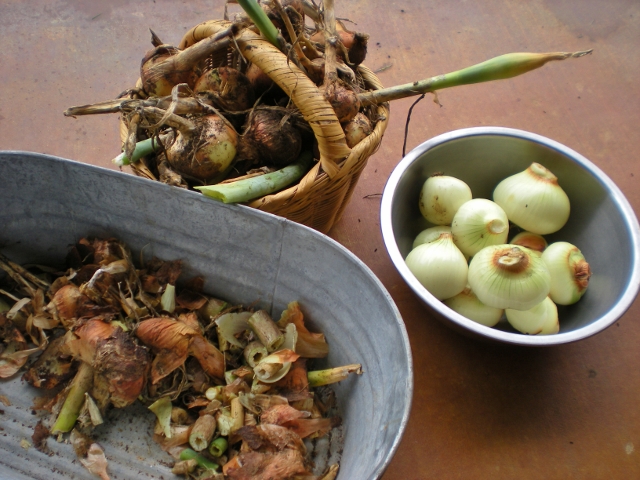
First I harvested all the onions from the garden. There were several baskets full! I brought them all to my back porch & started trimming them down. First I removed the dirt-caked roots and the papery outer layers to finally get down to the actual onions.
Many of my onions had a bloom stem sticking out of them. This stem was pretty tough and not very onion-flavored. So I wanted to make sure I removed it as well.
All of these parts went into my pail and then to my * tumbling composter to be turned into healthy compost for next the next generation of seedlings that will be planted in my garden. I love that not even these parts are wasted!
After I had all the stems/leaves/outer layers removed I washed my onions and let them air dry while I prepared to further process them. I envisioned my Mt. Onion being processed for several different ending results.
So I further processed them to cut off the tough neck section and some of the oniony parts from around the root section. I set those trimmings aside. I’ll have plans for them too!
Onion Slices & Chopped Onions
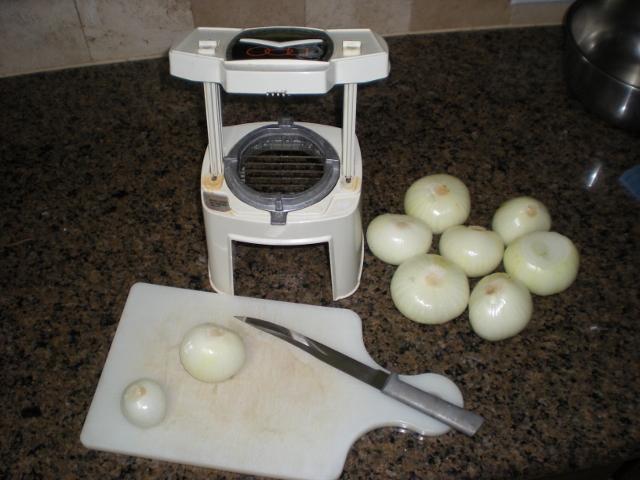
Then I sliced some of my onions into thin rings, using a knife. I wish I had used my mandolin for this part it would have gone so much faster!
Then I pulled some of the slices & further processed them into chopped onions using my grandmother’s vintage french-fry chopper. It worked great!
I bagged up several small 1-cup sized bags of chopped onions, double wrapped them and placed them in my freezer for future cooking.
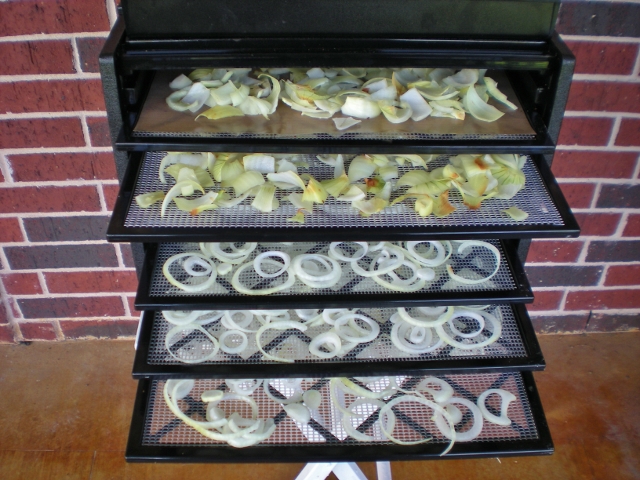
But I didn’t want all of my onions frozen. I placed the rings on some of the trays in my *Excalibur Dehydrator so I could have dehydrated onion rings.
Several of my dehydrator trays received the chopped onions instead. And one of the trays received the onion trimmings that were the tough portion right next to the neck and root sections after the roots were removed. Those pieces would previously have been just wasted.
Dehydrating Outside
Now dehydrating onions can produce quite the oniony aroma. So I fired up my Excalibur outside on a folding table I set up on the back porch. I set the temperature to 155 degrees and let it run for about 6 hours.
Since there were different thicknesses and also chopped vs trimmings vs rings I figured my onions would be completely dehydrated at different rates. So I rotated the trays about every hour or two so the air would move evenly over each of the trays. And I pulled the onion trays as the contents became completely dehydrated.
The time to dehydrate varies based on thickness of the onion slices and relative humidity that’s present in your area. But about 6 hours worked for me.
Storing Dehydrated Onions
When the onions were completely dry I brought them into the house. The chopped onions and the onion rings were placed in pretty glass jars and properly labeled for my pantry. They now take up very little space and require no additional energy to store.
I always have several jars of dehydrated produce in my pantry to use for cooking throughout the summer and even winter months.
To rehydrate I either pour just enough boiling water to barely cover them and then cover & let them steep for about 15 minutes (depending upon density). Sometimes I drop them directly into cooking broths and let them rehydrate while my dish is cooking.
Nothing Wasted
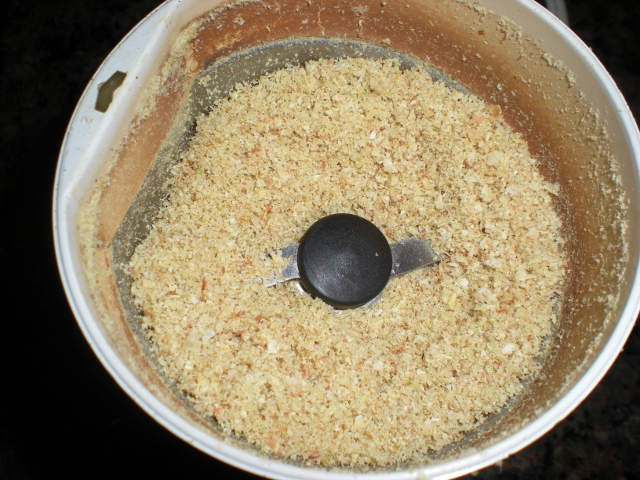
Now my attention turned to those previously-wasted trimmings. I gathered the dehydrated trimmings up and put them into a coffee grinder I bought strictly for garden produce. It was all ground up into teensy-small pieces.
Now in this state it doesn’t matter that they were originally the tougher parts of the onion because it’s all been reduced to such small pieces. I use these up by adding them to my homemade seasonings as well as a repurposed shaker jar labeled “onion powder”.
Ingredients: Just ONION! Gotta love it!
So there ya go. Don’t distress over that sudden glut of onion harvest, preserve it for future cooking! It’s cheaper and healthier than the store-bought stuff. And you’ll feel good knowing exactly what’s in that jar…
~TxH~
Other Dehydrating Posts
- Preserving The Harvest: Dehydrating Fresh Carrots
- Dehydrating Fresh Pumpkin For Easy Storage
- Dehydrating Spinach To Enjoy All Year Long
- Using A Dehydrator To Preserve Fresh Onions
- Dehydrating & Storing Cabbage
- Bell Pepper Dehydration
- Using A Solar Oven To Dehydrate Garden Produce
- Using It ALL – Dehydrating & Powdering Tomato Skins
- How To Make Dehydrated Blueberry Powder
- Dehydrating Plums
C’mon by & sit a spell! Come hang out at our Facebook Page. It’s like sitting in a front porch rocker with a glass of cold iced tea – lots of good folks sharing! You can also follow along on Pinterest, Twitter or Instagram.
If you’d like to receive an email each time a new blog post goes live it’s EASY to
Subscribe to our blog!
*Amazon affiliate


What a great idea. I have lots of onions in the garden this year. Thanks for sharing at our link up.
What a great idea! I’ll share this with my mom who always seems to grow enough onions to need something to do with them. Thanks for sharing!
Hi, Tammy! What a great idea to make onion powder from the trimmings! I have an Excalibur dehydrator and I love it. I like to keep an eye on the marked down produce in the grocery store. You never know what you’ll find – like the time I scored about 5 pounds of fresh mushrooms. I took them home, sliced them up, and dehydrated them. (“Interesting” fragrance, by the way.) They’re nice to have on hand to toss into a stir fry, soup, or casserole.
That is a lot of work. I agree after getting them to the final stage in the garden you have to do something to preserve them. Next winter it will be so nice to have them ready to use.
Thanks for sharing at What’d You Do This Weekend. You will be featured on Monday!
Wishes for tasty dishes,
Linda
What a great idea! I love the idea of fresh onion powder. I’m trying this!
Thanks for linking up with Green Thumb Thursday. We hope you’ll stop back this week!
Lisa
What a great and useful tutorial! Thanks for sharing with us at the Merry Monday link party. I hope you’ll link up with us again this week! Sharing your post on Twitter!
I definitely need to get a decent dehydrator. You give me such inspiration. Thanks for sharing at Good Morning Mondays. Blessings
Great post, Tammy! I love using up all the harvest–it makes me feel like all of my work was 100% successful. I love that you used the tougher parts to make your onion powder. I’ve made my own garlic powder before out of garlic that I had left curing in the sun too long. It turned out great, but it was brown. No matter–my harvest did not go to waste!
Great tutorial! Thanks so much for sharing at Share The Wealth Sunday!
xoxo
Lisa
Thank you!
This is actually timely for me, and we live in two very different spots of the US! LOL I usually have to save your posts for when they apply to my timezone. I just harvested a huge lot of garlic, and onions are next. Thank you for posting this!